Portfolio >>>

matt egan (2019 - 2024)

Here’s a list of some of the larger personal projects I’ve worked on in the last few years.

While not all strictly related to “electrical engineering”, I’m sure they’ll demonstrate to you my breadth of expertise, my comfort working with ambiguity, and my ability to have some fun.

click to see more

Wi-Fi Message Board

I found someone offering up a non-functional LED message board for free on a mailing list. Not being the type to turn down some free blinky lights (functional or not), I was obliged to take it home. I quickly found it to be missing its most essential components, but that made for a very fun project!

Project Included
  • Reverse engineering of the driver board’s missing components to enable replacement and augmentation with STM32 microcontroller
  • All firmware and software, including a DMA enabled driver for the matrix column shift registers, a COBS encoder/decoder for robust binary serial communication over WiFi (via an ESP32 UART), and Python host code for transmitting images to the display
  • Design of a form-factor-fitting PCB which interfaces cleanly with the original driver board and allows access to user controls through the existing panel holes
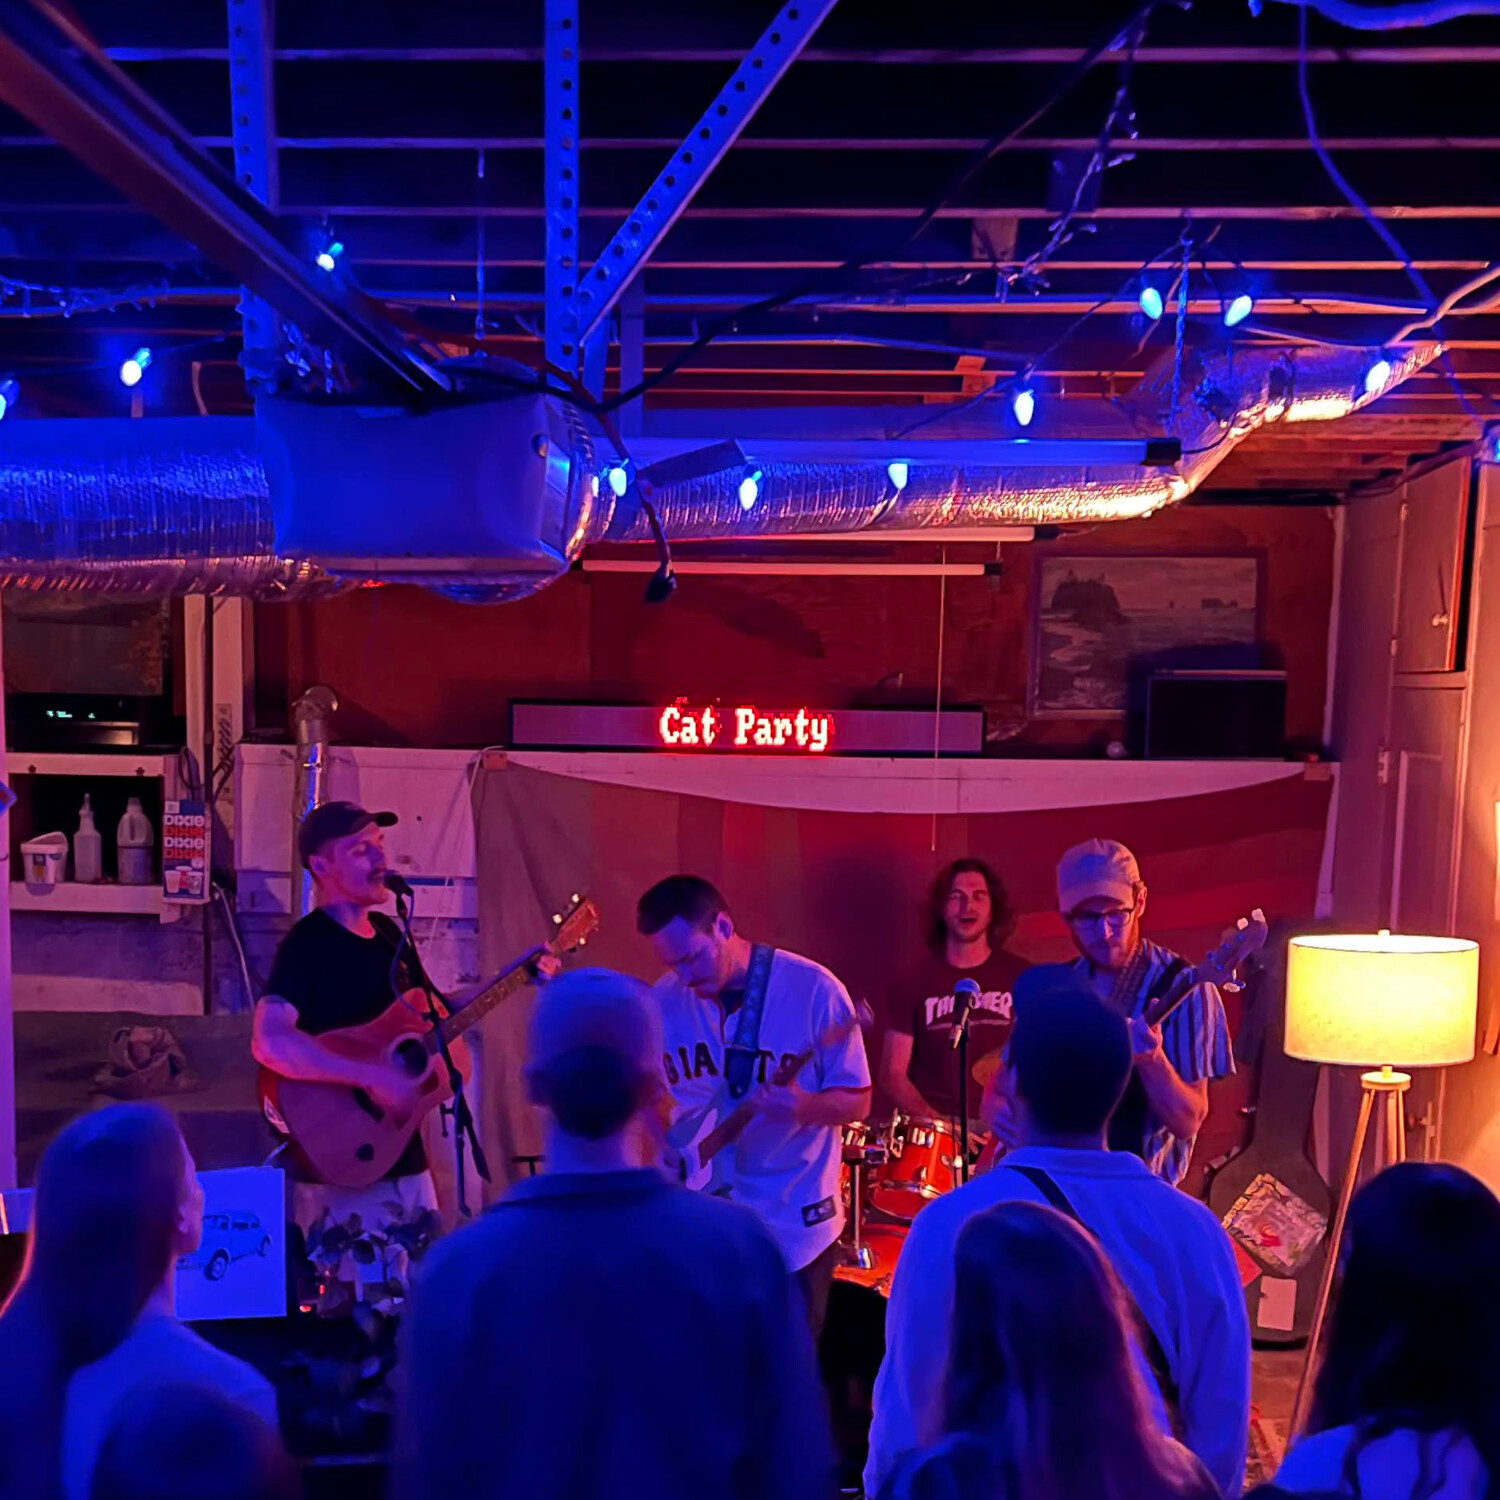
  • Inagural use at our name-less-band's first garage show! A Python script periodically chose us a new band name from a list of audience-submitted names.
    Inagural use at our name-less-band's first garage show! A Python script periodically chose us a new band name from a list of audience-submitted names.
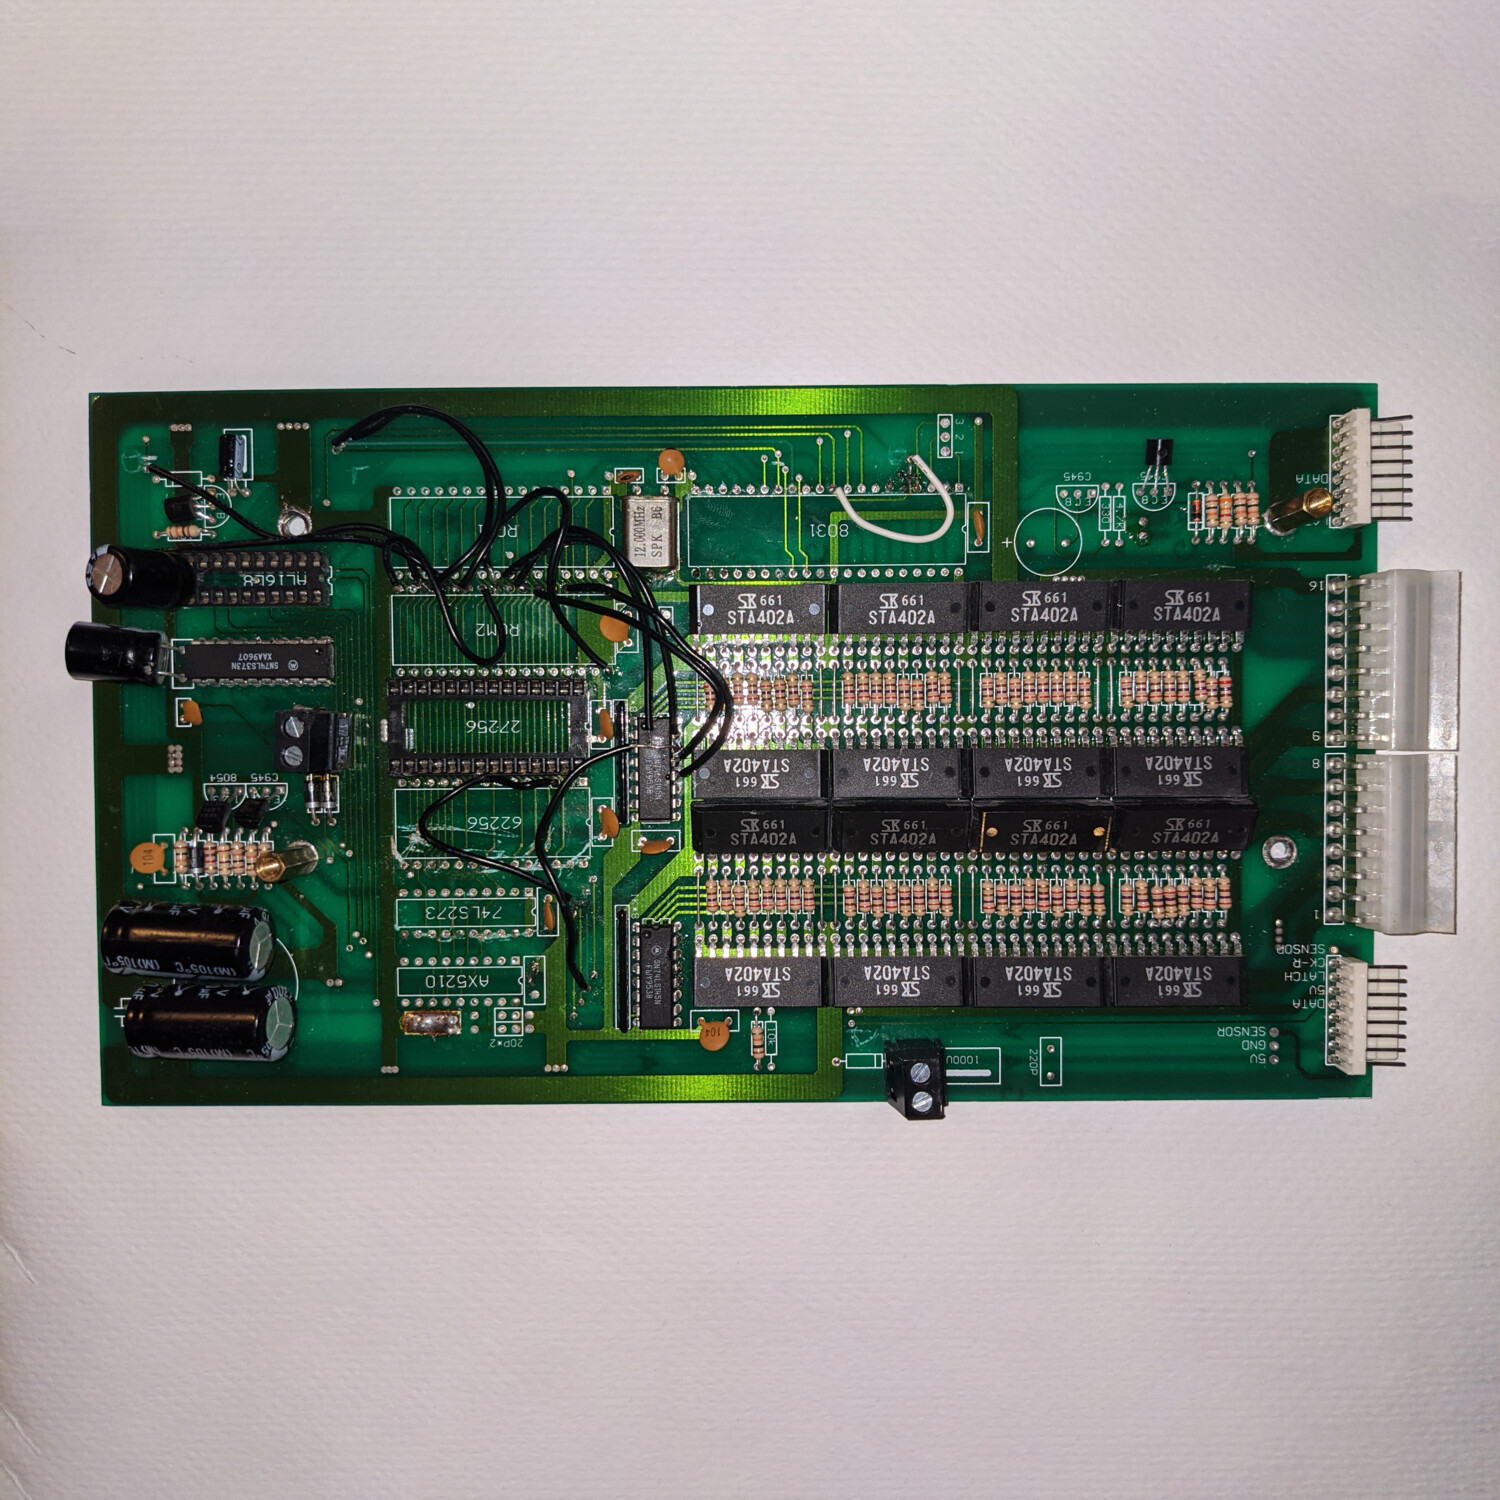
  • The original driver board for the display. Appeared to be based on an 8031 microprocessor, but it and all supporting components were missing.
    The original driver board for the display. Appeared to be based on an 8031 microprocessor, but it and all supporting components were missing.
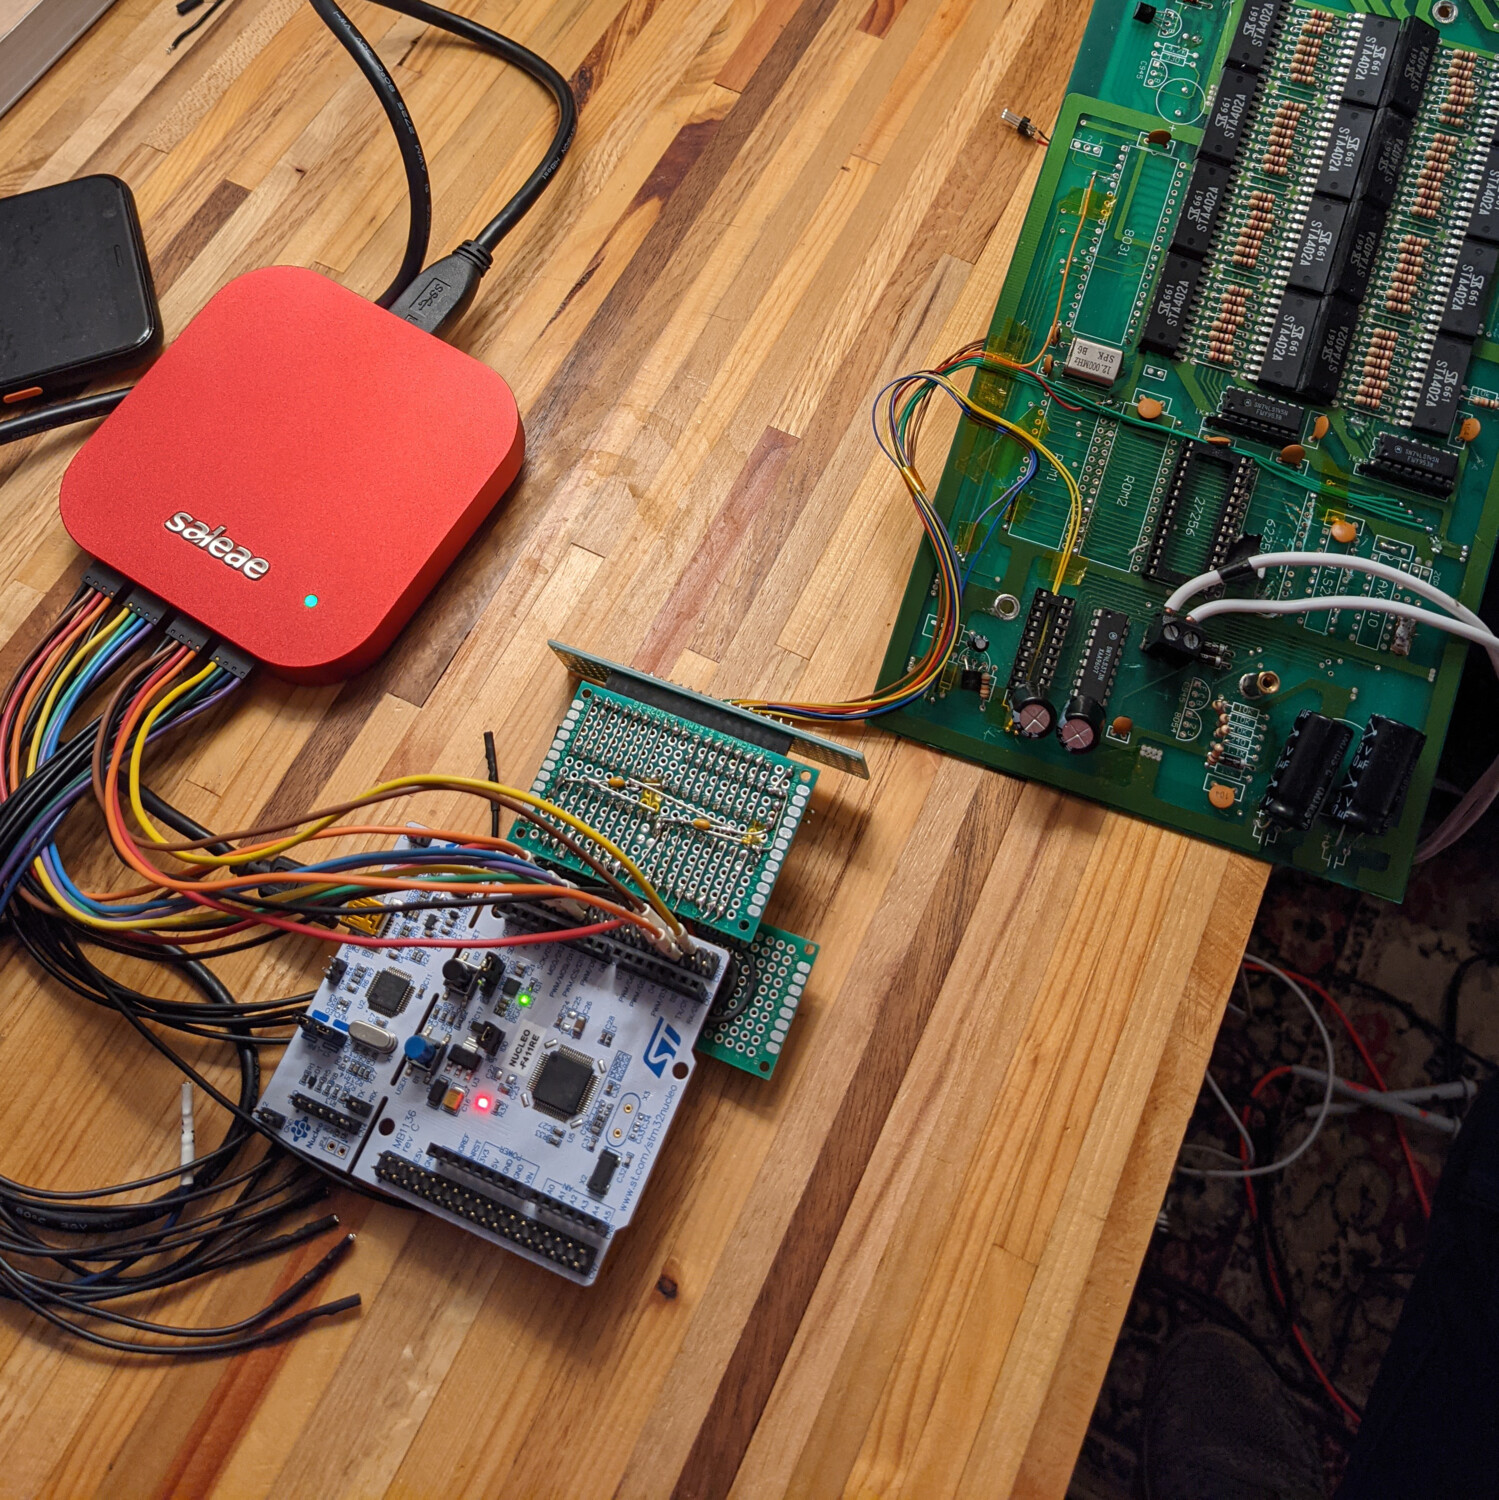
  • After locating key signals on the driver board, an STM32 demo board and a level shifter was used to interface with the remaining hardware.
    After locating key signals on the driver board, an STM32 demo board and a level shifter was used to interface with the remaining hardware.
  • One of the first demos I got working with the handmade prototype.
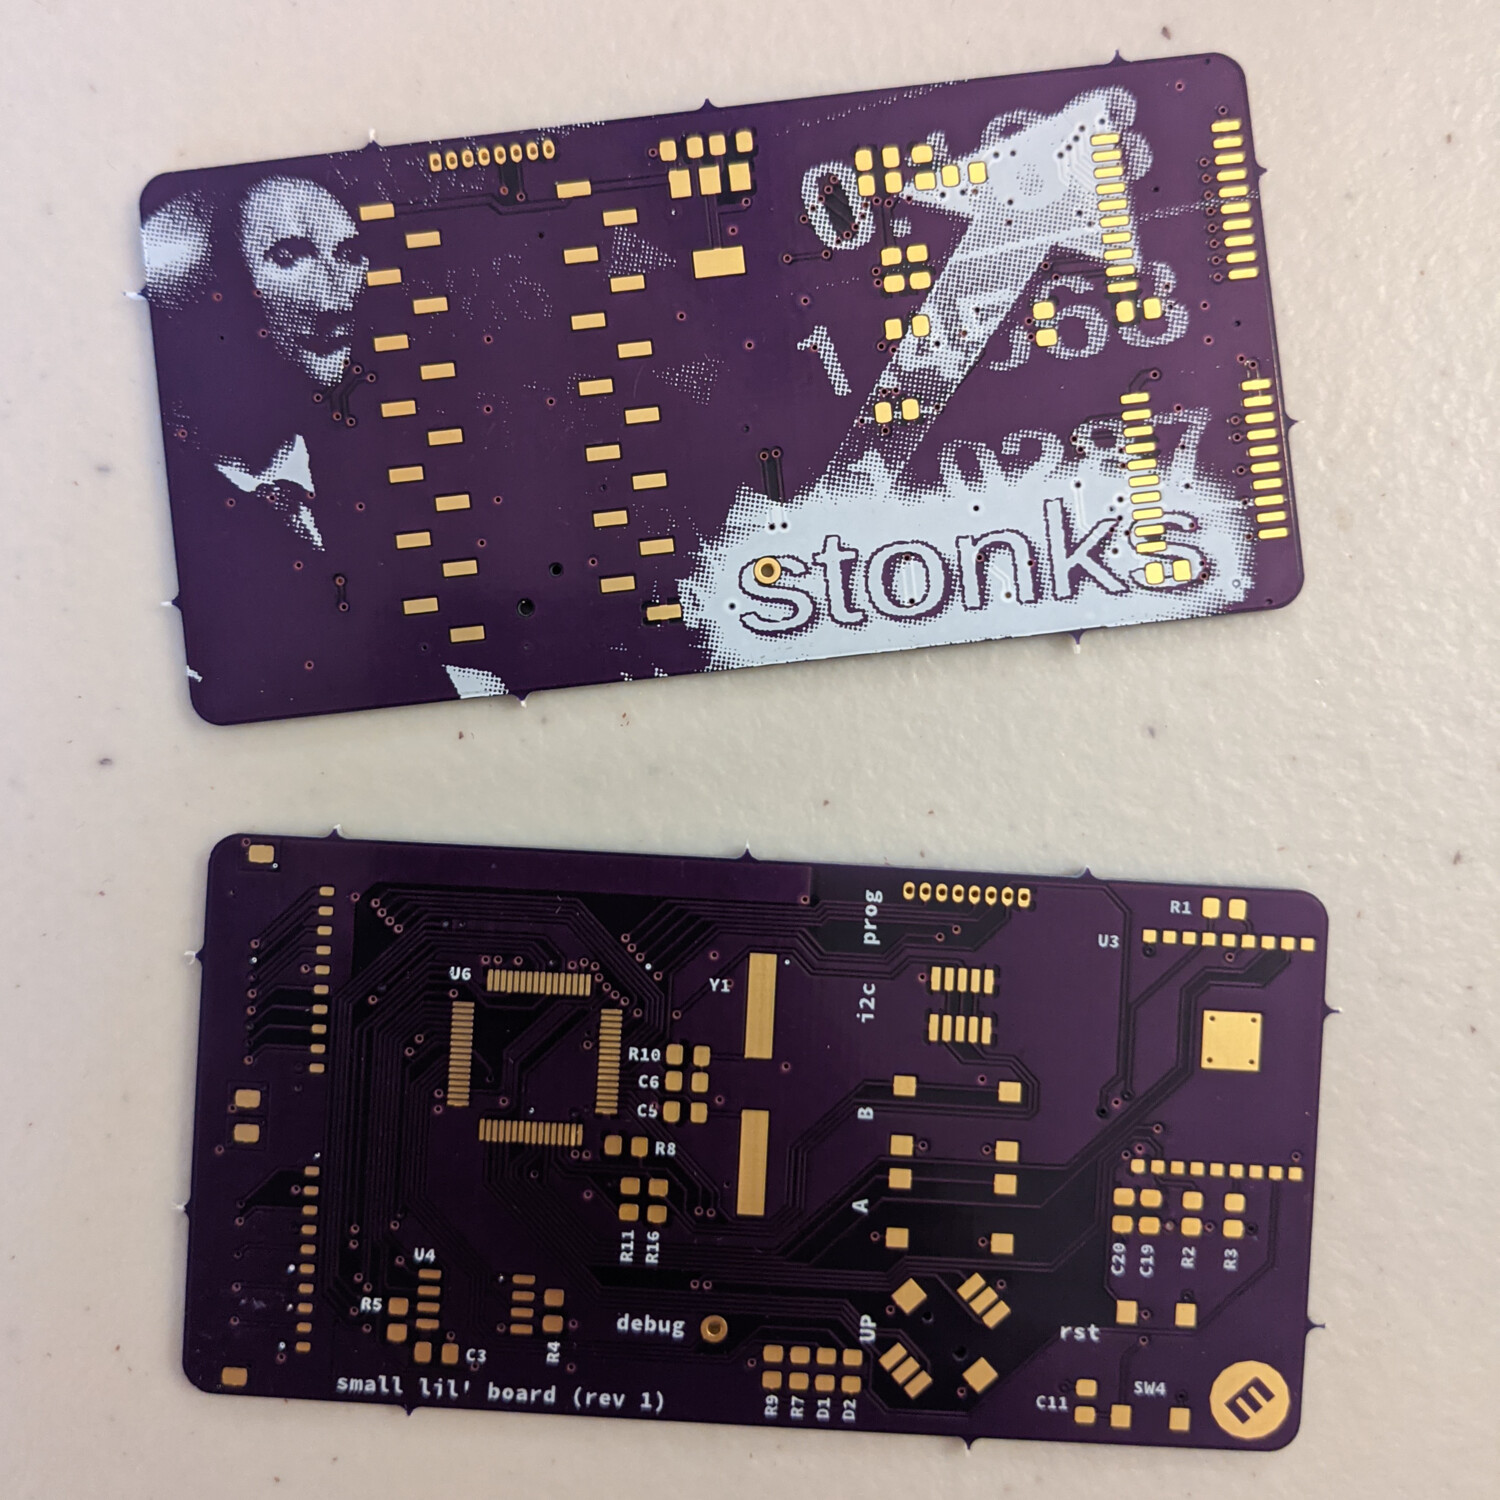
  • After validating the hardware and software, I designed a "driver driver" board. I originally was going to use the screen as a stocks ticker, which should explain the silkscreen!
    After validating the hardware and software, I designed a "driver driver" board. I originally was going to use the screen as a stocks ticker, which should explain the silkscreen!
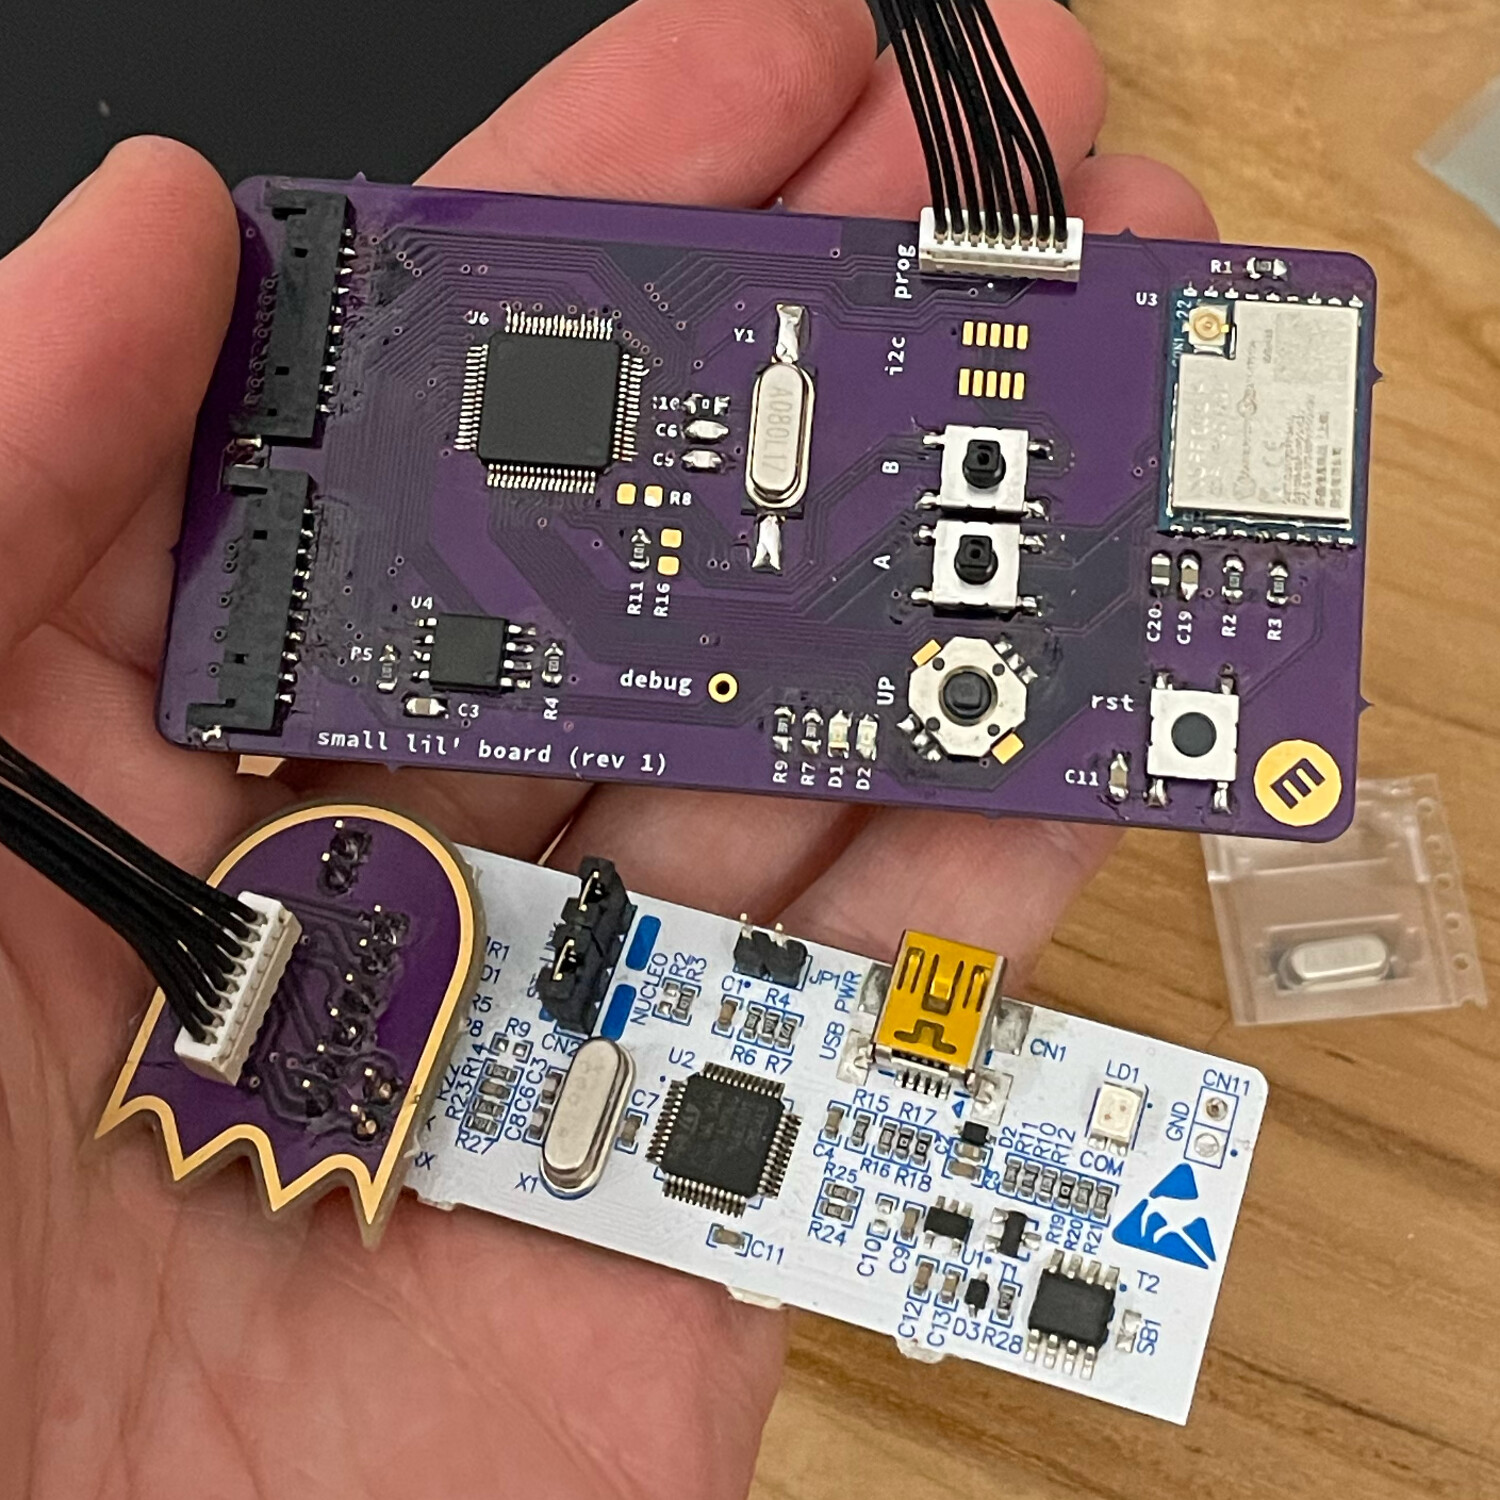
  • An assembled retrofit "driver driver" board, using an adapter which repurposes the STM32 Nucleo as a programmer.
    An assembled retrofit "driver driver" board, using an adapter which repurposes the STM32 Nucleo as a programmer.

From Scratch Computer System

During the four weeks of January 2024 I completed Nand2Tetris parts one and two. Normally spread over three months, its projects include everything from constructing a CPU built exclusively with NAND gates, to writing a compiler for an object oriented language which runs on this CPU. While it touched on things I had already seen once or twice before, it was an incredible feeling to have created an entire computing platform from scratch.

Project Included

  • Faux-HDL implementation of primitive logic gates (AND, NOR), higher-level digital logic devices,, an arithmetic logic unit and an entire 16-bit computer architecture, all derived from single NAND gates
  • Leaning Rust to write an assembler for the “Hack” assembly language
  • Creating a “VM” translator in Python, which translates code written in a stack-based virtual machine language into “Hack” assembly code
  • Writing a lexer, parser, and code generator in Python for the object oriented “Jack” programming language
  • Authoring a minimal Tetris clone and a set of standard “OS” libraries in Jack
  • My tetris clone! Written in Jack.
  • A walkthrough using my tools! Demonstrates compiling and running the included breakout clone, using my compiler toolchain and standard libary.
  • Some notes on the ALU functions for different control inputs.
    Some notes on the ALU functions for different control inputs.
  • A diagram of the CPU internals, with some notes on the instruction decoding and control bit generation.
    A diagram of the CPU internals, with some notes on the instruction decoding and control bit generation.
  • Some scribbles from when I was working through my malloc implementation.
    Some scribbles from when I was working through my malloc implementation.
  • The output of my "virtual machine translator." For easier debugging, the ROM address (line) is printed next to each real instruction.
    The output of my "virtual machine translator." For easier debugging, the ROM address (line) is printed next to each real instruction.

Converted Cargo Bike

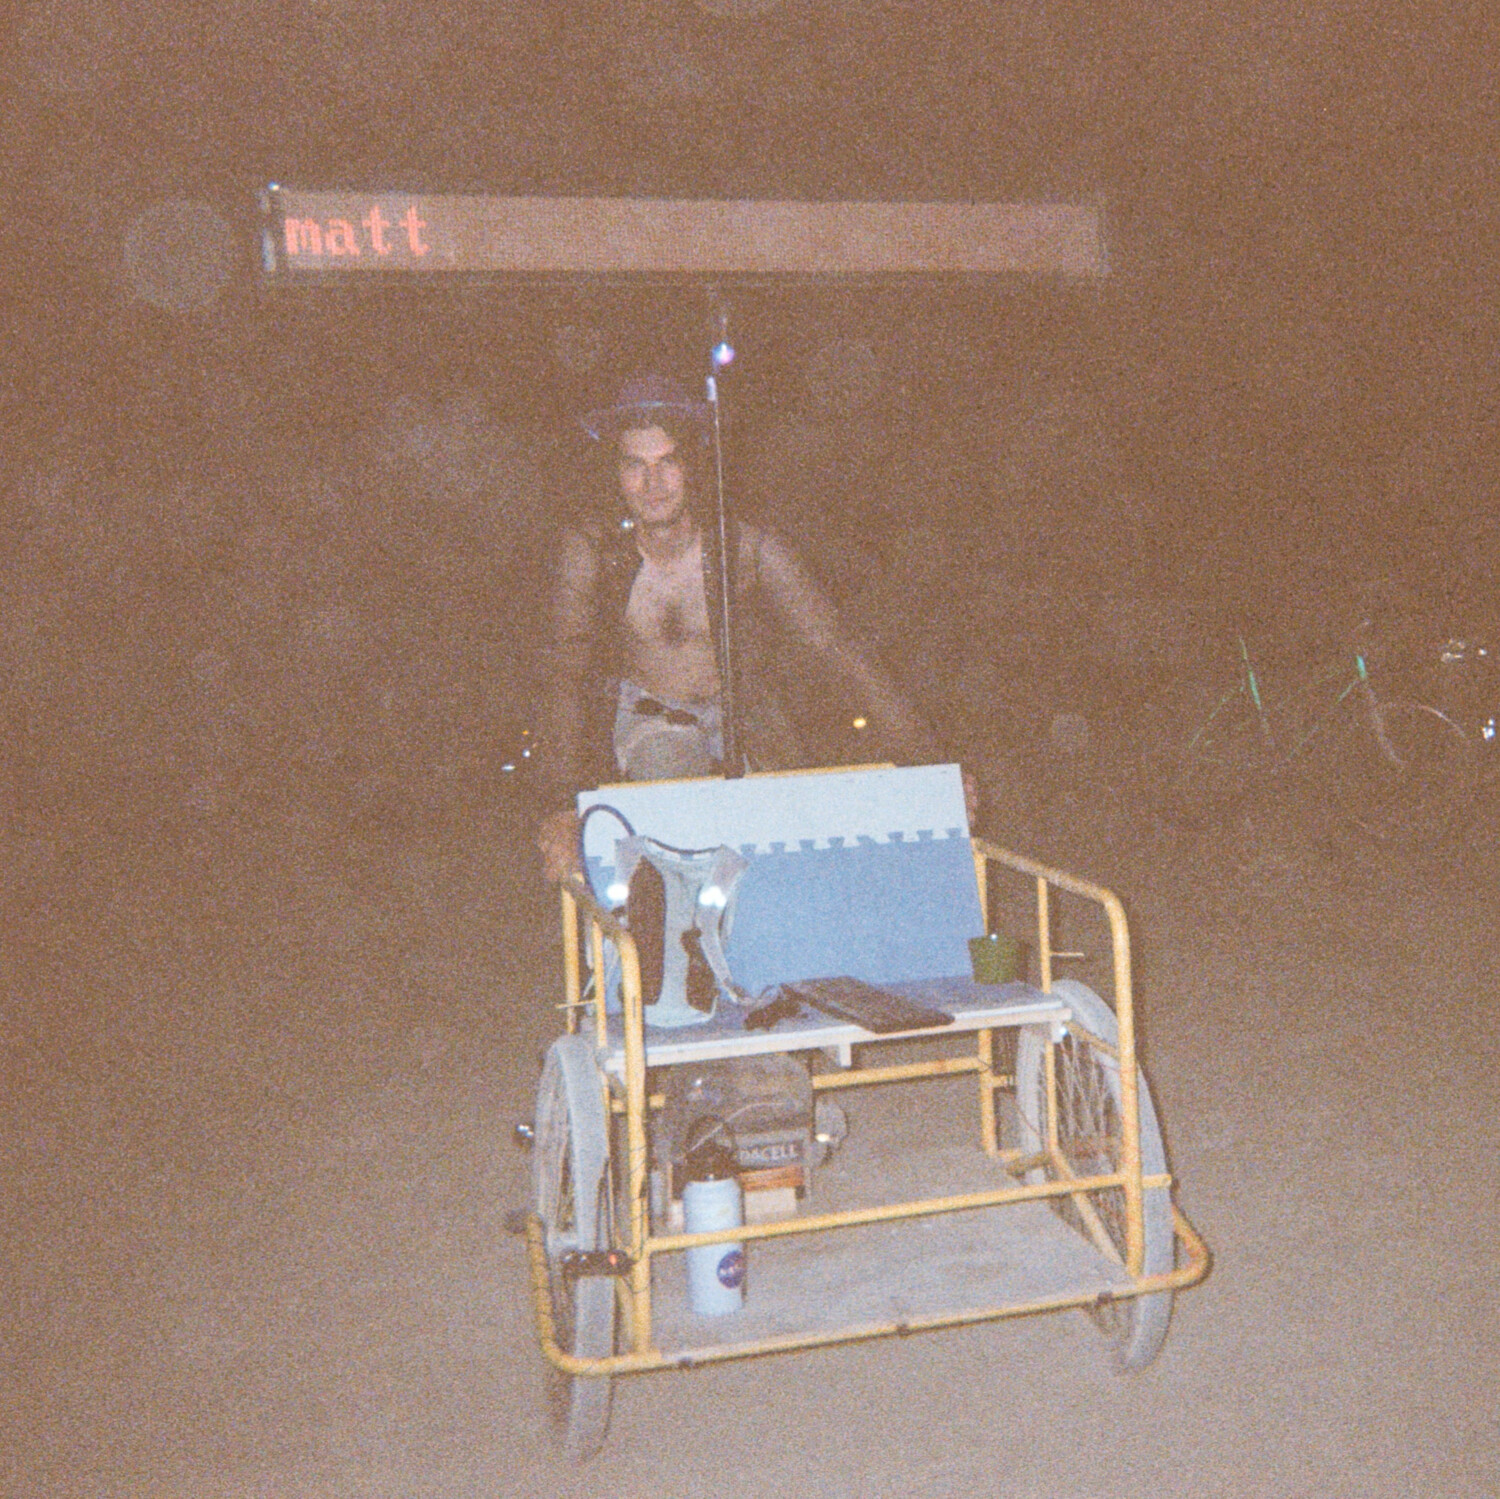
I found someone offering up the pieces to a Mexican cargo bike on another mailing list. A few months later, I found myself preparing for Burning Man (this tends to happen to you if you live in the Bay Area), and I knew it would make the perfect playa bike. Having just finished the LED message screen a few weeks prior, I made it my stretch goal to include the display somehow. Even amongst the frenzy of planning the rest of the trip, I was able to go from buying wood at Home Depot to riding the bike in the desert in less than a week.

Project Included

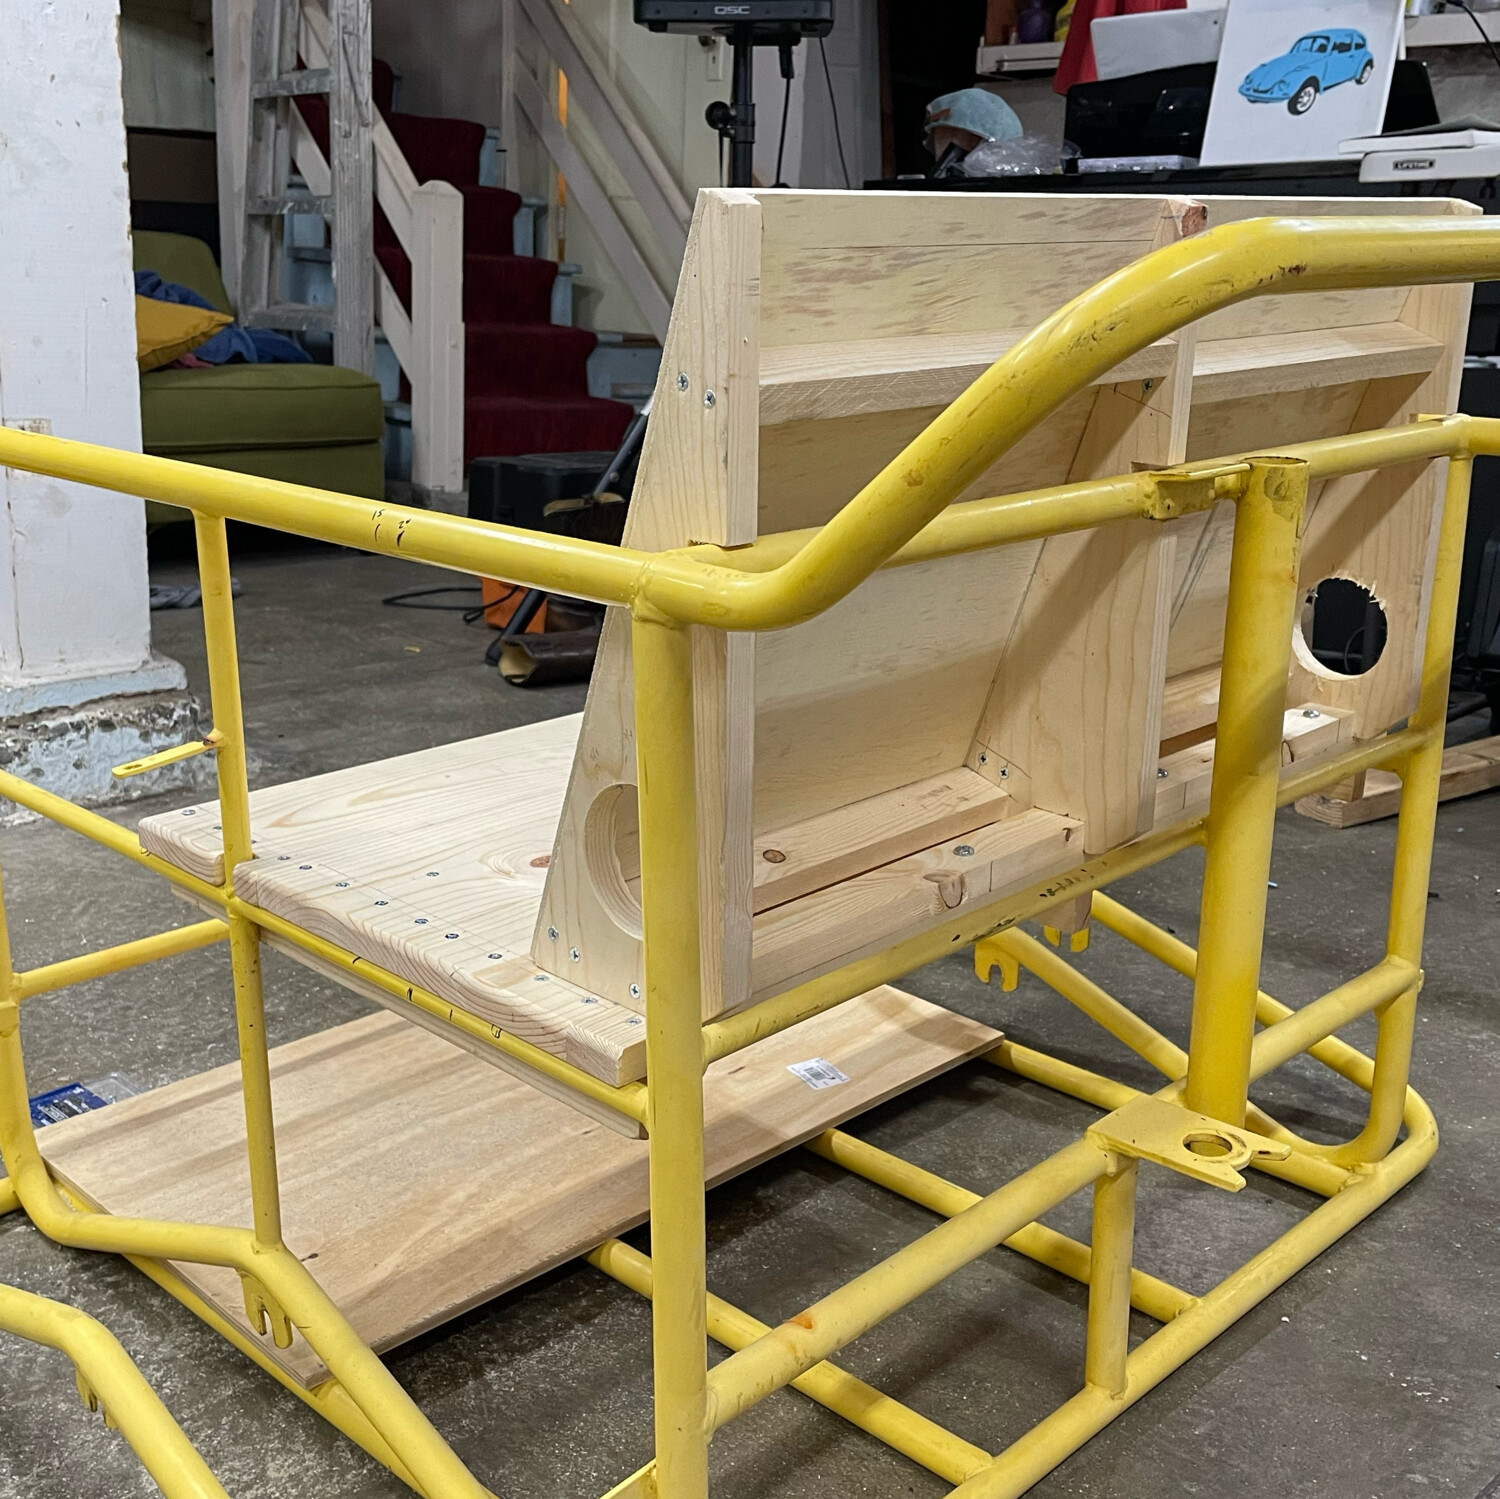
  • Design and construction of wooden seat and floor which integrated into the existing cargo area
  • Adaptation of the LED screen to be fully mobile! - complete with lead-acid battery box and optimized software running on a Raspberry Pi to control the screen over WiFi using a cheap wireless keyboard.
  • Refurbishment of the entire bike, including the sourcing of missing components and replacement of chain, tires, tubes, headset and chainring
  • Some 3D printing and a healthy amount of rapid problem solving
  • Enjoying a sunny day in Golden Gate Park!
    Enjoying a sunny day in Golden Gate Park!
  • It's me!
    It's me!
  • Some detail showing the seat framing. I spent a long time thinking about what angle to recline the back at, it ended up being pretty comfortable!
    Some detail showing the seat framing. I spent a long time thinking about what angle to recline the back at, it ended up being pretty comfortable!
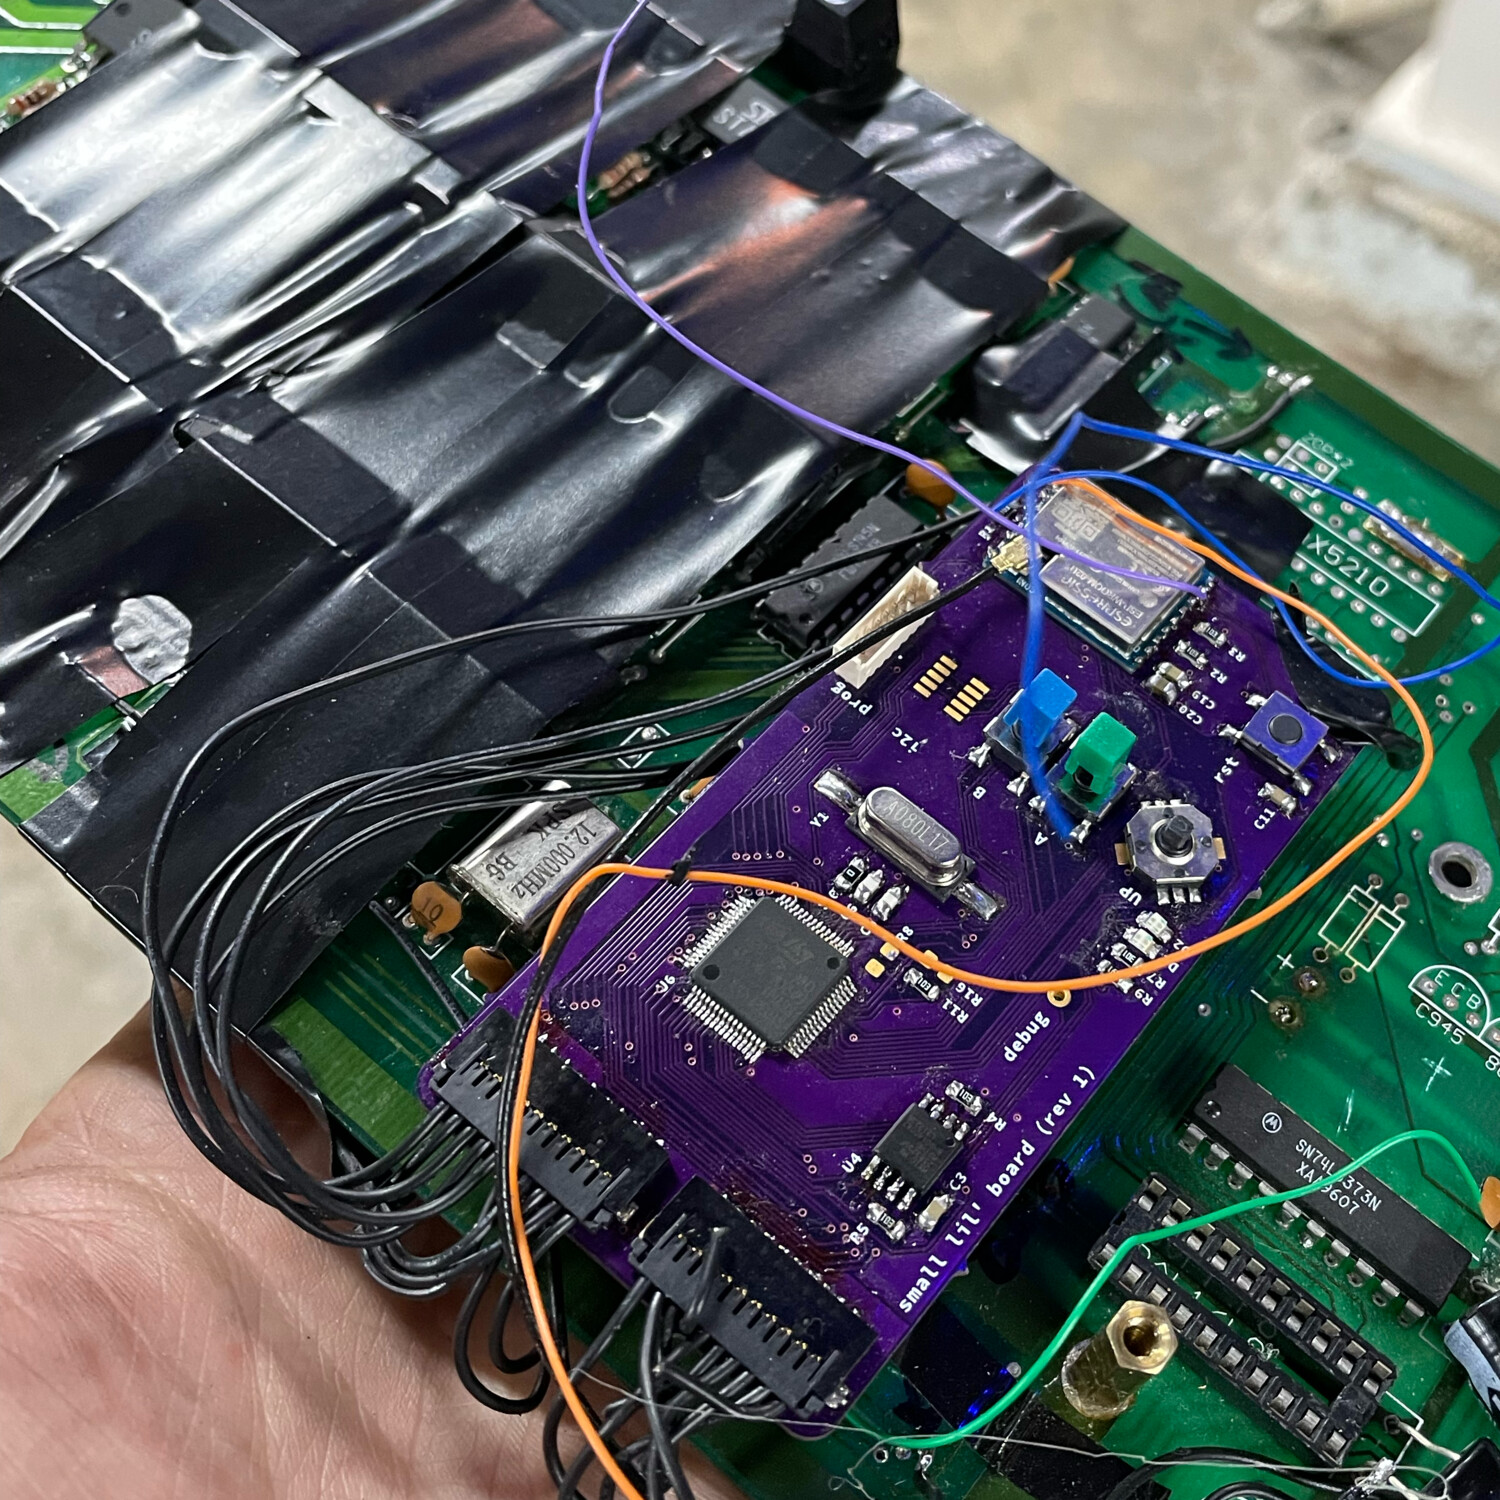
  • My "small lil board" fit nicely onto a socket on the main board. Clerances were tight, so a few wraps of electrical tape and some cardboard did the trick to insulate the board.
    My "small lil board" fit nicely onto a socket on the main board. Clerances were tight, so a few wraps of electrical tape and some cardboard did the trick to insulate the board.
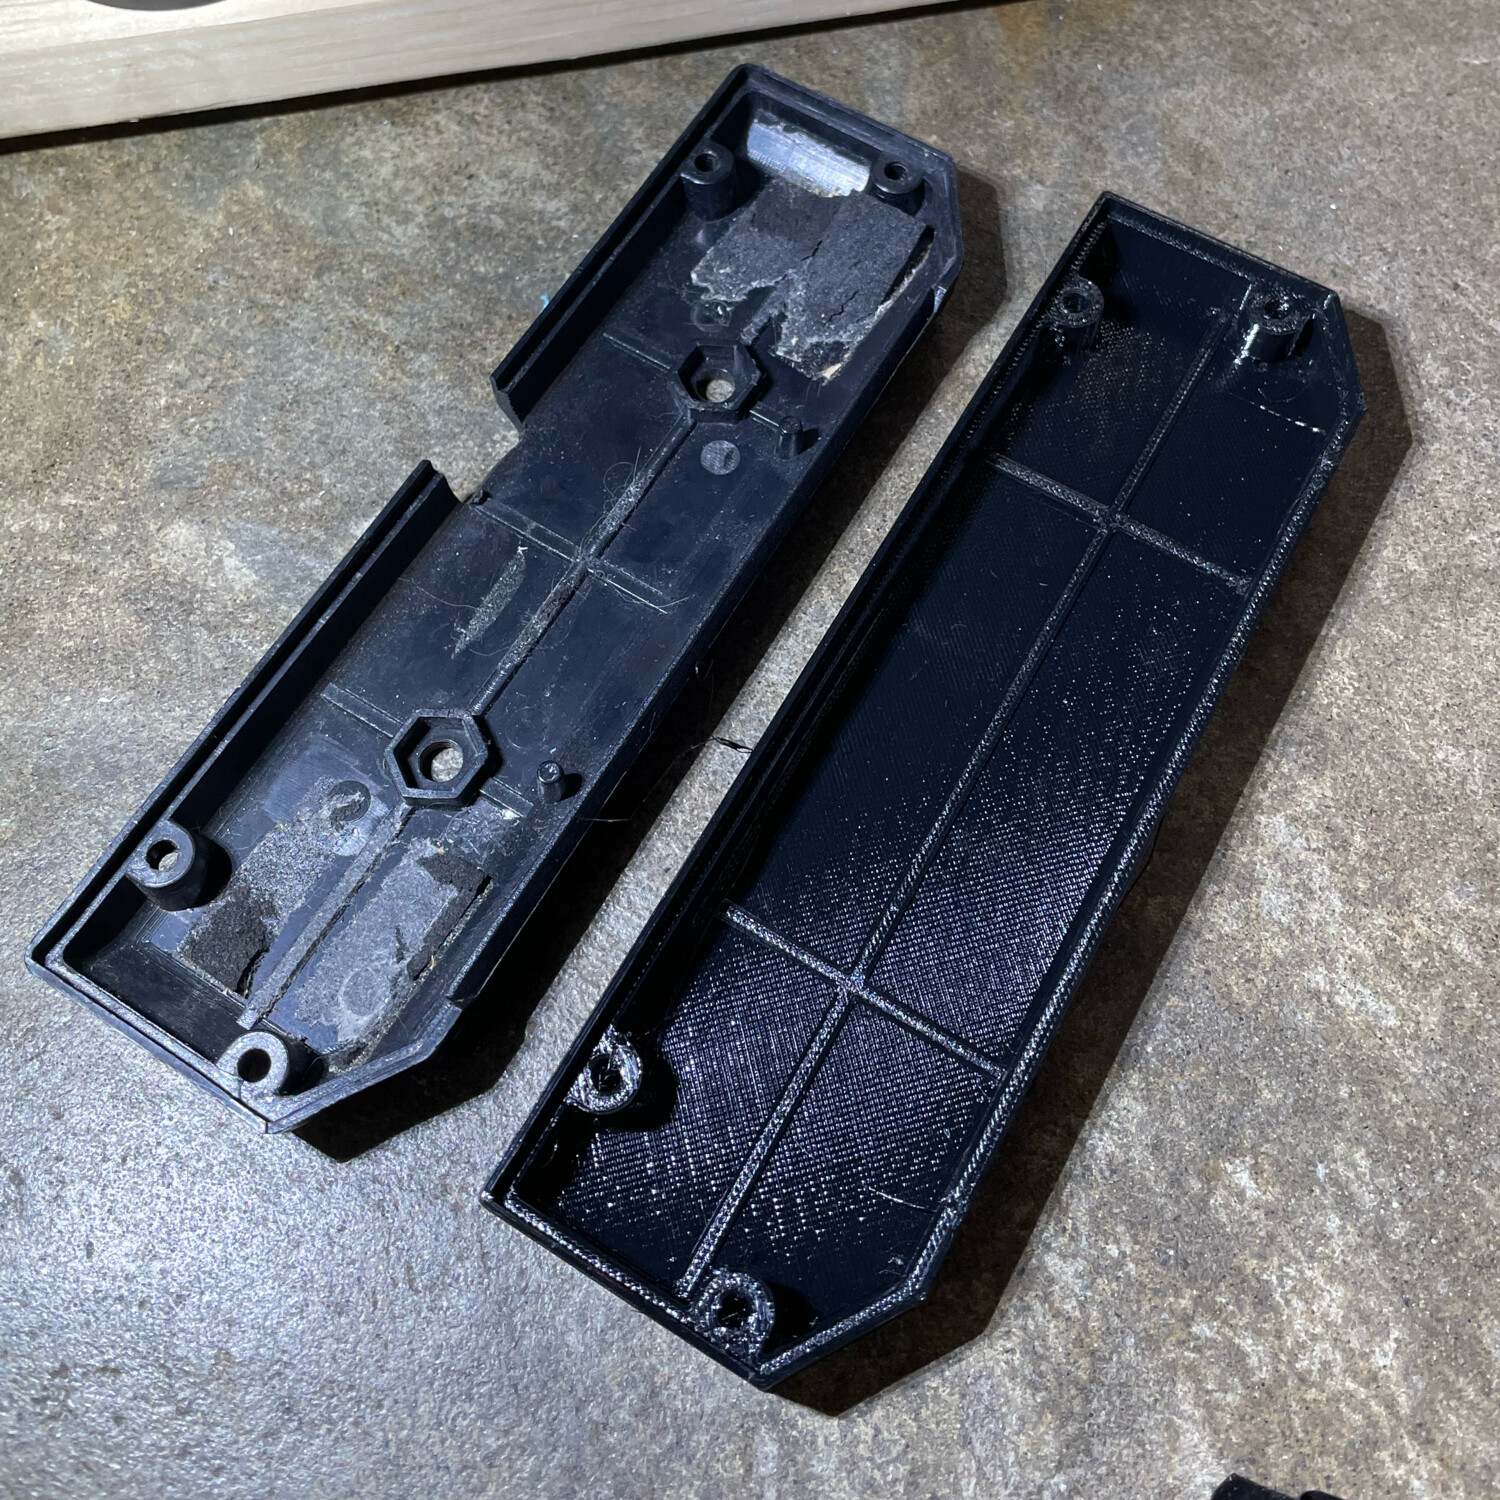
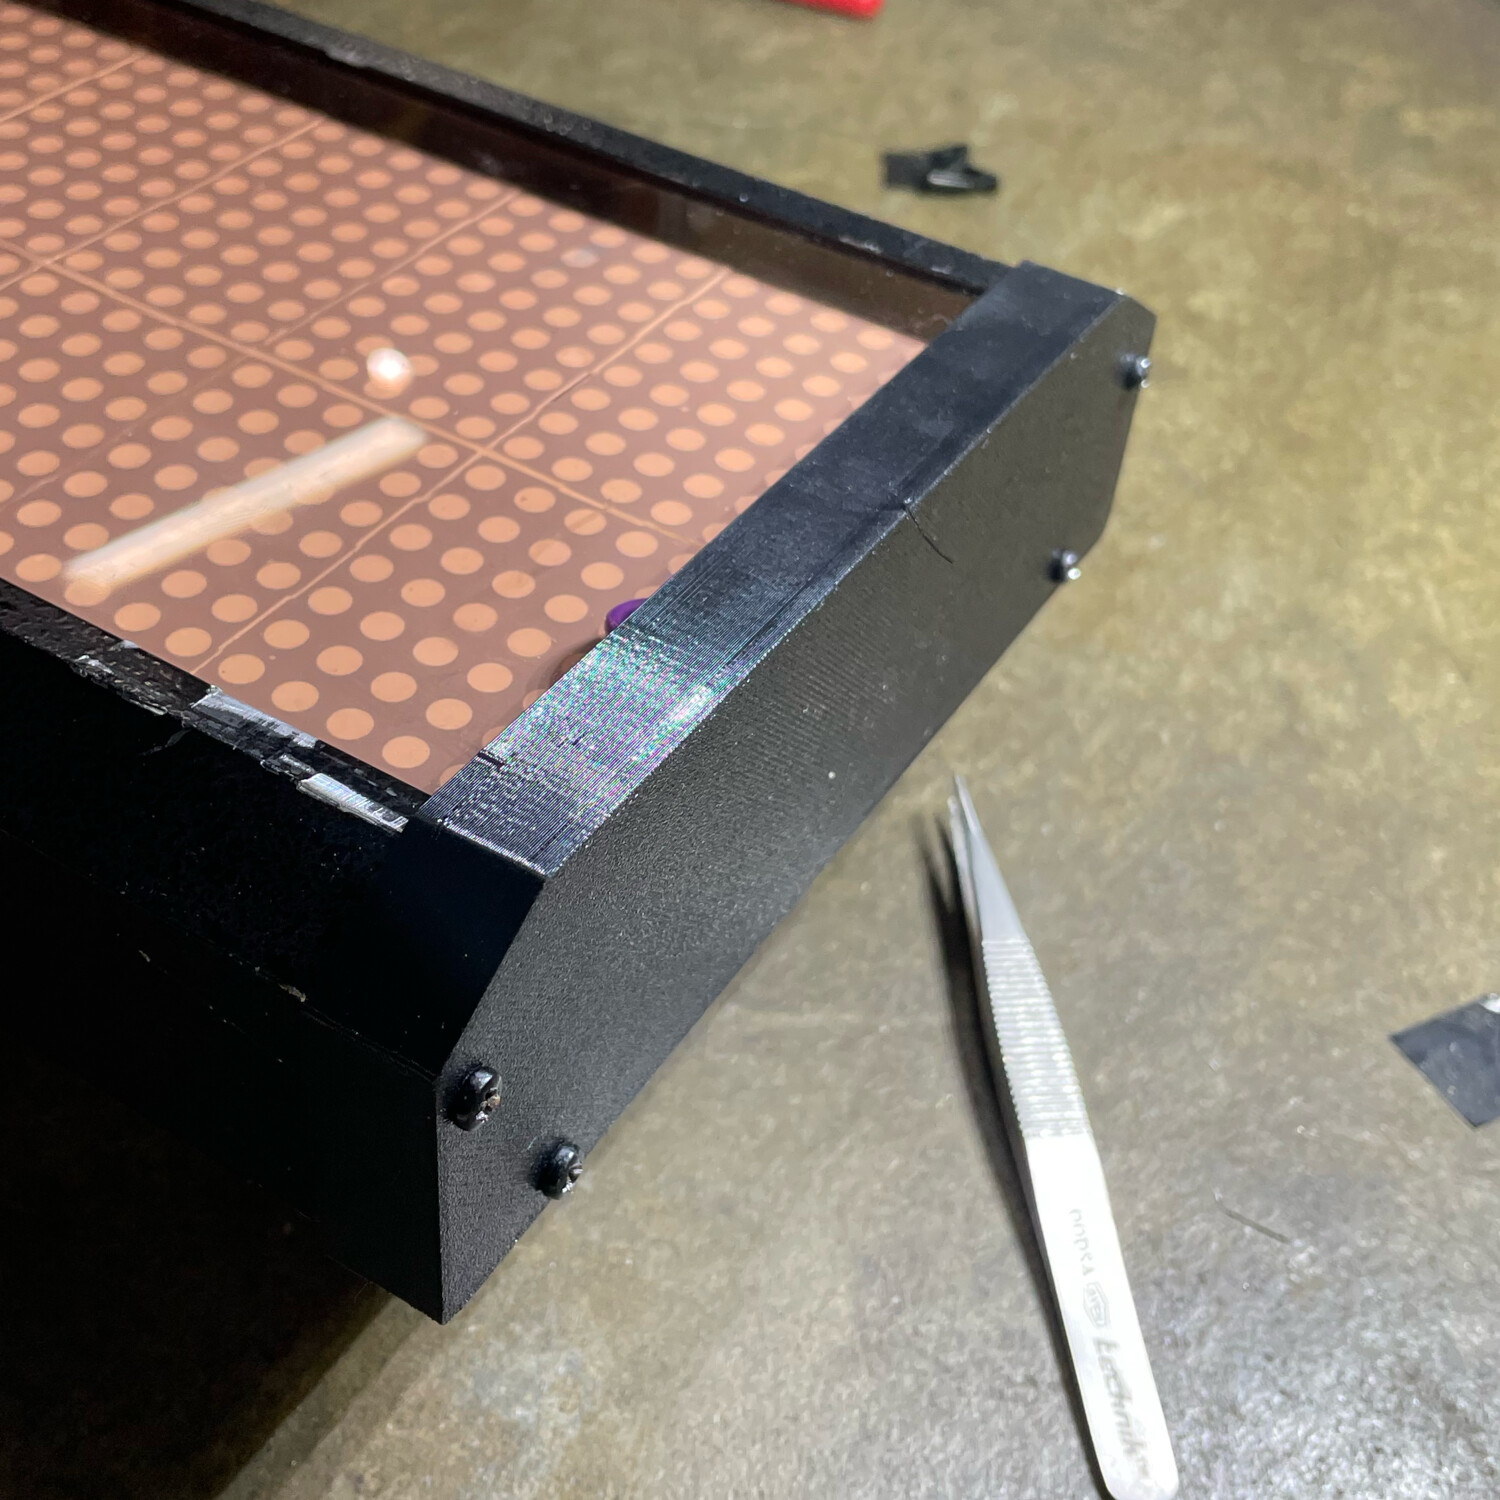
  • An accident broke one of these plastic end caps of the aluminum enclosure, 3D printers are awesome - I had a new one in a few hours.
    An accident broke one of these plastic end caps of the aluminum enclosure, 3D printers are awesome - I had a new one in a few hours.
  • The 3D printed cap fit nicely.
    The 3D printed cap fit nicely.
  • A umberella was swapped out for the LED screen during the day. Was an incredible place to take a quick break - at times, it felt like a seat at a movie theater.
    A umberella was swapped out for the LED screen during the day. Was an incredible place to take a quick break - at times, it felt like a seat at a movie theater.

Big Functional Stage Prop

I consider myself extremely blessed to be surrounded by incredible friends who do some really extraordinary things. One such friend decided to put on a production of Sartre’s No Exit. I had never built any sort of stage prop before, but I’m never one to turn down a challenge, so I offered my help! In the span of a few weeks I constructed this functional, free-standing door flat.

Project Included
  • Negotiating the design parameters using illustrations and communication with the client my friend
  • Design and 3D model of the entire structure
  • Sourcing of all components (steel, wood, reclaimed door, vintage door hardware, etc.)
  • The entire construction (most everything but the final coat of paint!)
  • A literal walkthrough of the almost-final prop!
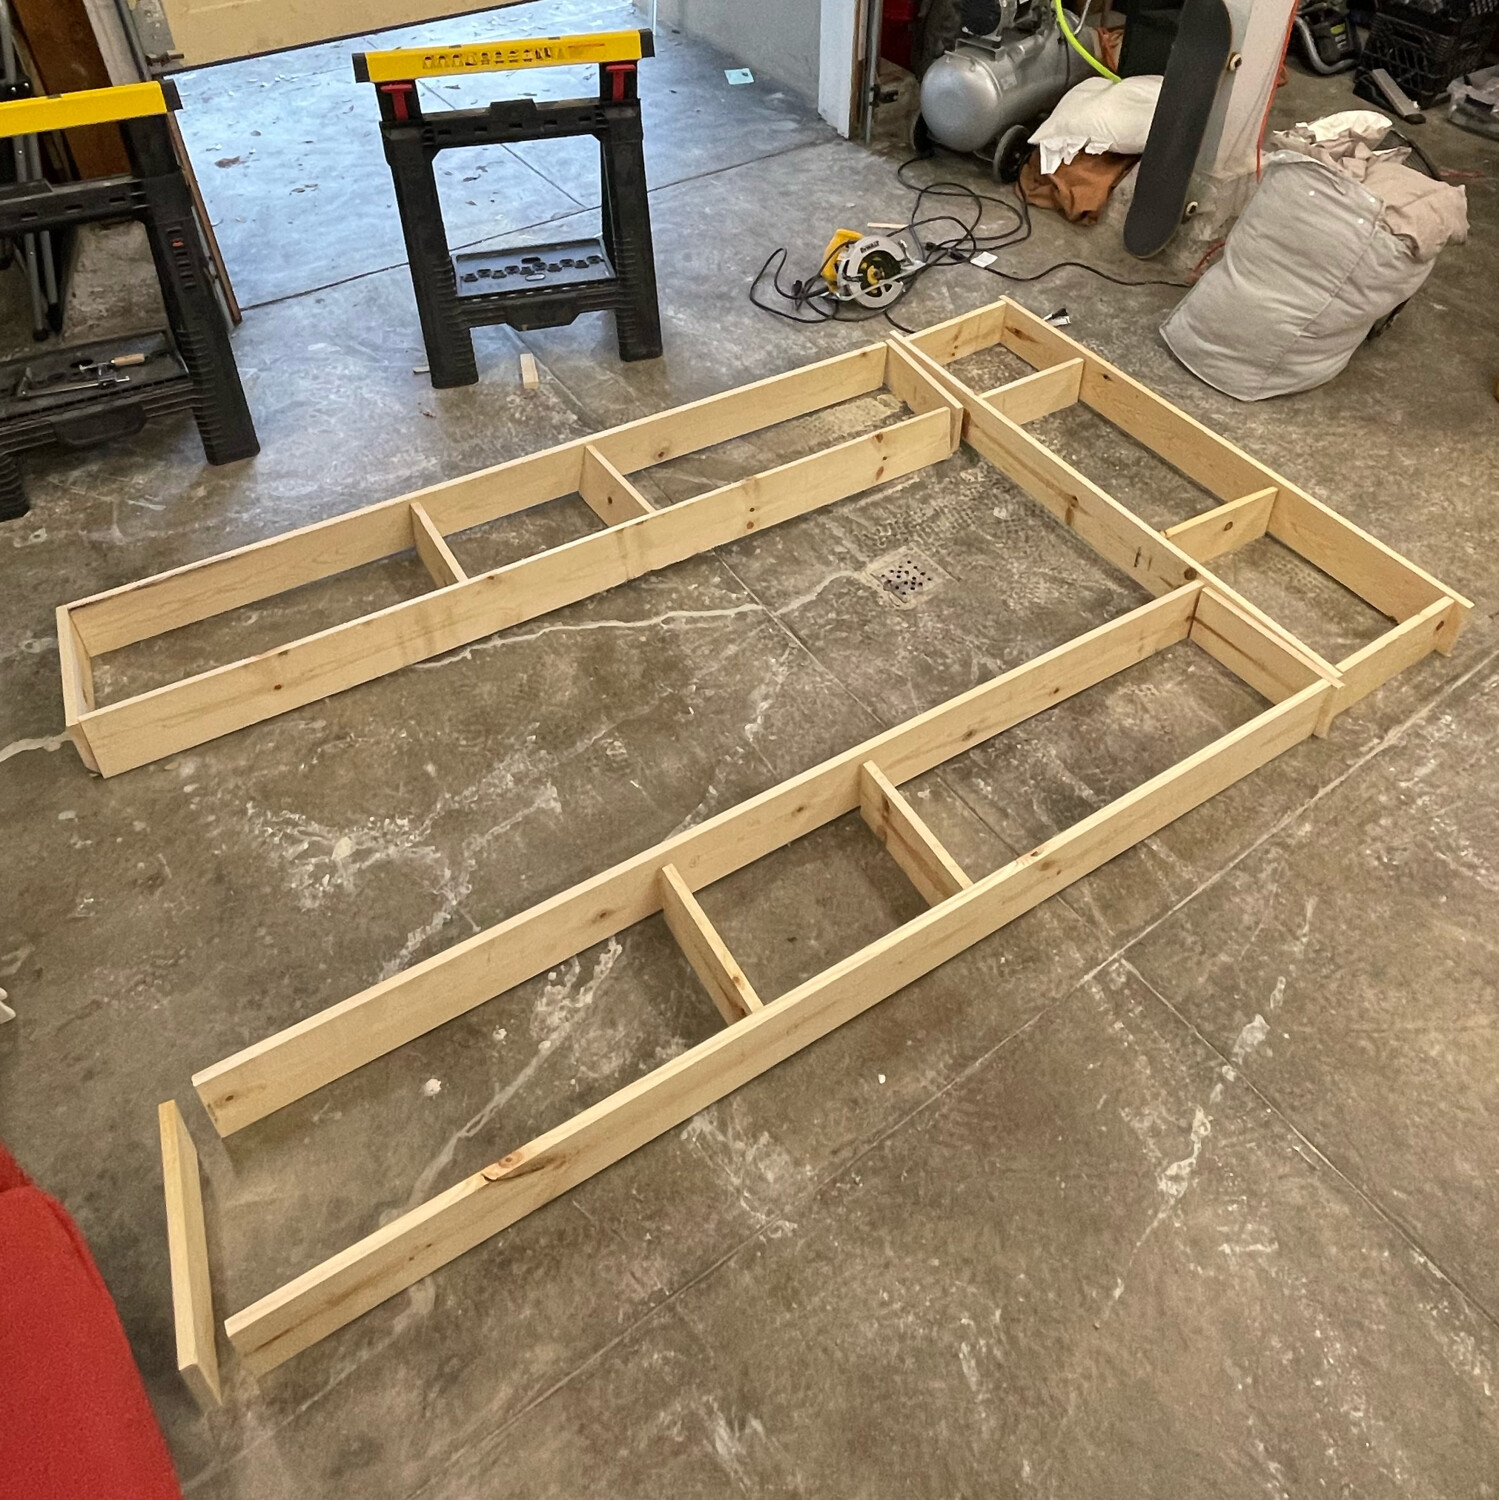
  • The initial pieces of the framing about to come together.
    The initial pieces of the framing about to come together.
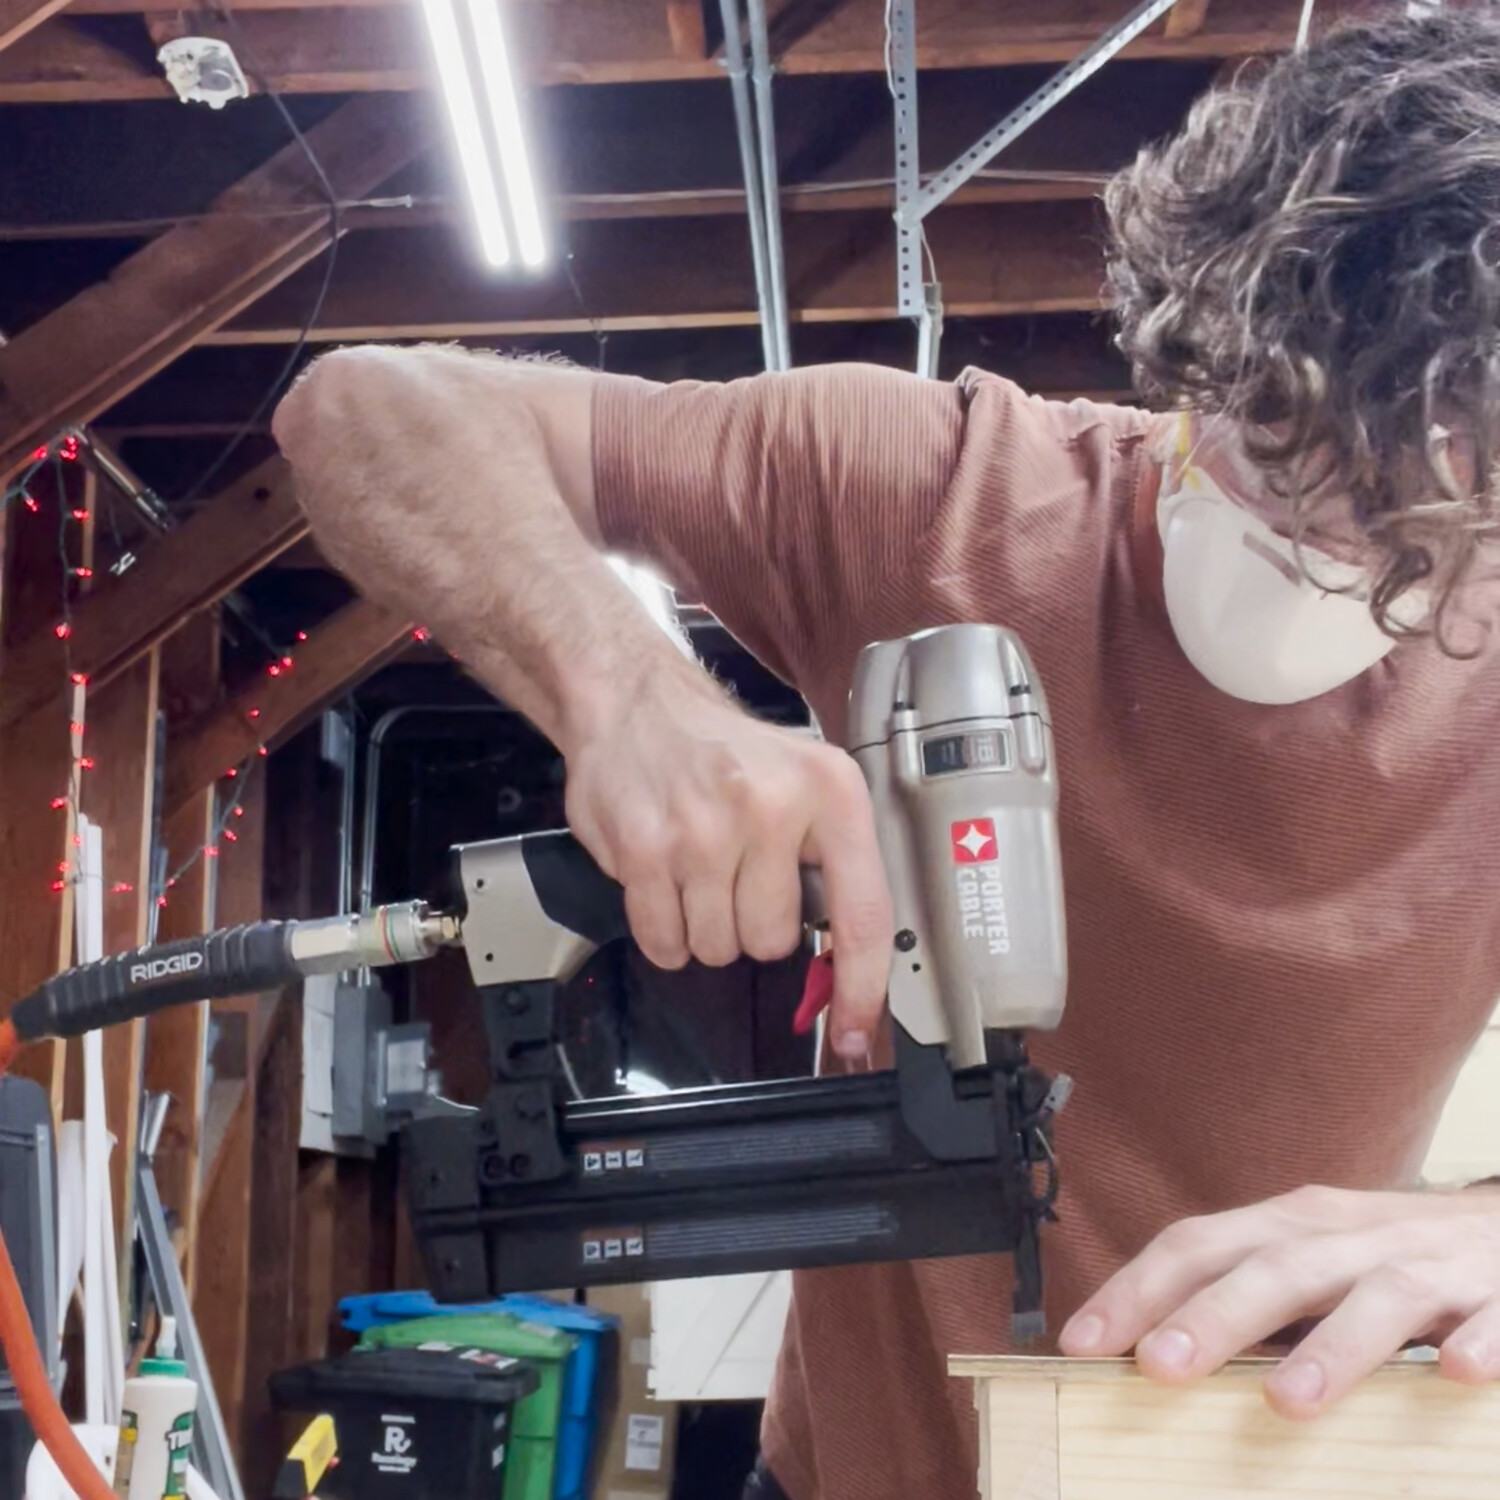
  • <em>Action shot</em>: I got to buy a nailgun to make this, which was very exciting.
    Action shot: I got to buy a nailgun to make this, which was very exciting.
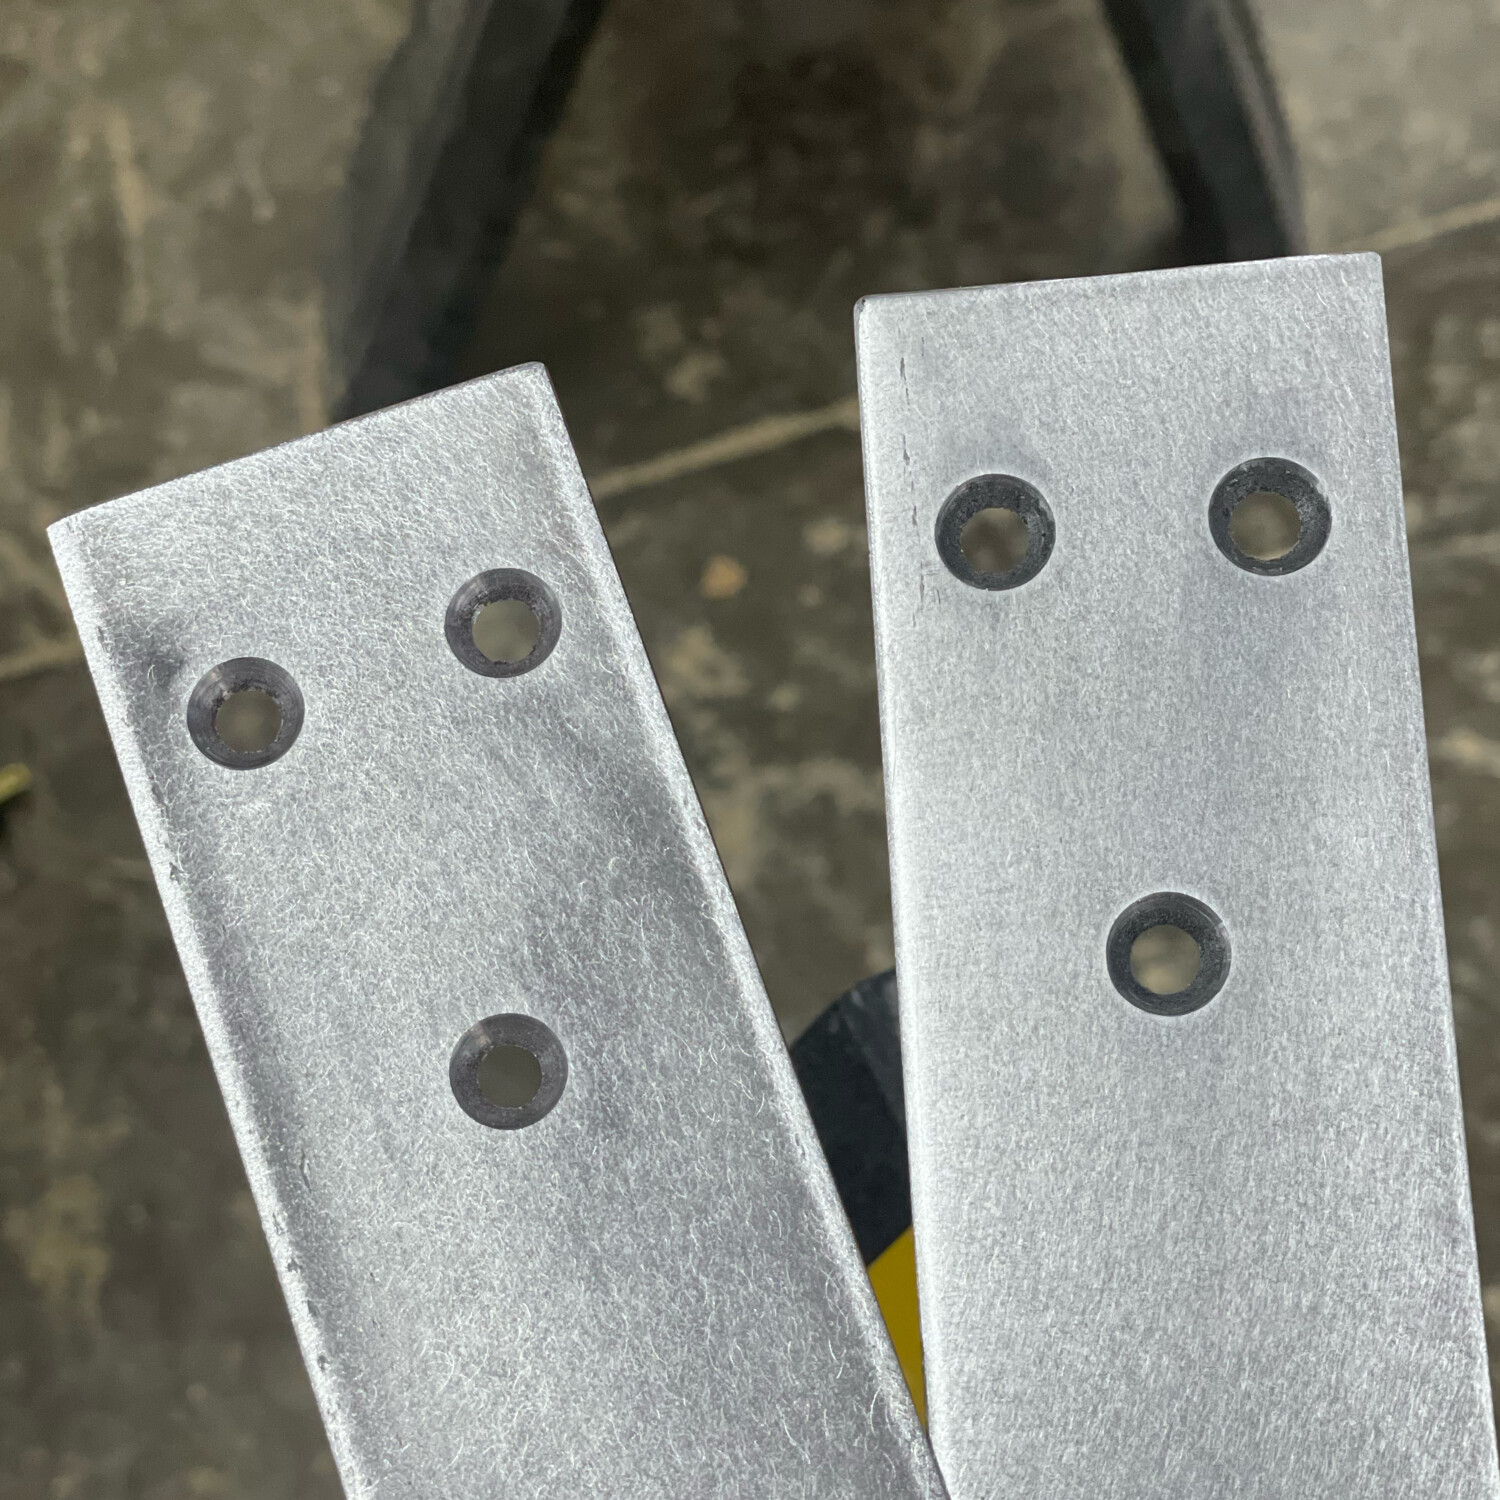
  • I wanted there to be almost no trip hazard to the actors, so the bottom structural members of the framing are 1/8" steel strips. Don't they remind you of the 😮 emoji?
    I wanted there to be almost no trip hazard to the actors, so the bottom structural members of the framing are 1/8" steel strips. Don't they remind you of the 😮 emoji?
  • My friend Ben came over to inspect the process.
    My friend Ben came over to inspect the process.
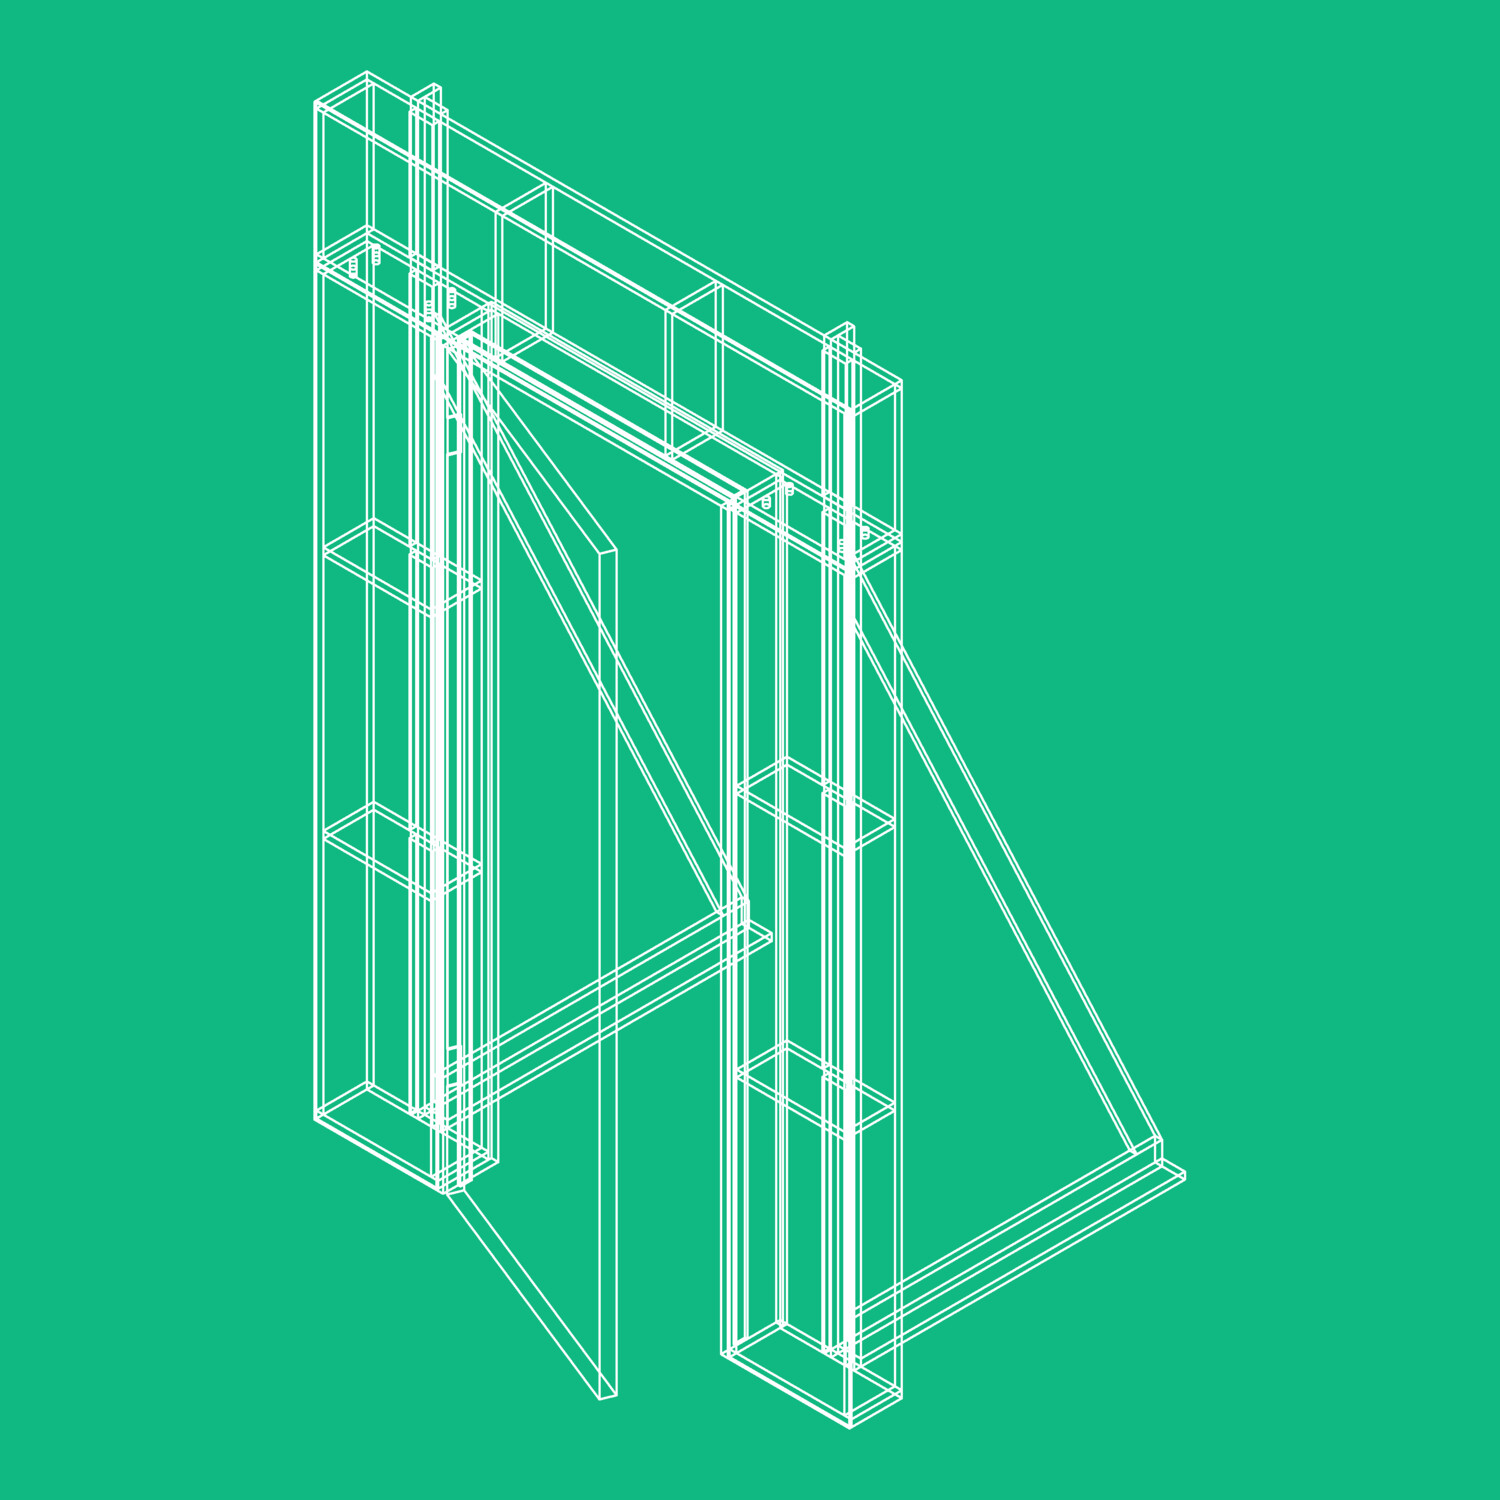
  • I modeled most of the door in Fusion 360 before starting the construction. This got my ideas straight and made it easier to calculate how much lumber to buy.
    I modeled most of the door in Fusion 360 before starting the construction. This got my ideas straight and made it easier to calculate how much lumber to buy.
  • I learned that it's very important for stage props to be void of sharp edges! I used a roundover bit on my palm router on every edge and sanded most surfaces of the structure.
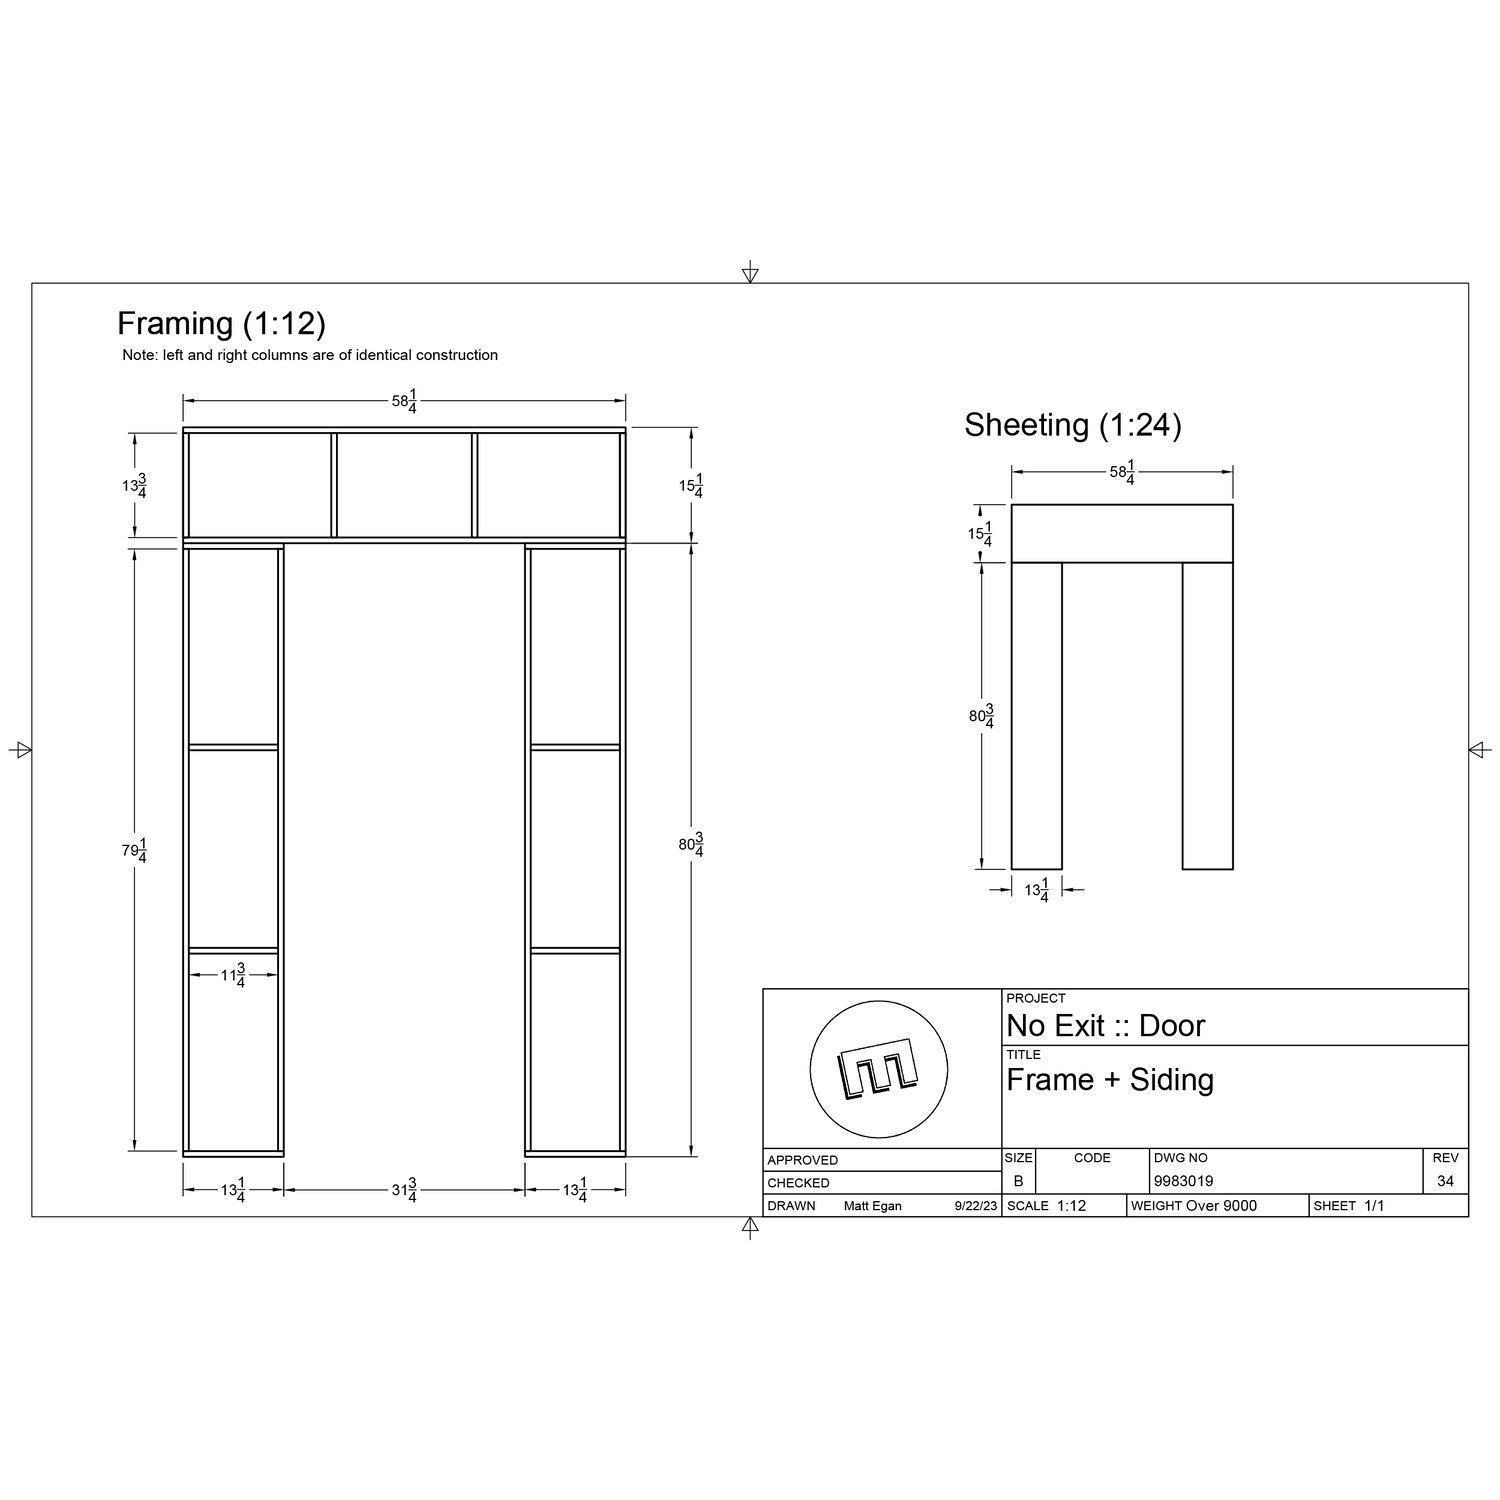
  • 2D drawing of the framing and sheeting.
    2D drawing of the framing and sheeting.

Muni-Screen

In 2021, I started riding the Muni N-Judah downtown almost every day. I found myself checking my phone each morning while getting ready to see the departure times, and wanted something more accessible. I threw together this little "screen in a box" with an ESP32 I had laying around and have been using it ever since. It even alerts me when street cleaning is imminent!

Project Included
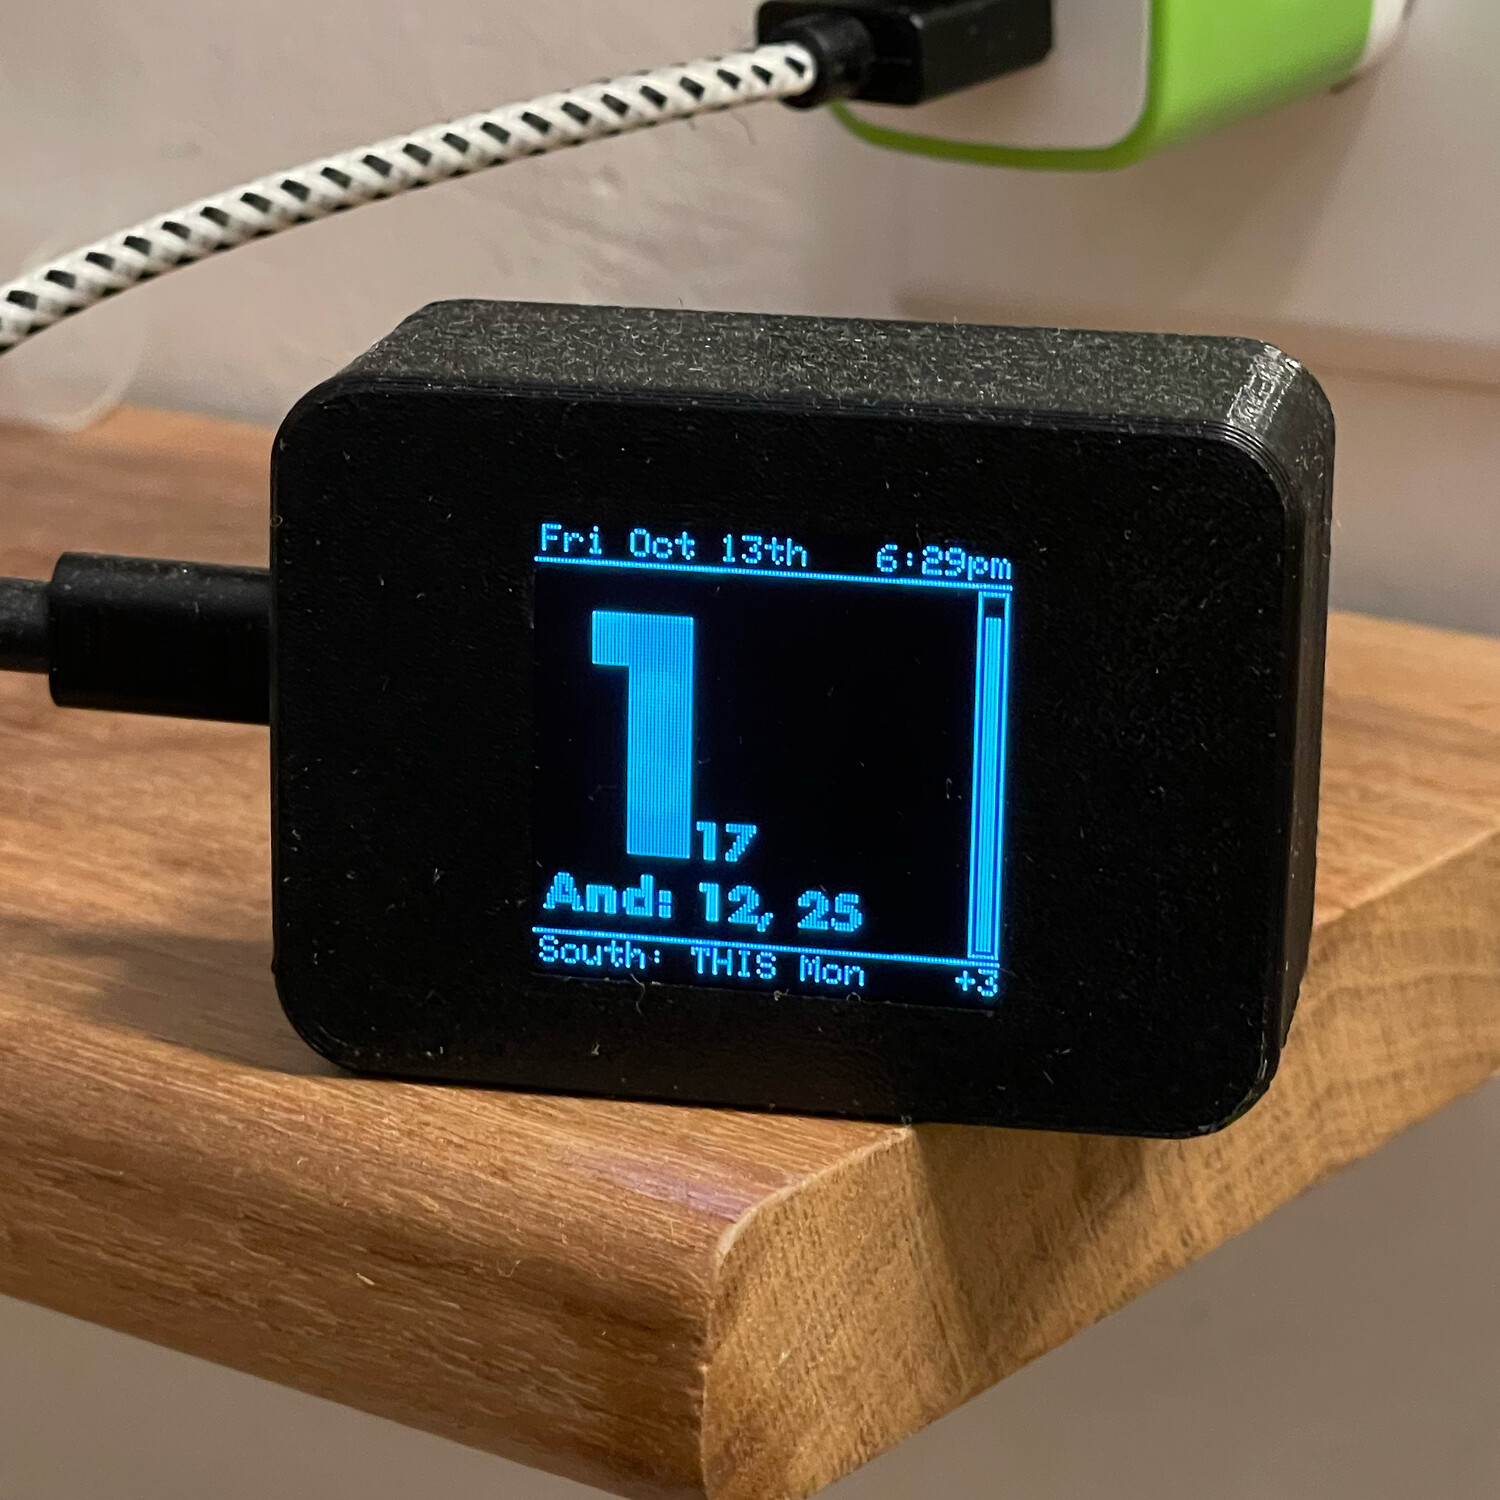
  • Creating a gateway for the the 511.org API to enable easier access to train arrival times from embedded firmware
  • Writing ESP32 firmware in C++ which retrieves estimated arrivals via WiFi, calculates upcoming street cleaning days, and displays the information in a clean and readable UI
  • Designing, 3D printing and assembling an acceptable enclosure for the device
  • Shows the times of the next three train departures and information about upcoming street cleaning.
    Shows the times of the next three train departures and information about upcoming street cleaning.
  • Updates are via Wi-Fi every 60 seconds. Street cleaning alerts are more loud when cleaning is imminent.
  • The unit is a simple construction of an OLED display and ESP32 inside a 3D printed enclosure.
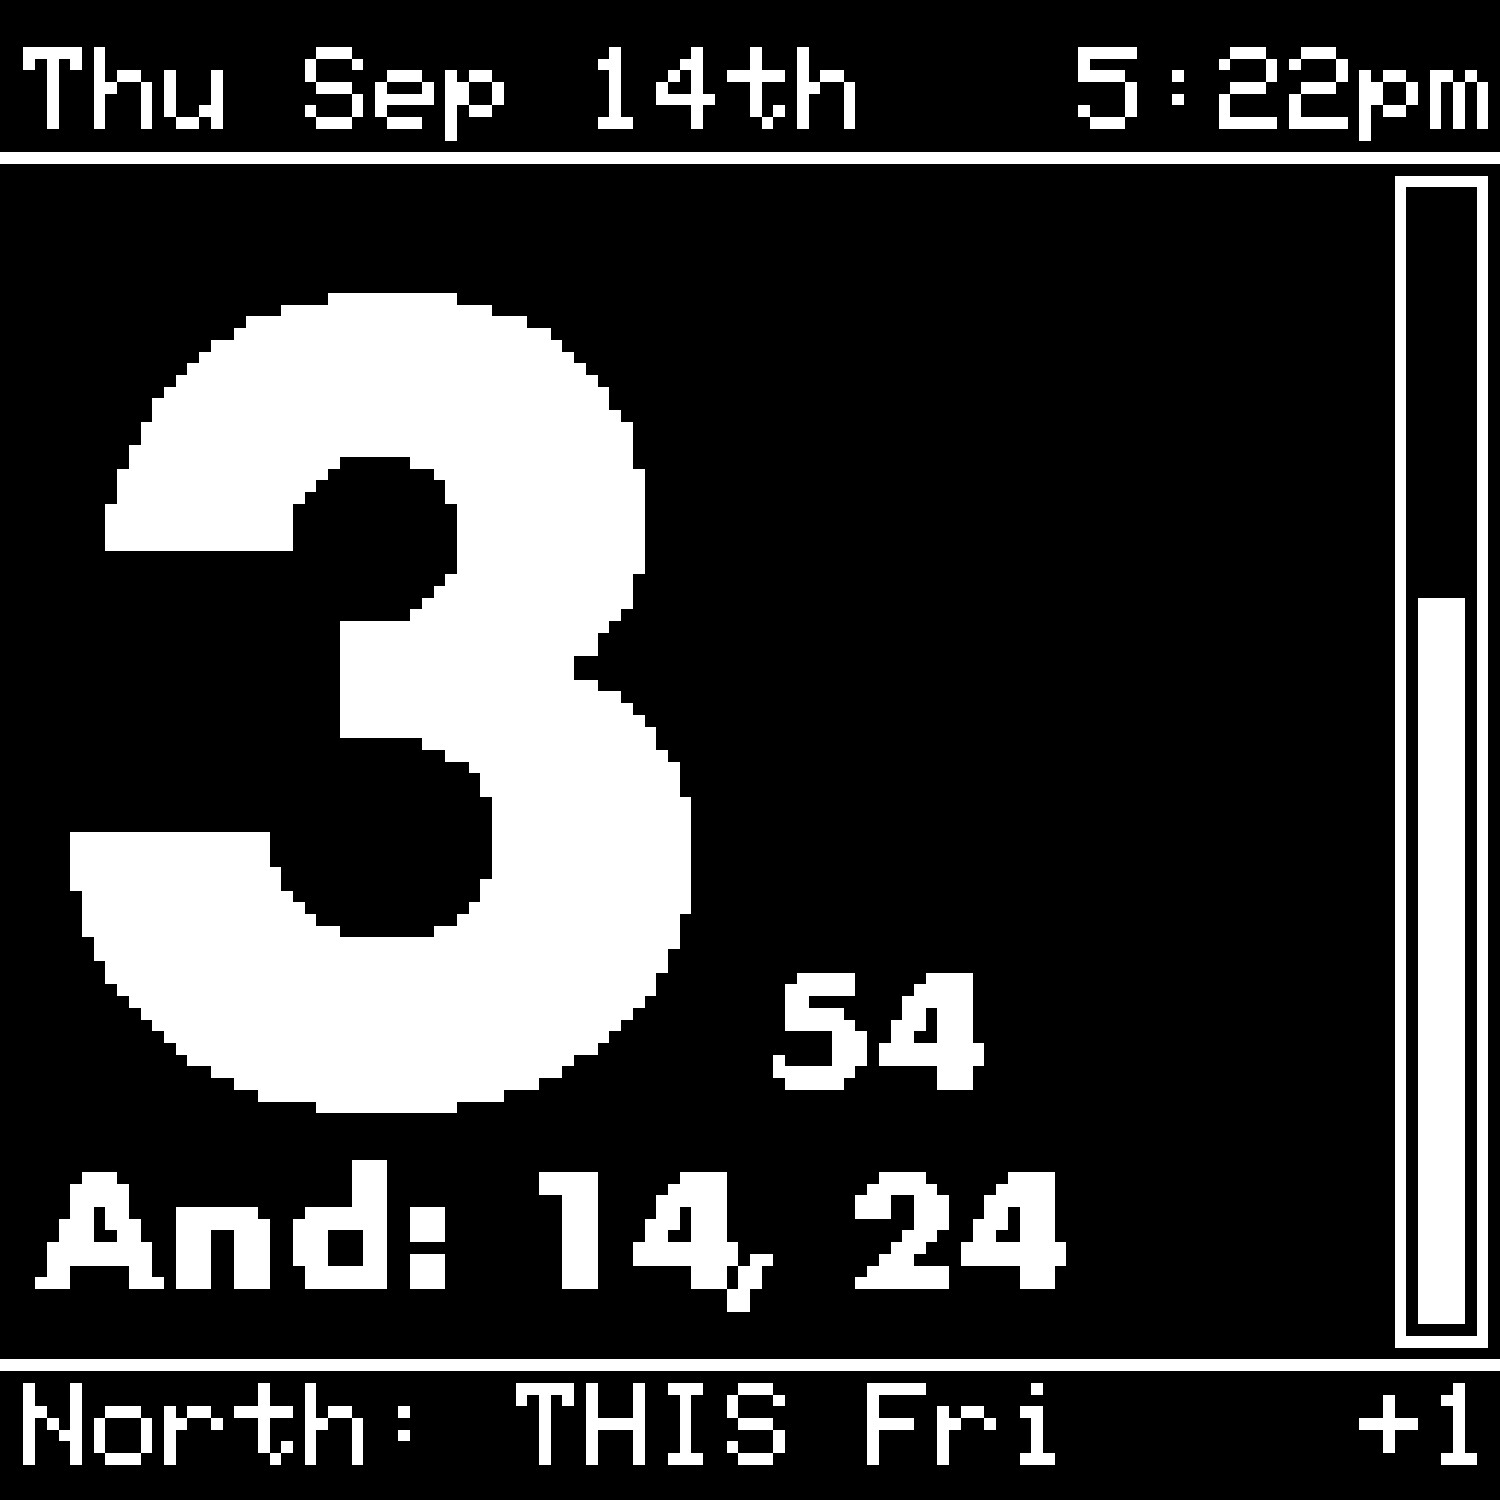
  • An (actual) screenshot of the display, read off the device via UART.
    An (actual) screenshot of the display, read off the device via UART.

Bass Guitar Preamp Fix

My bass guitar had been starting to get flaky. When a new battery and new 1/4" jack didn’t solve the problem, I took the opportunity to dig a little deeper into the circuits inside the bass.

Project Included
  • "Reverse engineering" the PCB and forming a netlist and schematic drawing, complete with component values
  • Finding the issue! - while tracing the netlist, I found that one net was isolated from all the others, which was the flaky connection that was causing the problem
  • Construction of LTSpice simulation of tone shaping circuits (just for fun)
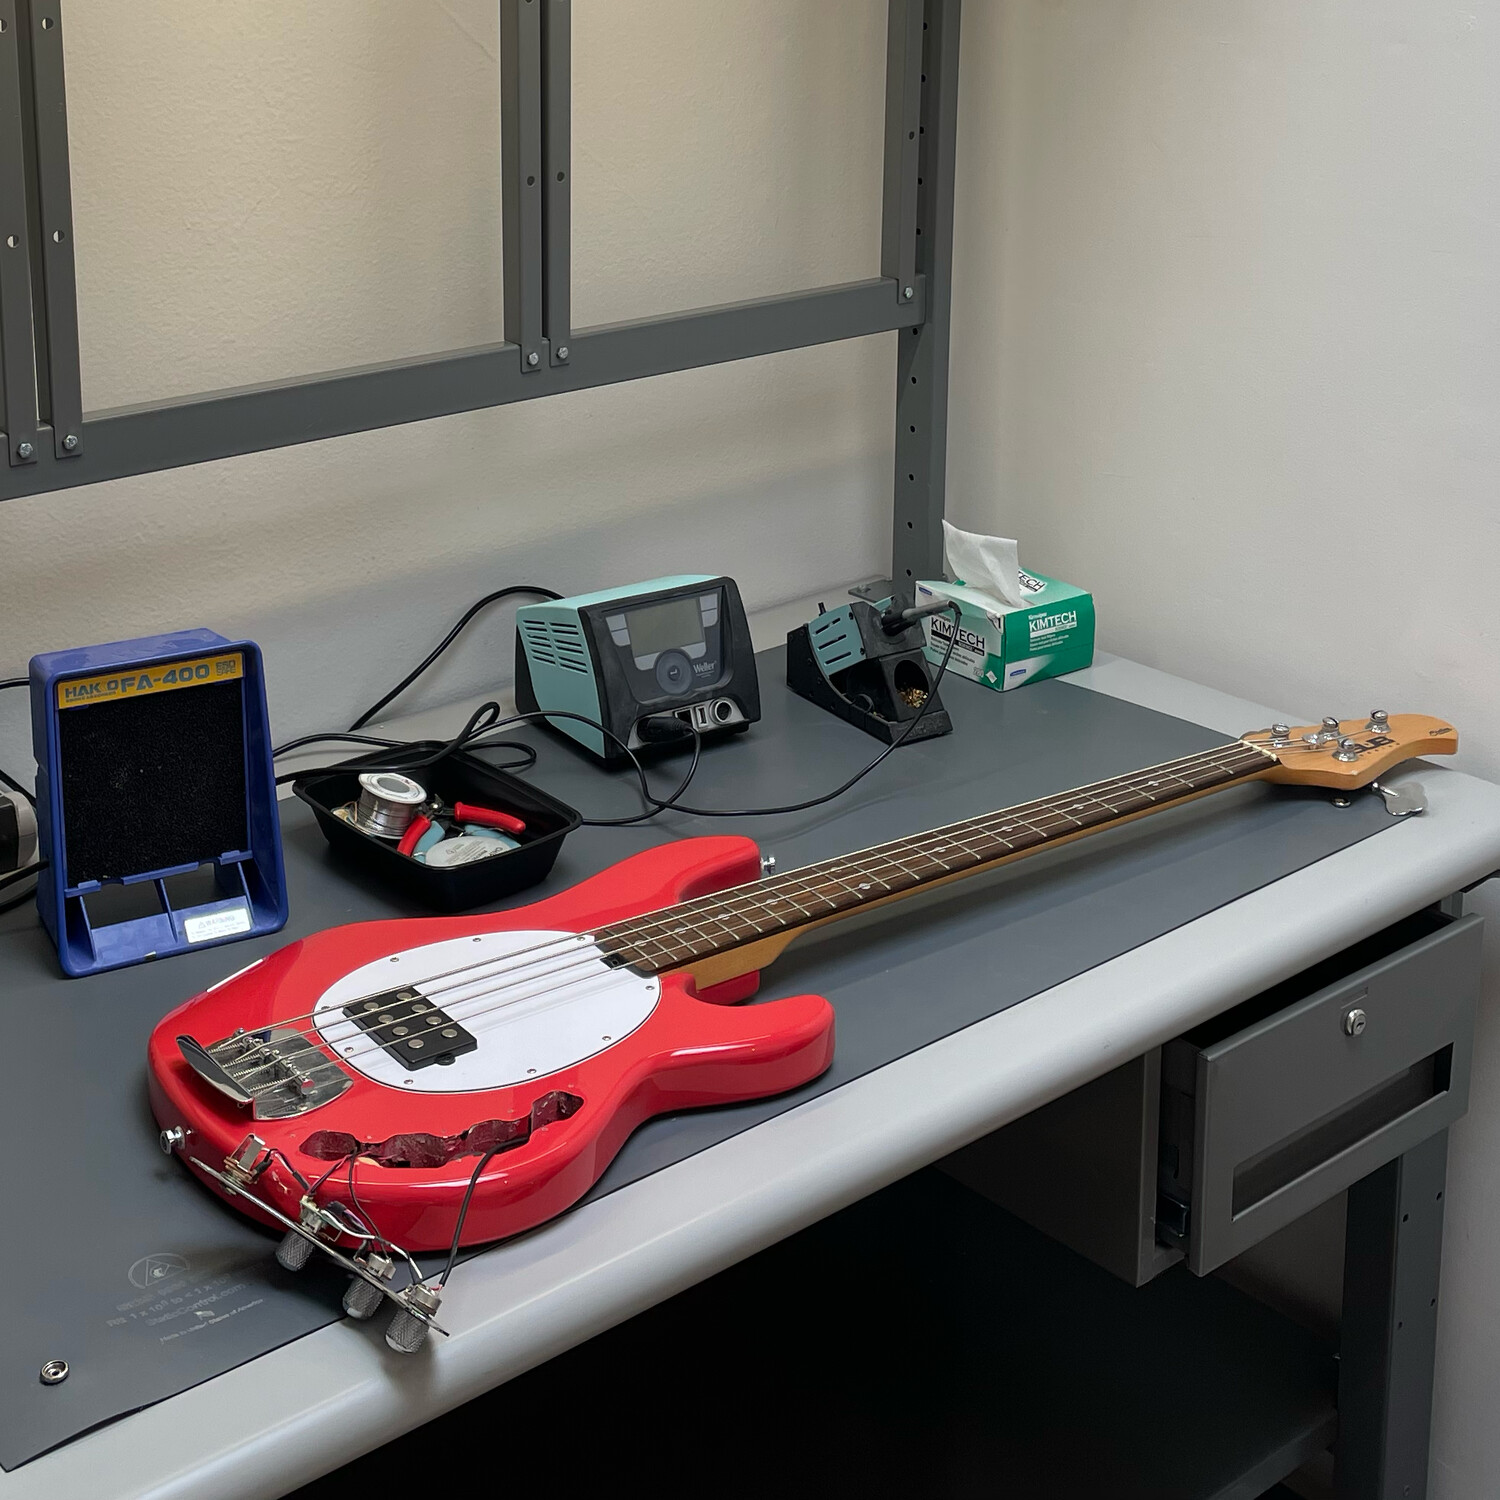
  • The bass on my kitchen lab bench, waiting to be fixed!
    The bass on my kitchen lab bench, waiting to be fixed!
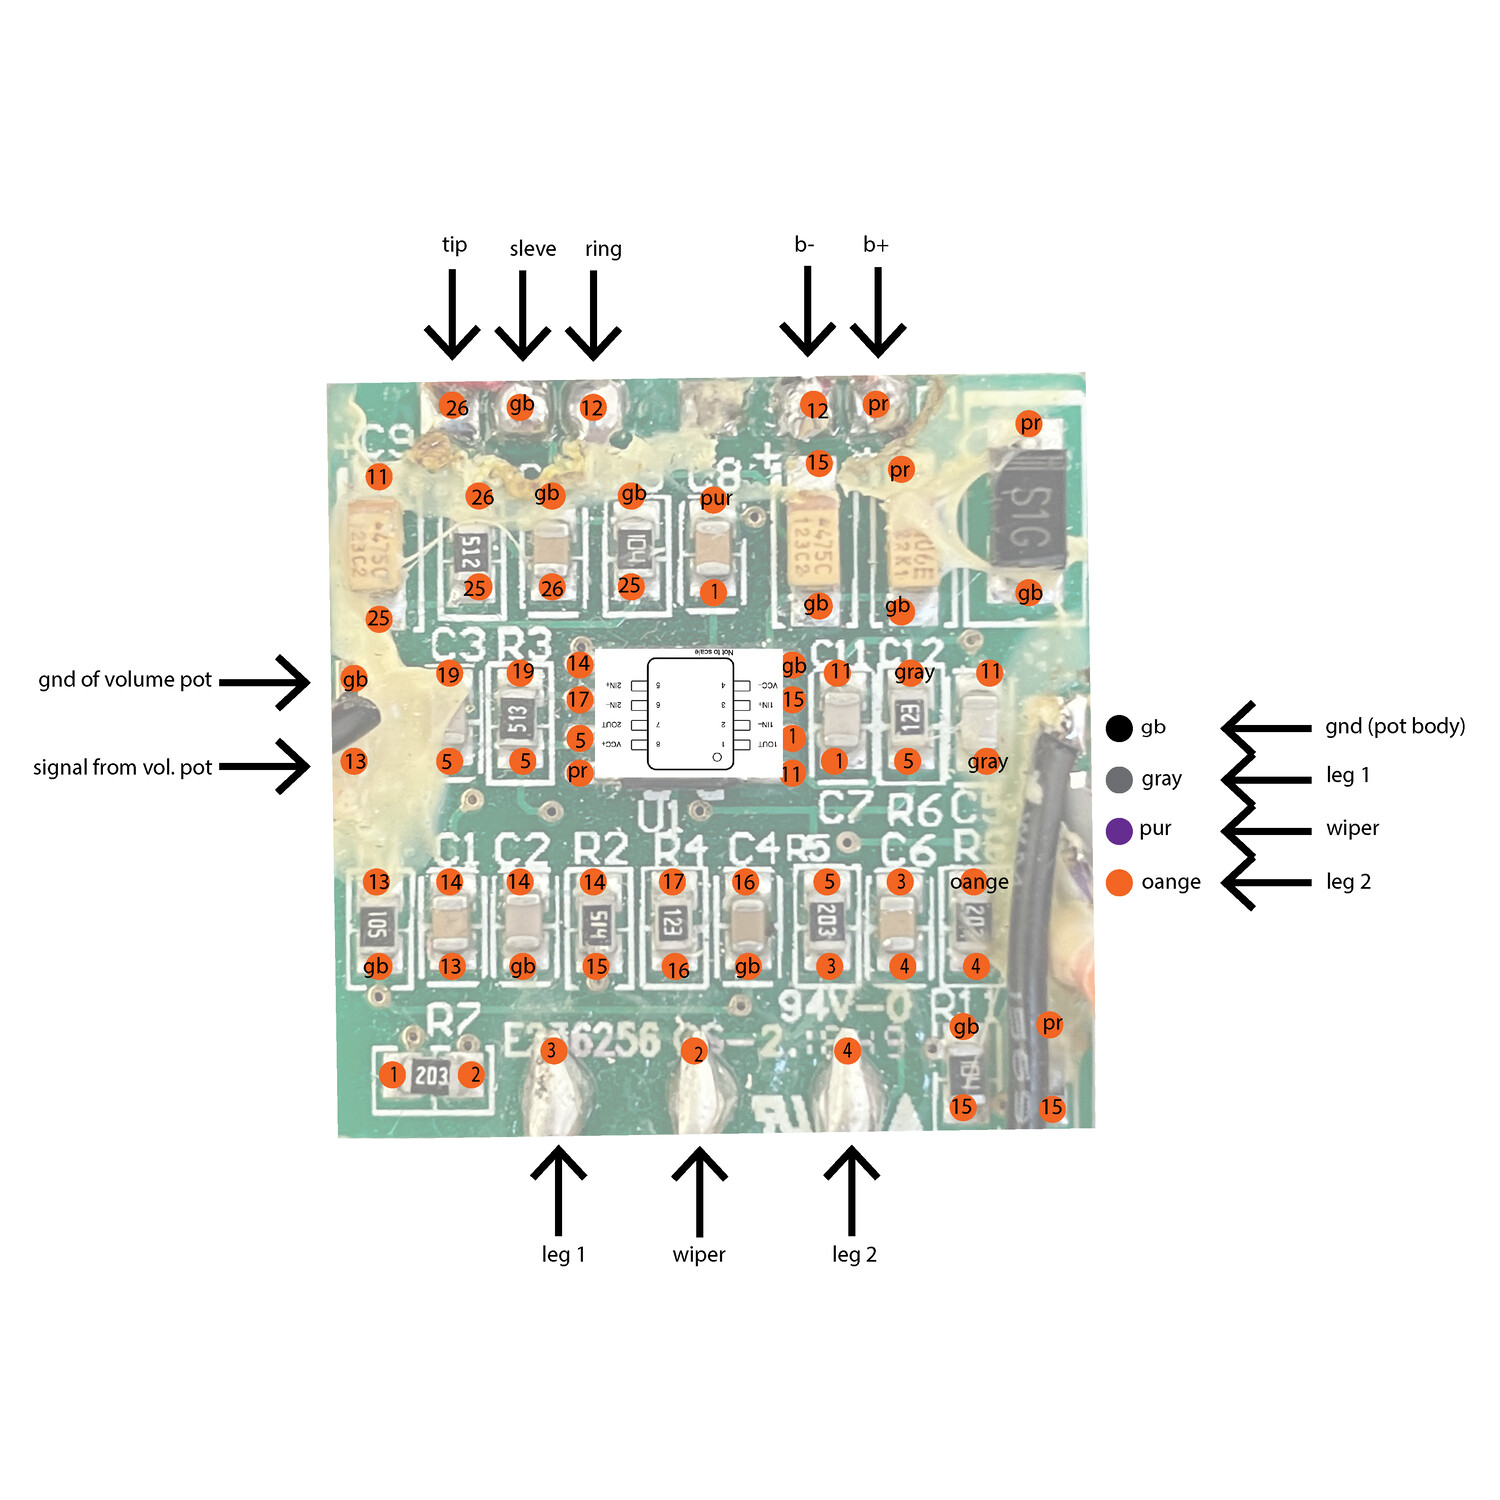
  • This is the preamp PCB. I made this diagram while "beeping out" the circuit. This is how I kept track of which components connected to other components.
    This is the preamp PCB. I made this diagram while "beeping out" the circuit. This is how I kept track of which components connected to other components.
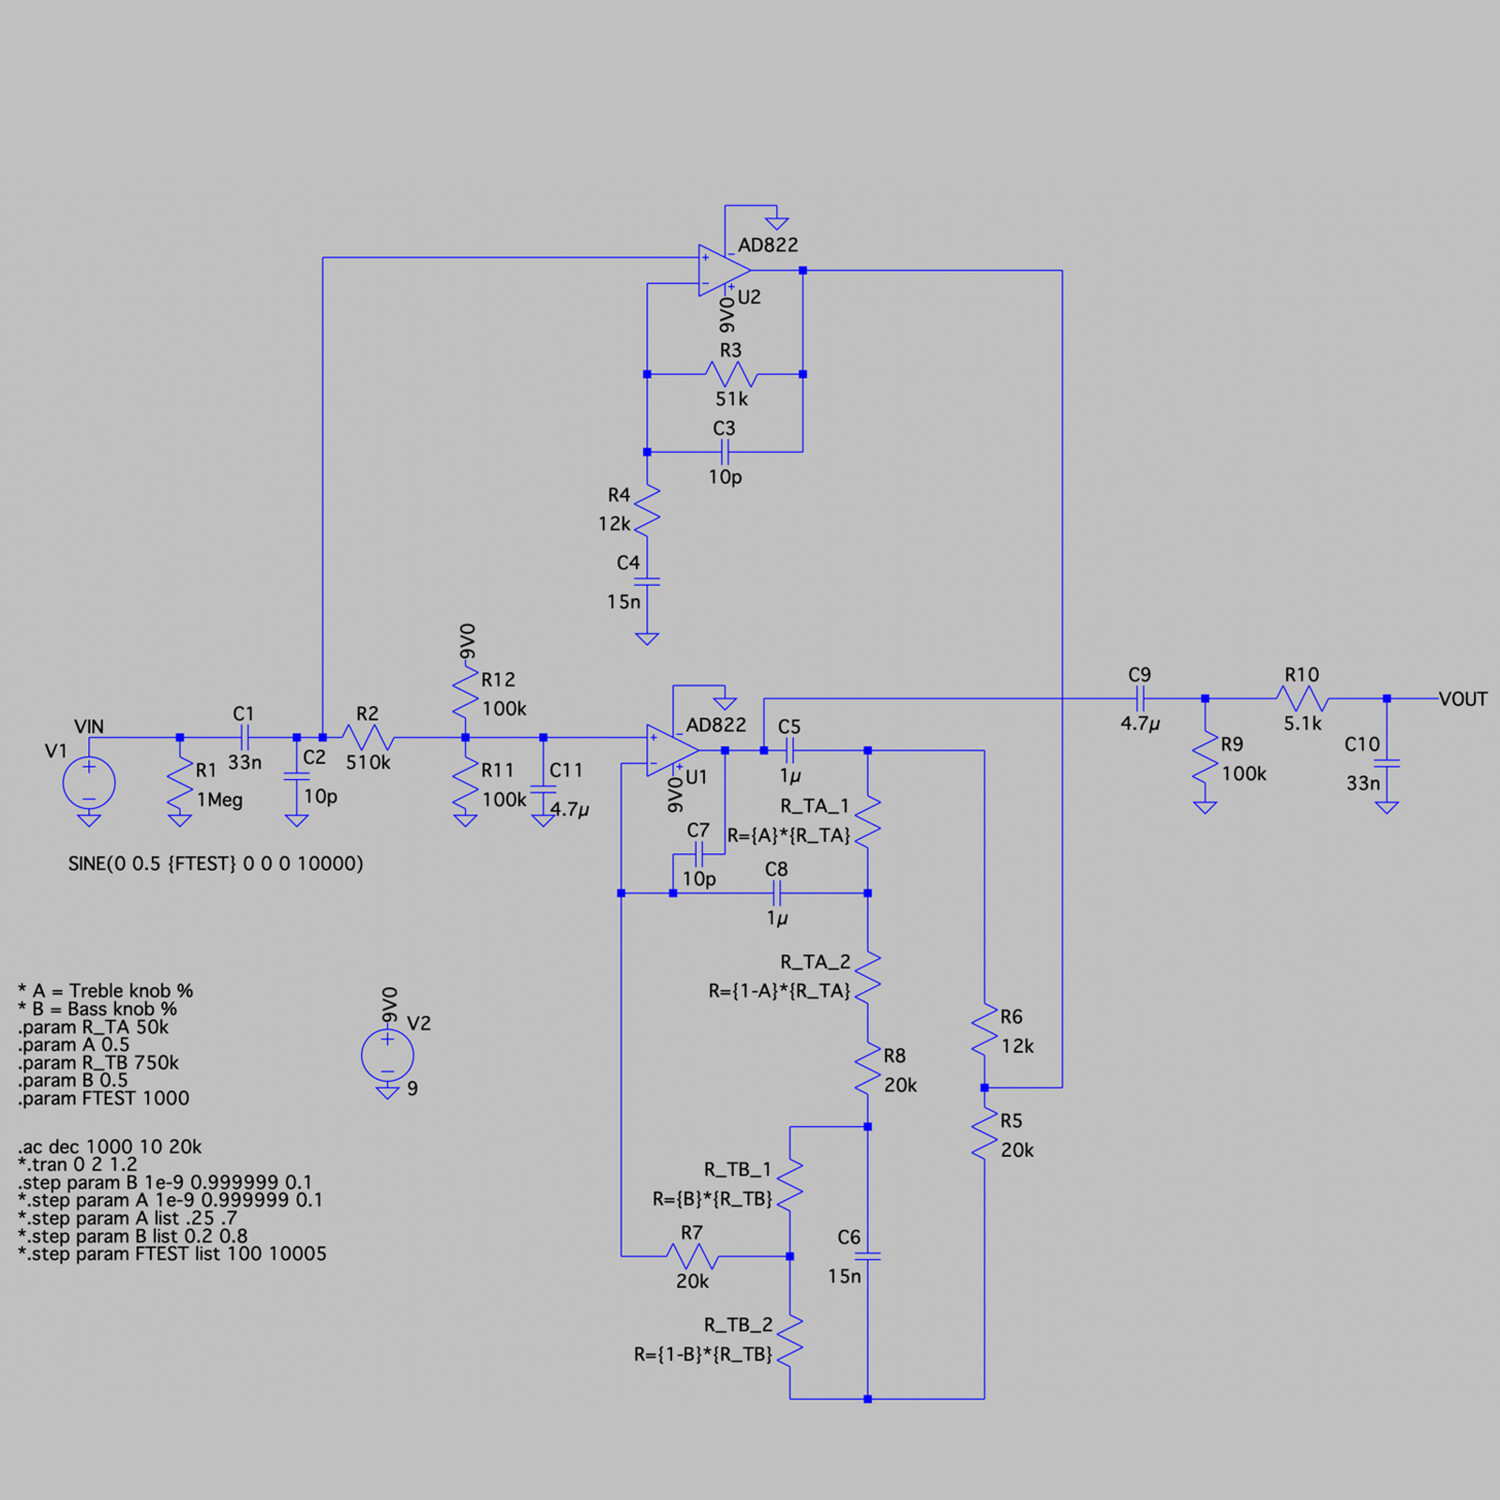
  • This is a functioning simulation of the preamp / tone shaping circuit! The two tone knob positions are represented by variables A and B, which vary from 0 to 1.
    This is a functioning simulation of the preamp / tone shaping circuit! The two tone knob positions are represented by variables A and B, which vary from 0 to 1.
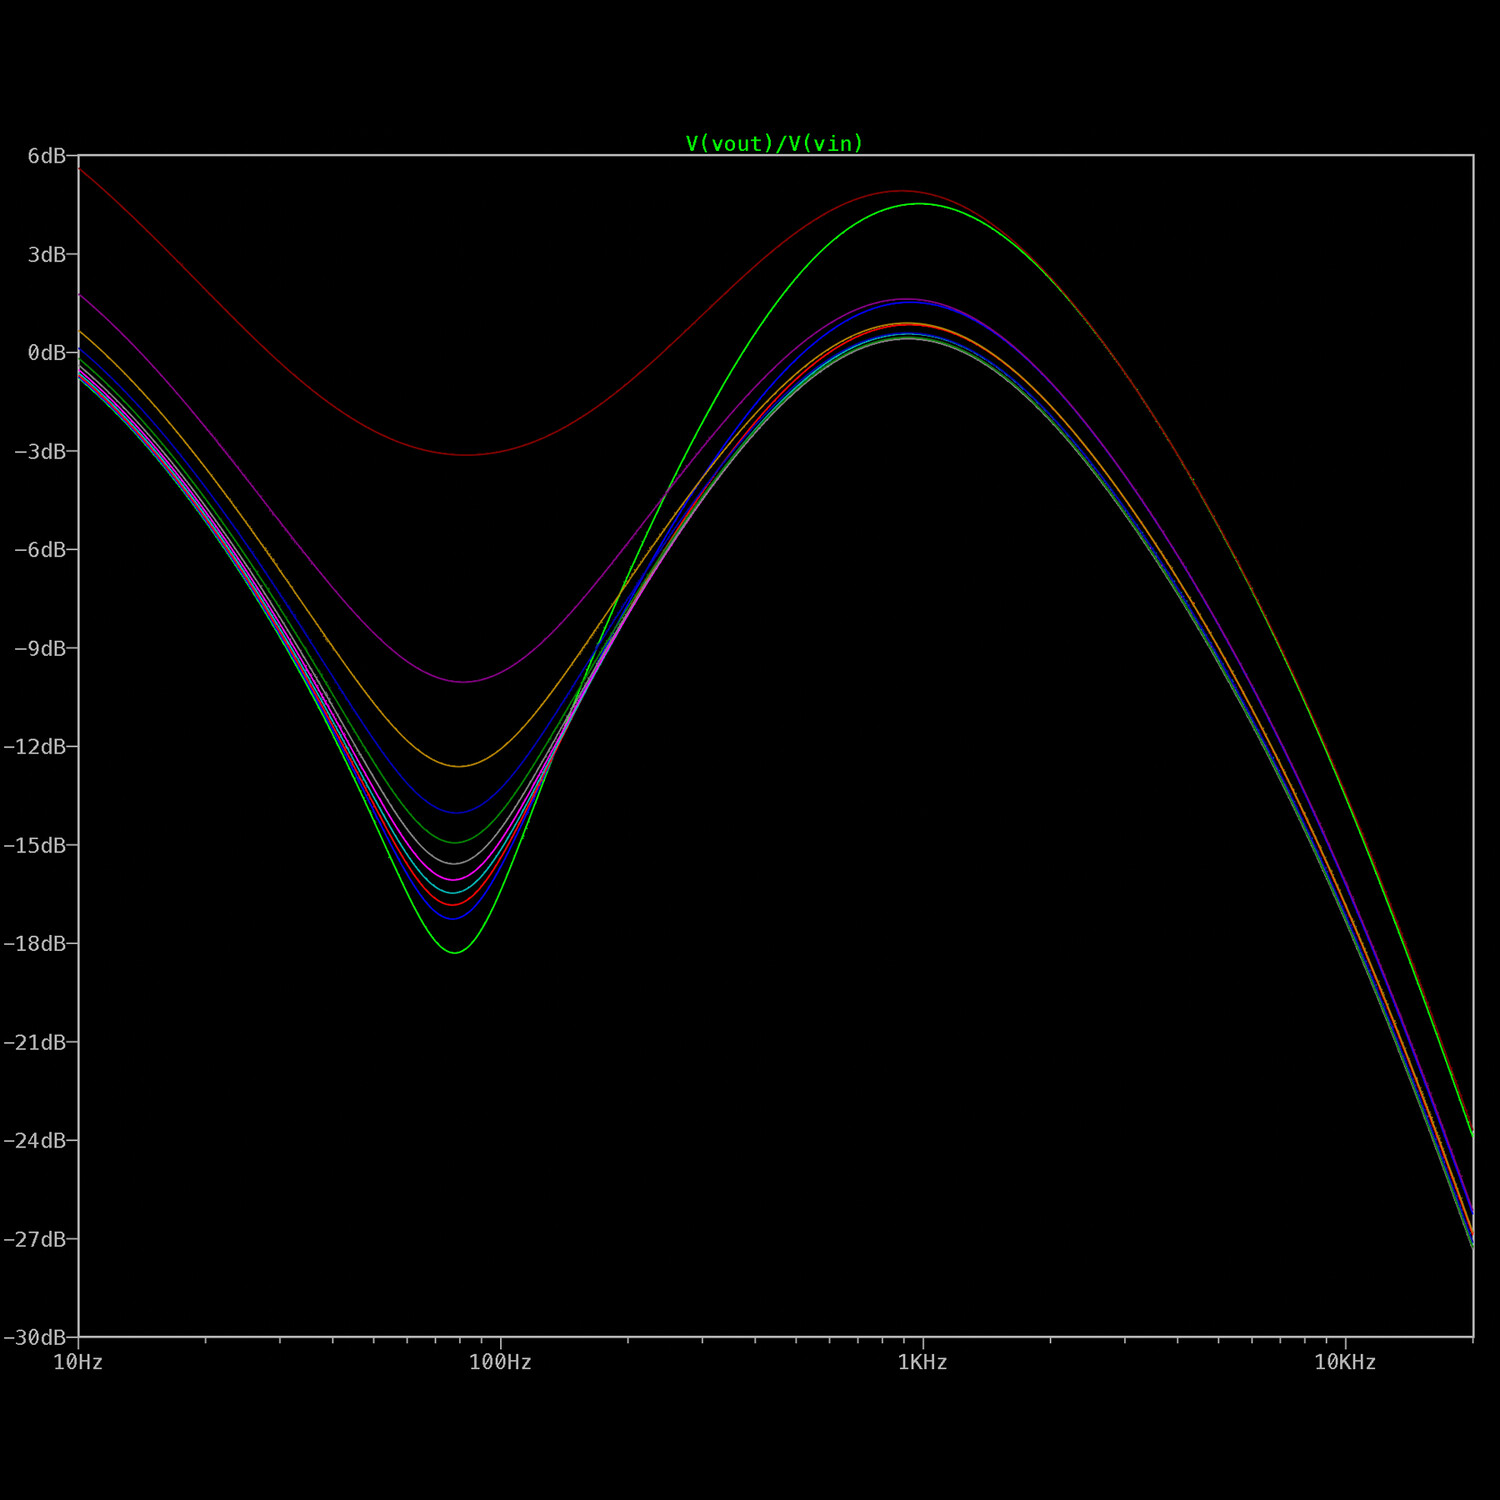
  • The simulated frequency response when the <em>bass</em> tone knob is varied from 0% to 100% rotation. A the stop-band center is around 80Hz.
    The simulated frequency response when the bass tone knob is varied from 0% to 100% rotation. A the stop-band center is around 80Hz.
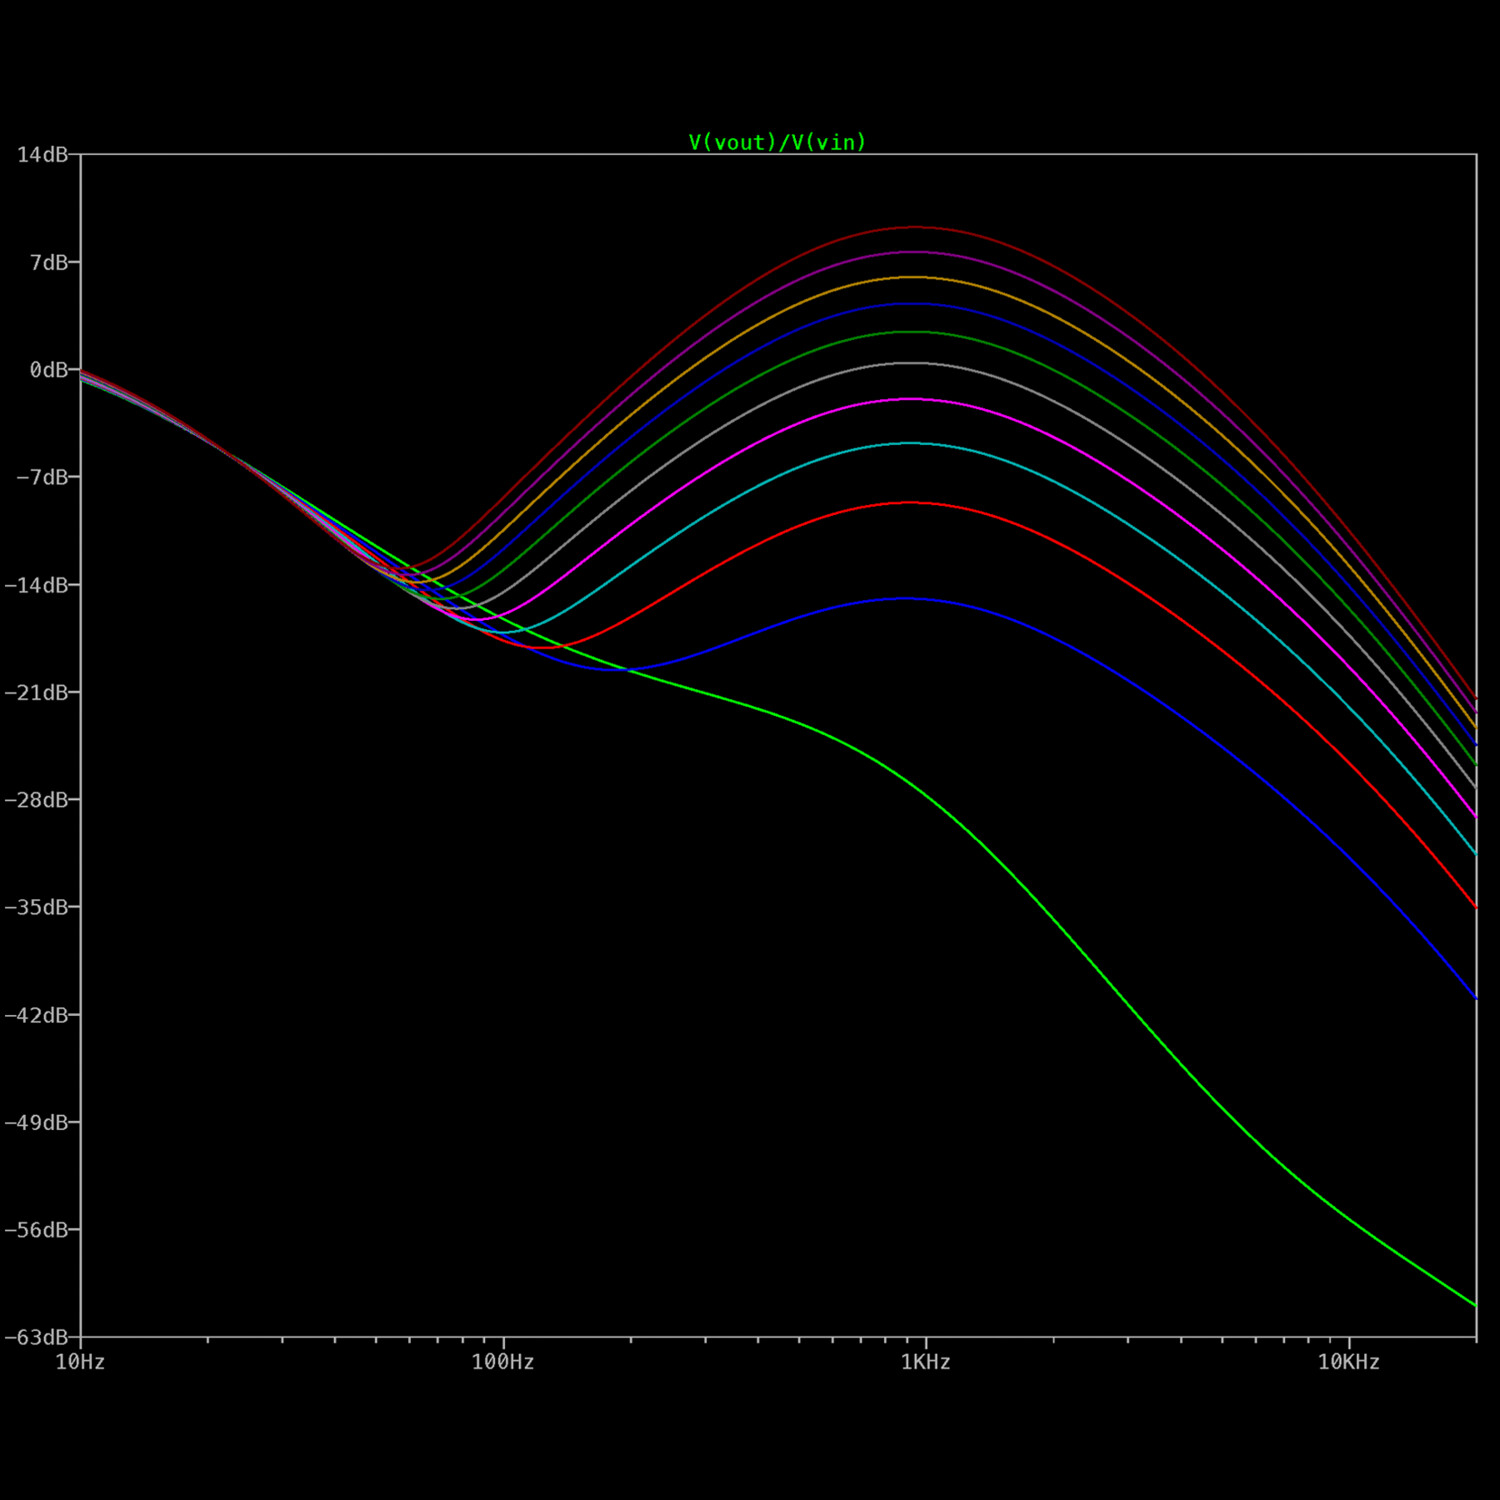
  • The simulated frequency response when the <em>treble</em> tone knob is varied from 0% to 100% rotation. The treble knob boosts or cuts a band centered around 1KHz.
    The simulated frequency response when the treble tone knob is varied from 0% to 100% rotation. The treble knob boosts or cuts a band centered around 1KHz.

Swanky Swamp Cooler

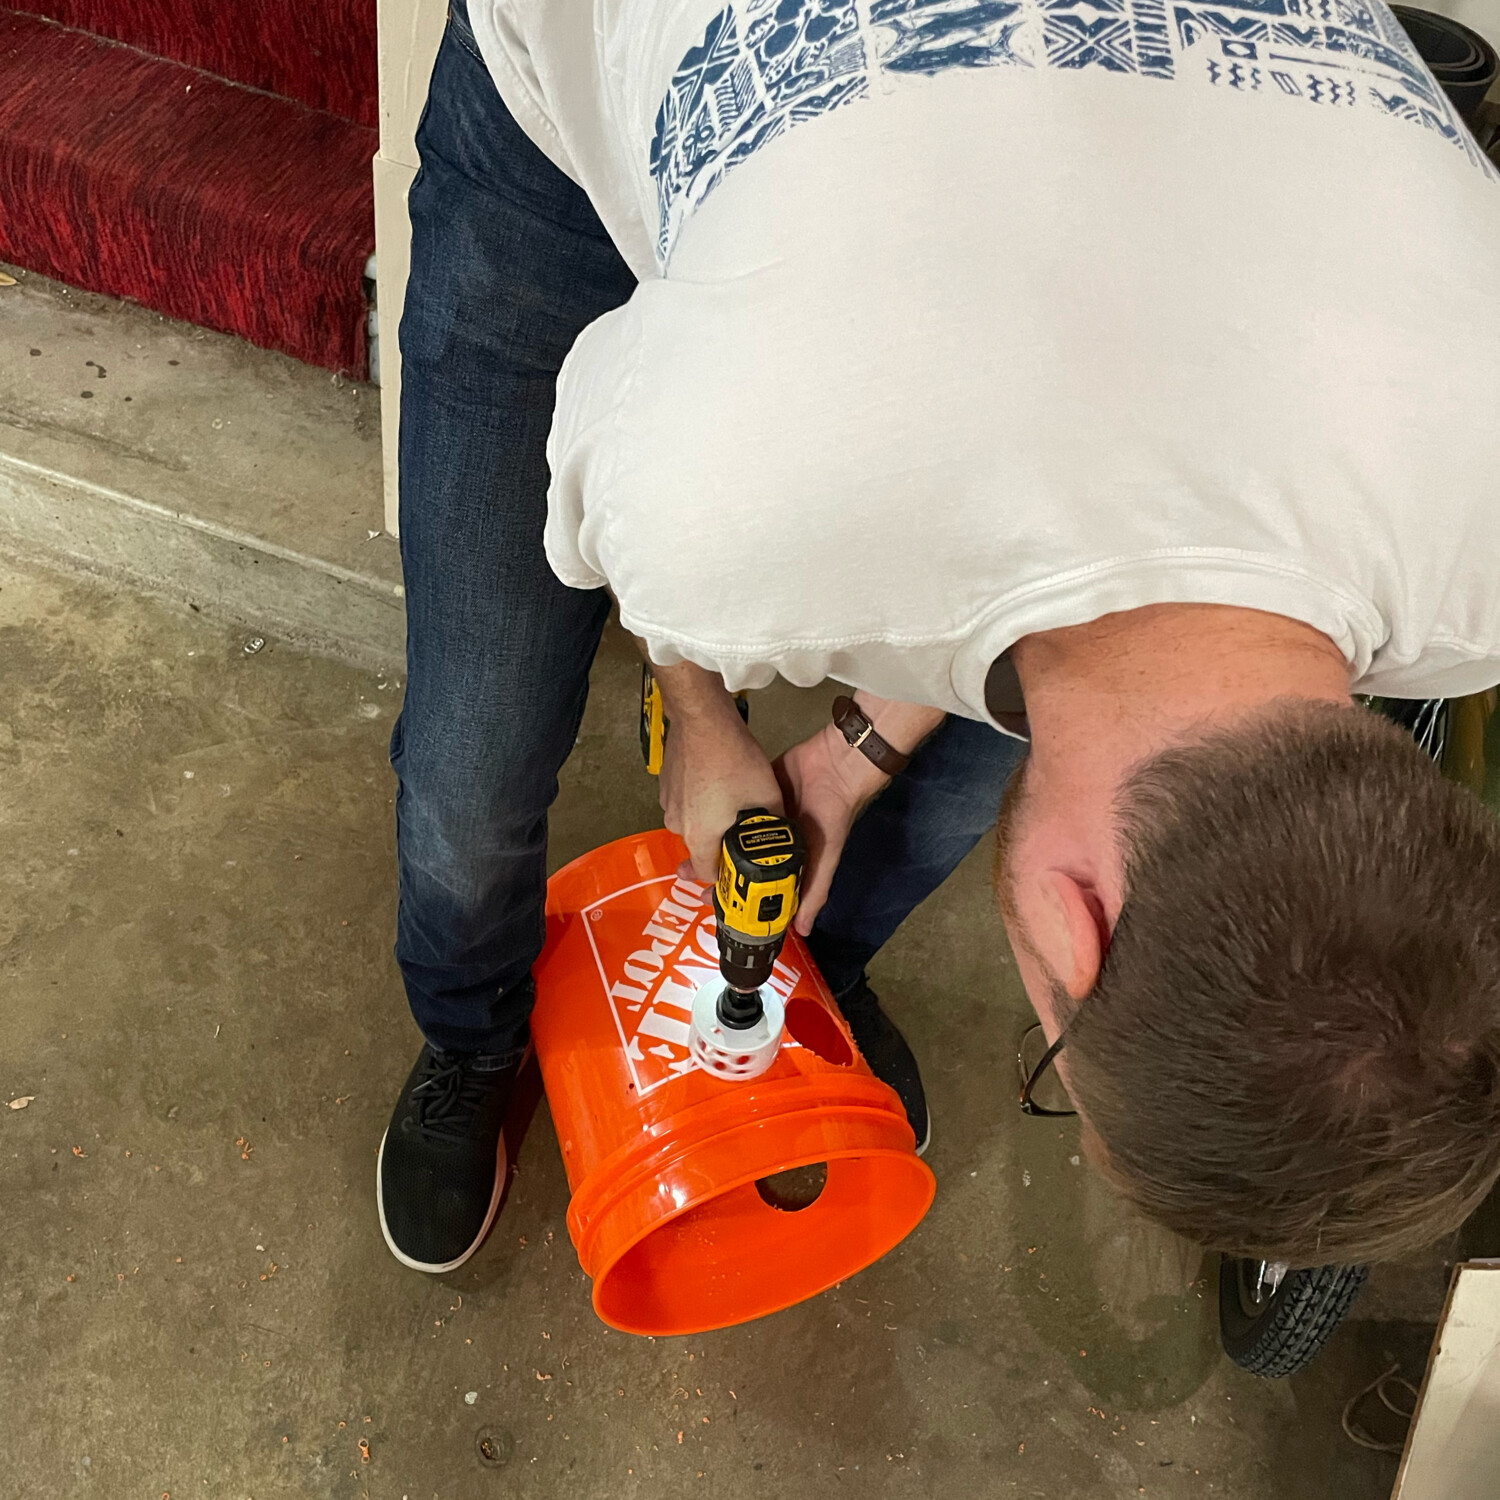
Swamp coolers are a simple way to make cold air in dry environments - at Burning Man, the Playa Labs “figjam” swamp cooler might be the canonical swamp cooler due to its simple design, so I built one, making some key improvements along the way.

Project Included
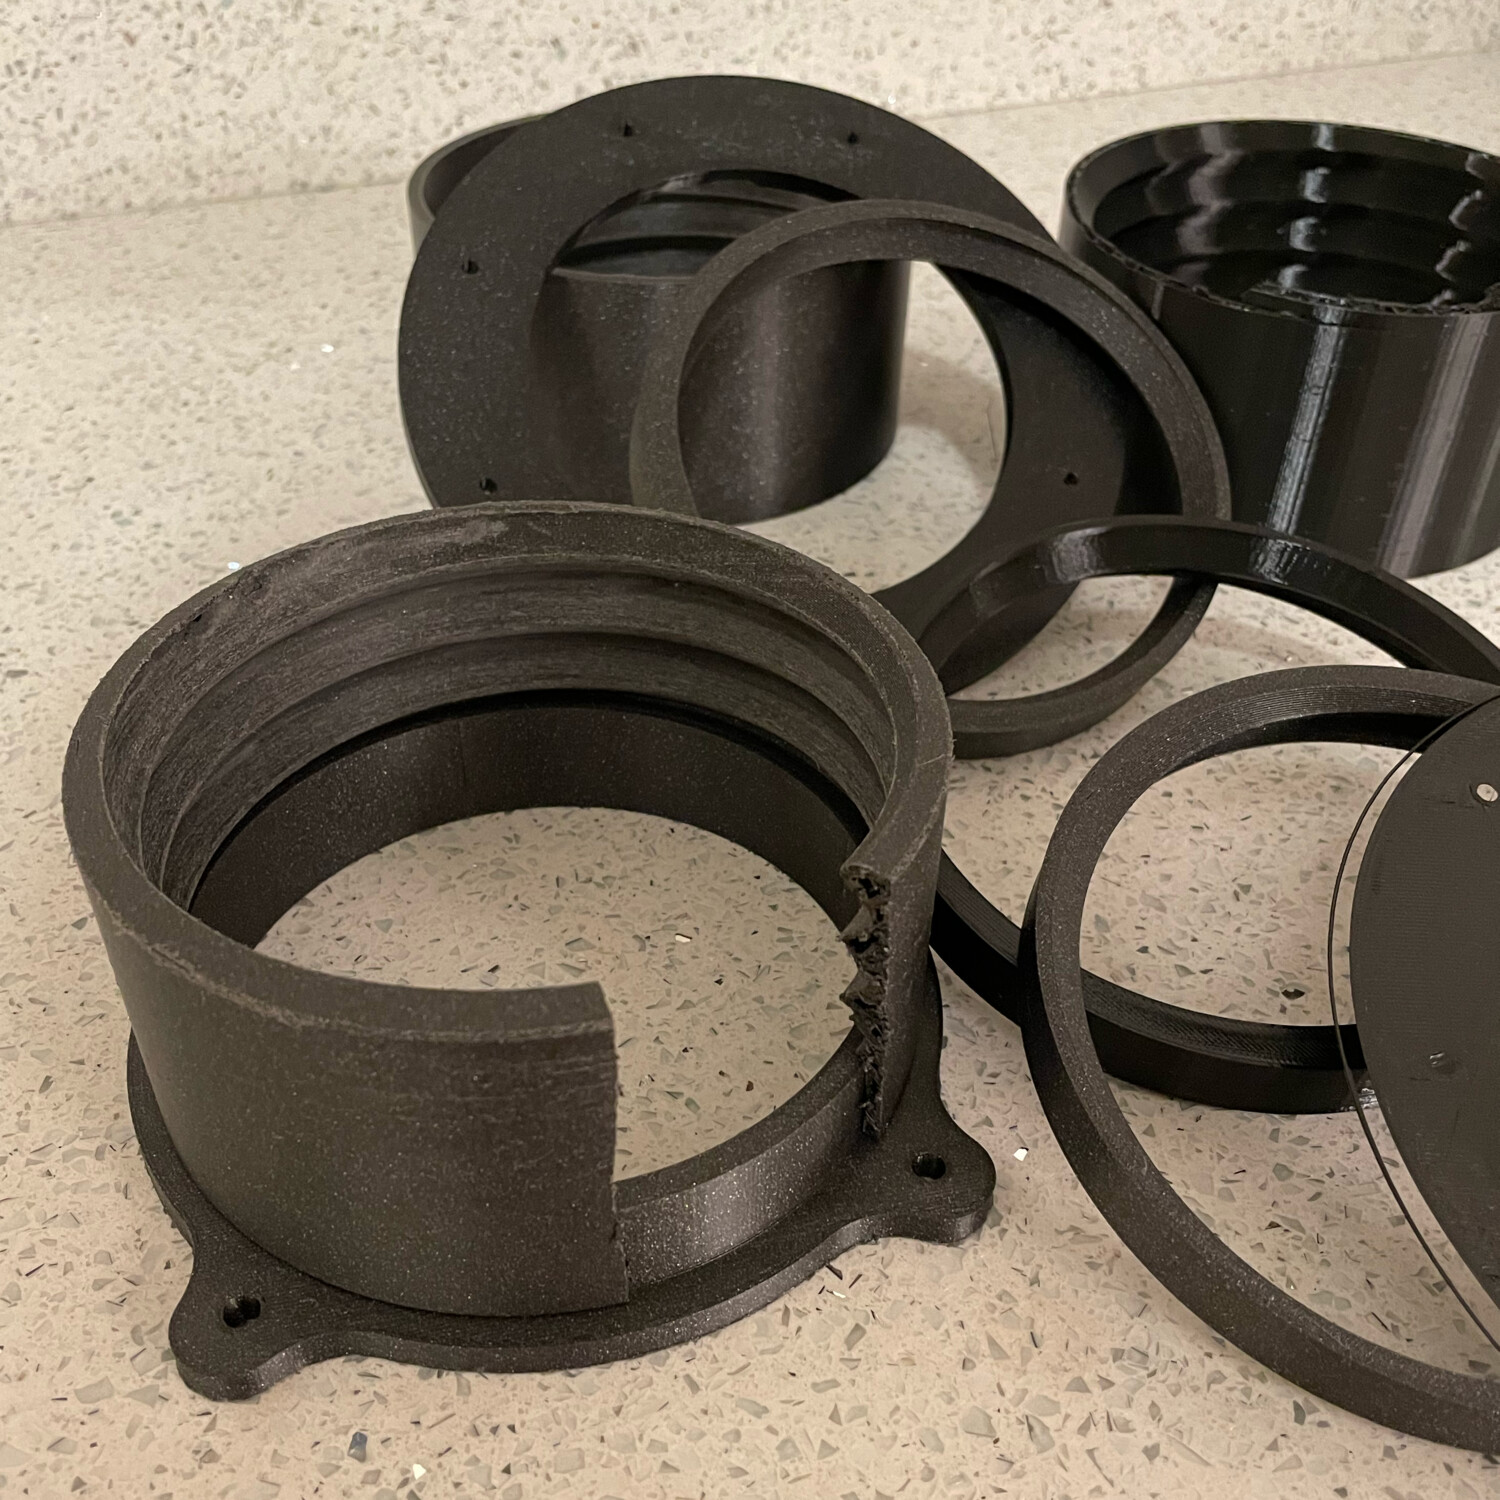
  • Design and construction of a 3D-printed corrugated A/C hose adapter flange, with iterative prototyping to arrive at a snug but usable fit
  • Wiring plan modifications to allow for lid removal with pump remaining in place
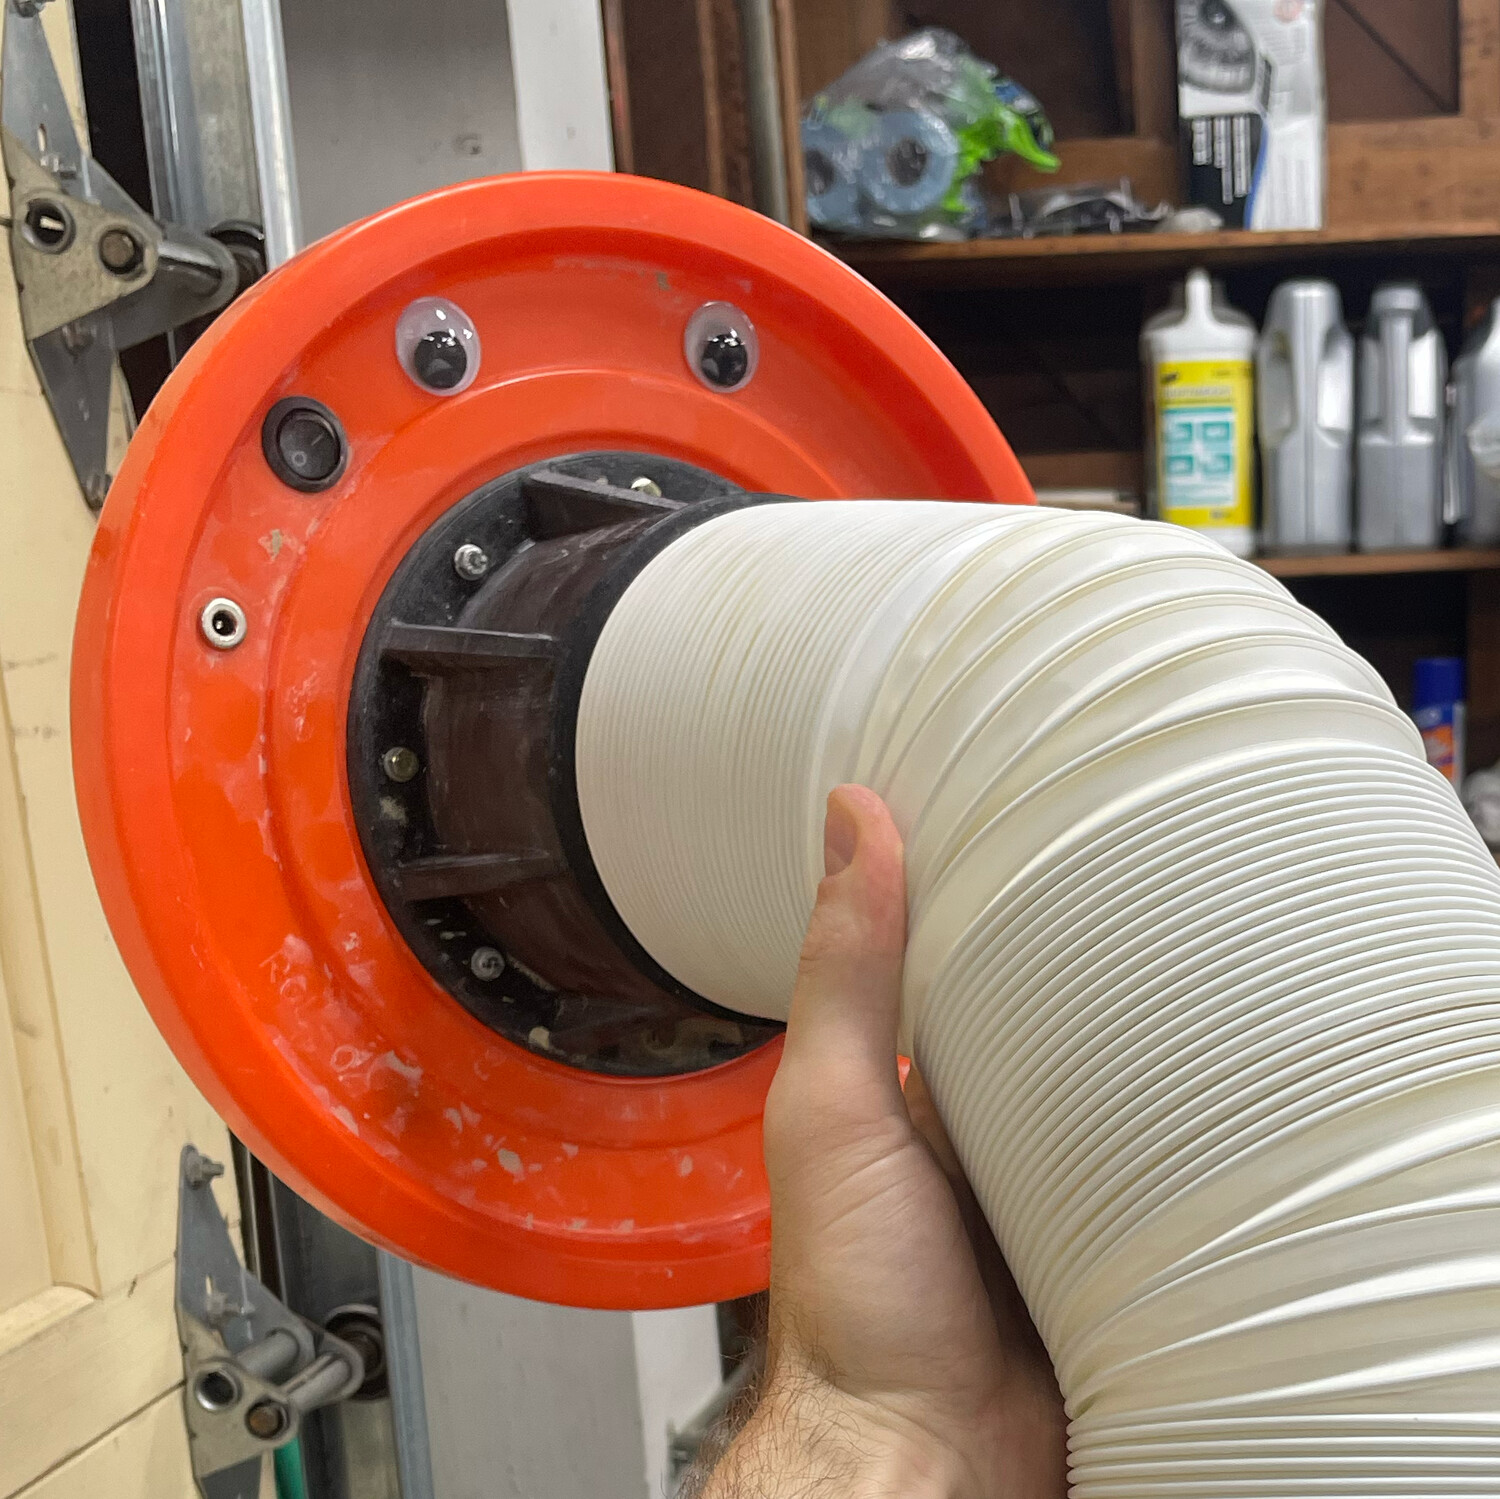
  • The finished lid of the swamp cooler. Turns out googly eyes increase performance by over 200%.
    The finished lid of the swamp cooler. Turns out googly eyes increase performance by over 200%.
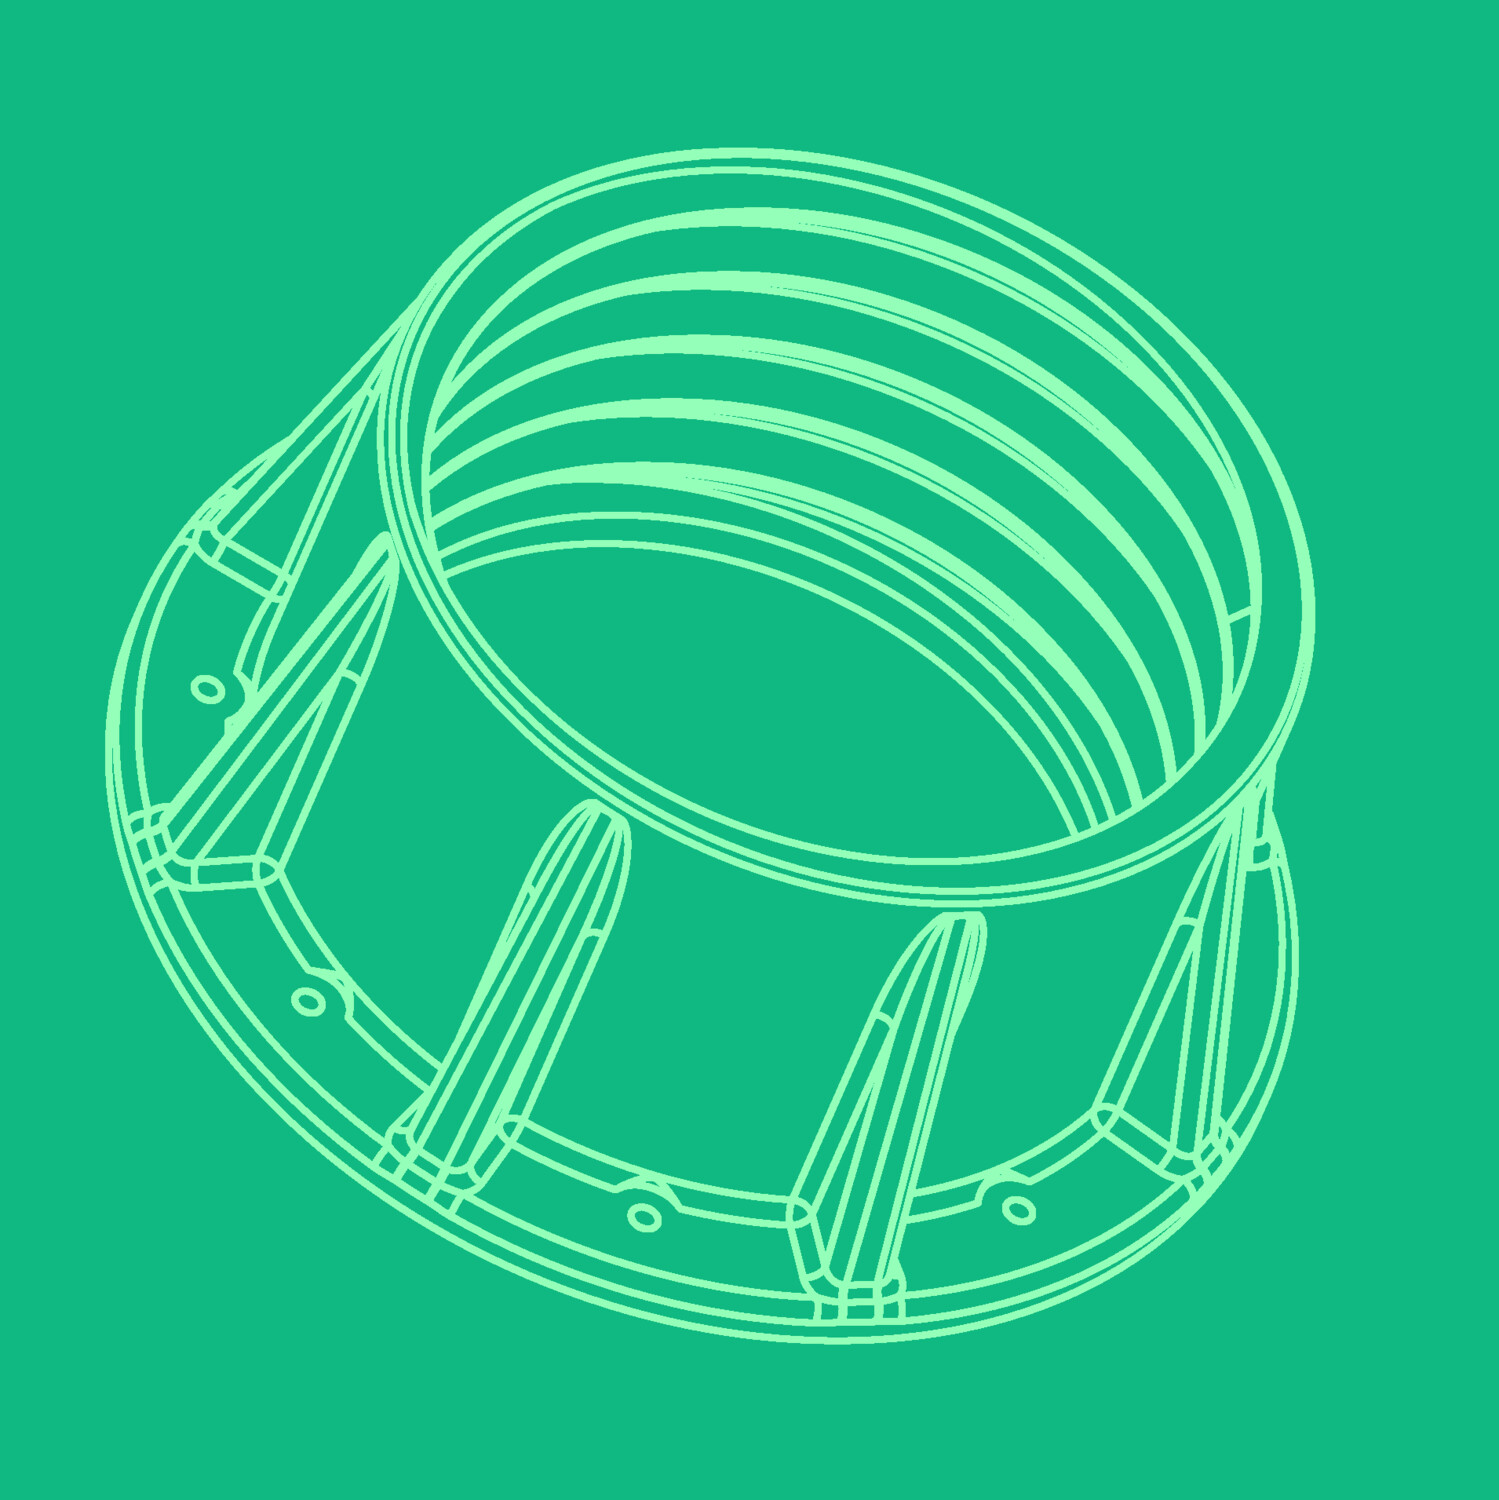
  • Wireframe model of the AC hose adapter flange I designed.
    Wireframe model of the AC hose adapter flange I designed.
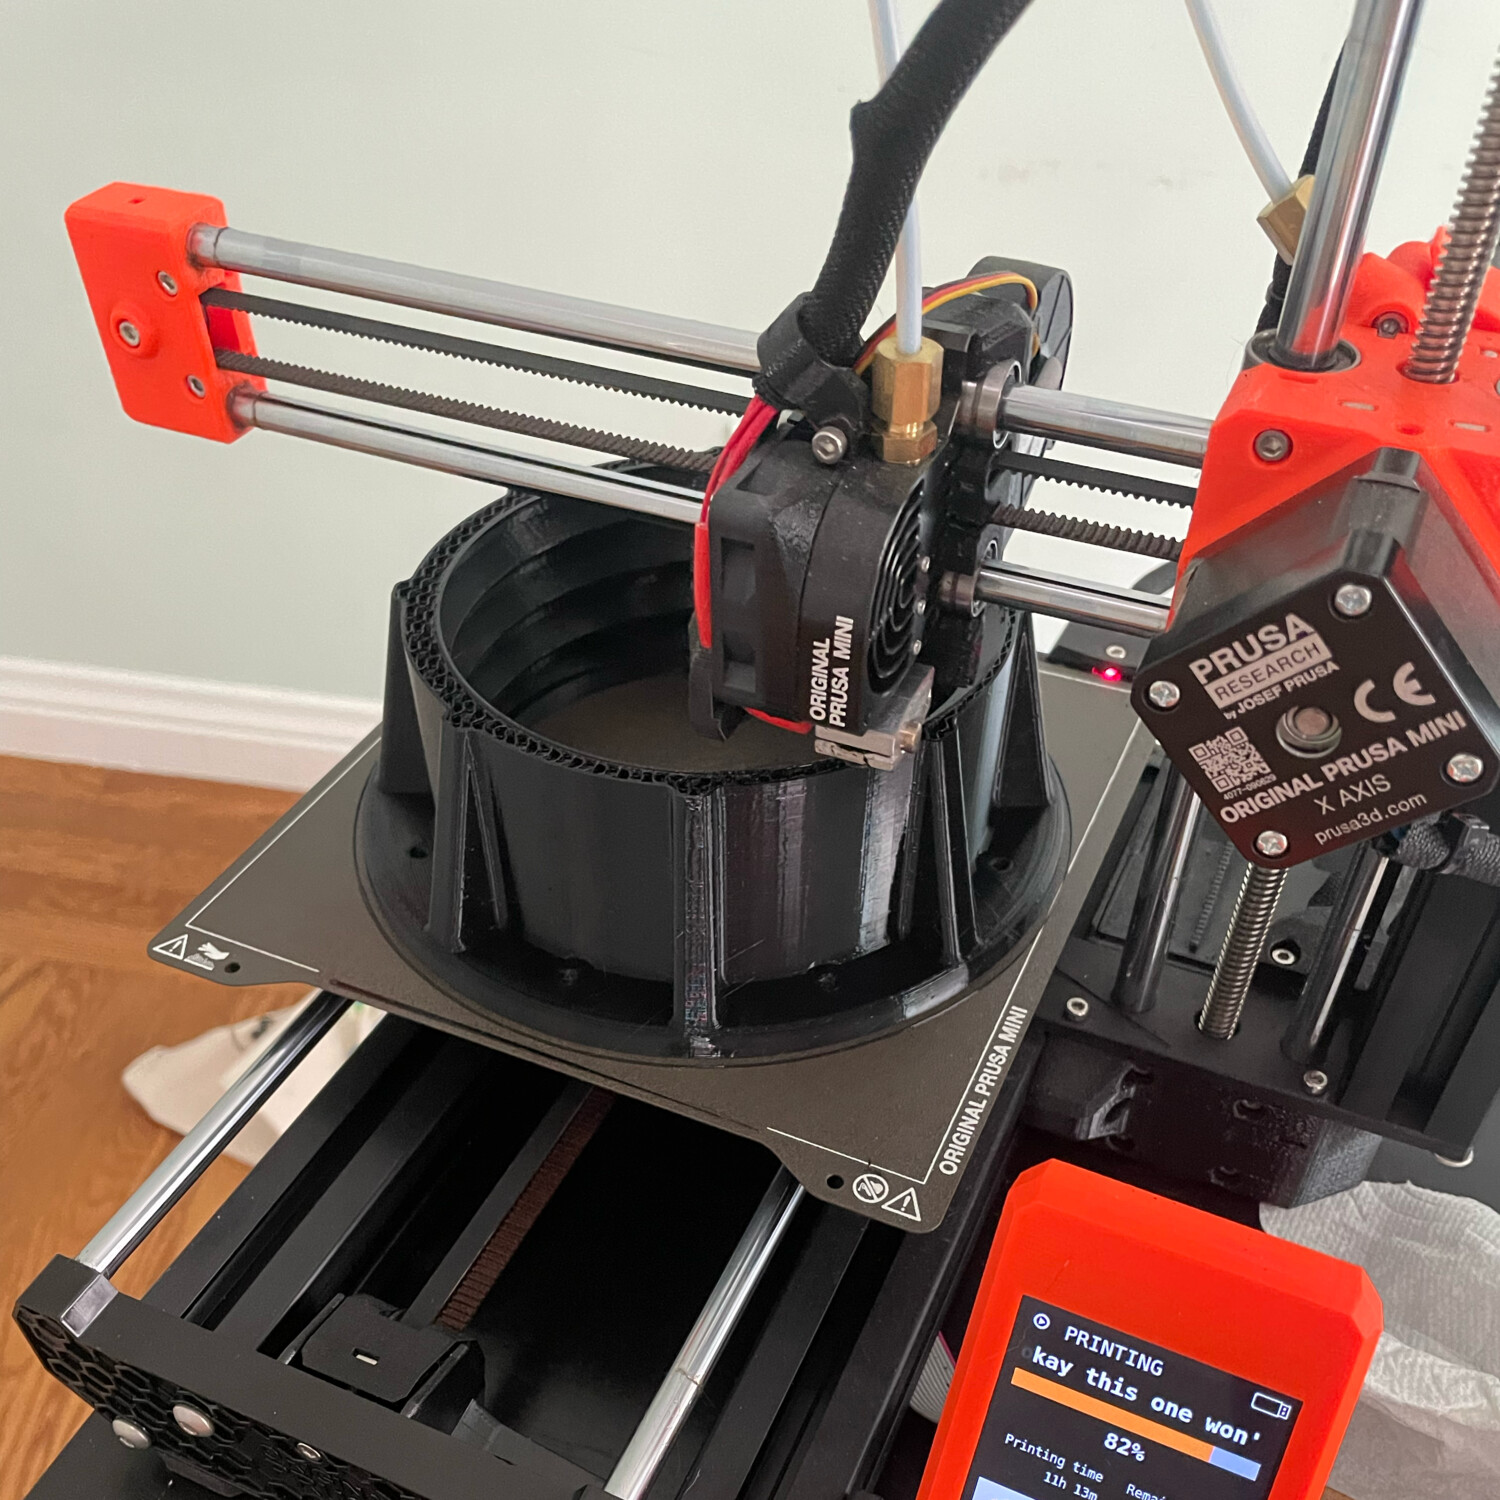
  • The flange being printed in PETG (PLA would likely melt in the desert).
    The flange being printed in PETG (PLA would likely melt in the desert).
  • Without a specification for the AC hose size, and with no easy way to measure the size of the hose "thread," it took a few prototypes to get something that fit nicely.
    Without a specification for the AC hose size, and with no easy way to measure the size of the hose "thread," it took a few prototypes to get something that fit nicely.
  • My friend Jamie came over and built one of his own!
    My friend Jamie came over and built one of his own!

Art and Community

I love making things with my hands and having a good time. To those extents, enjoy this smorgasbord of random small projects I’ve done in the last few years!

Projects Include
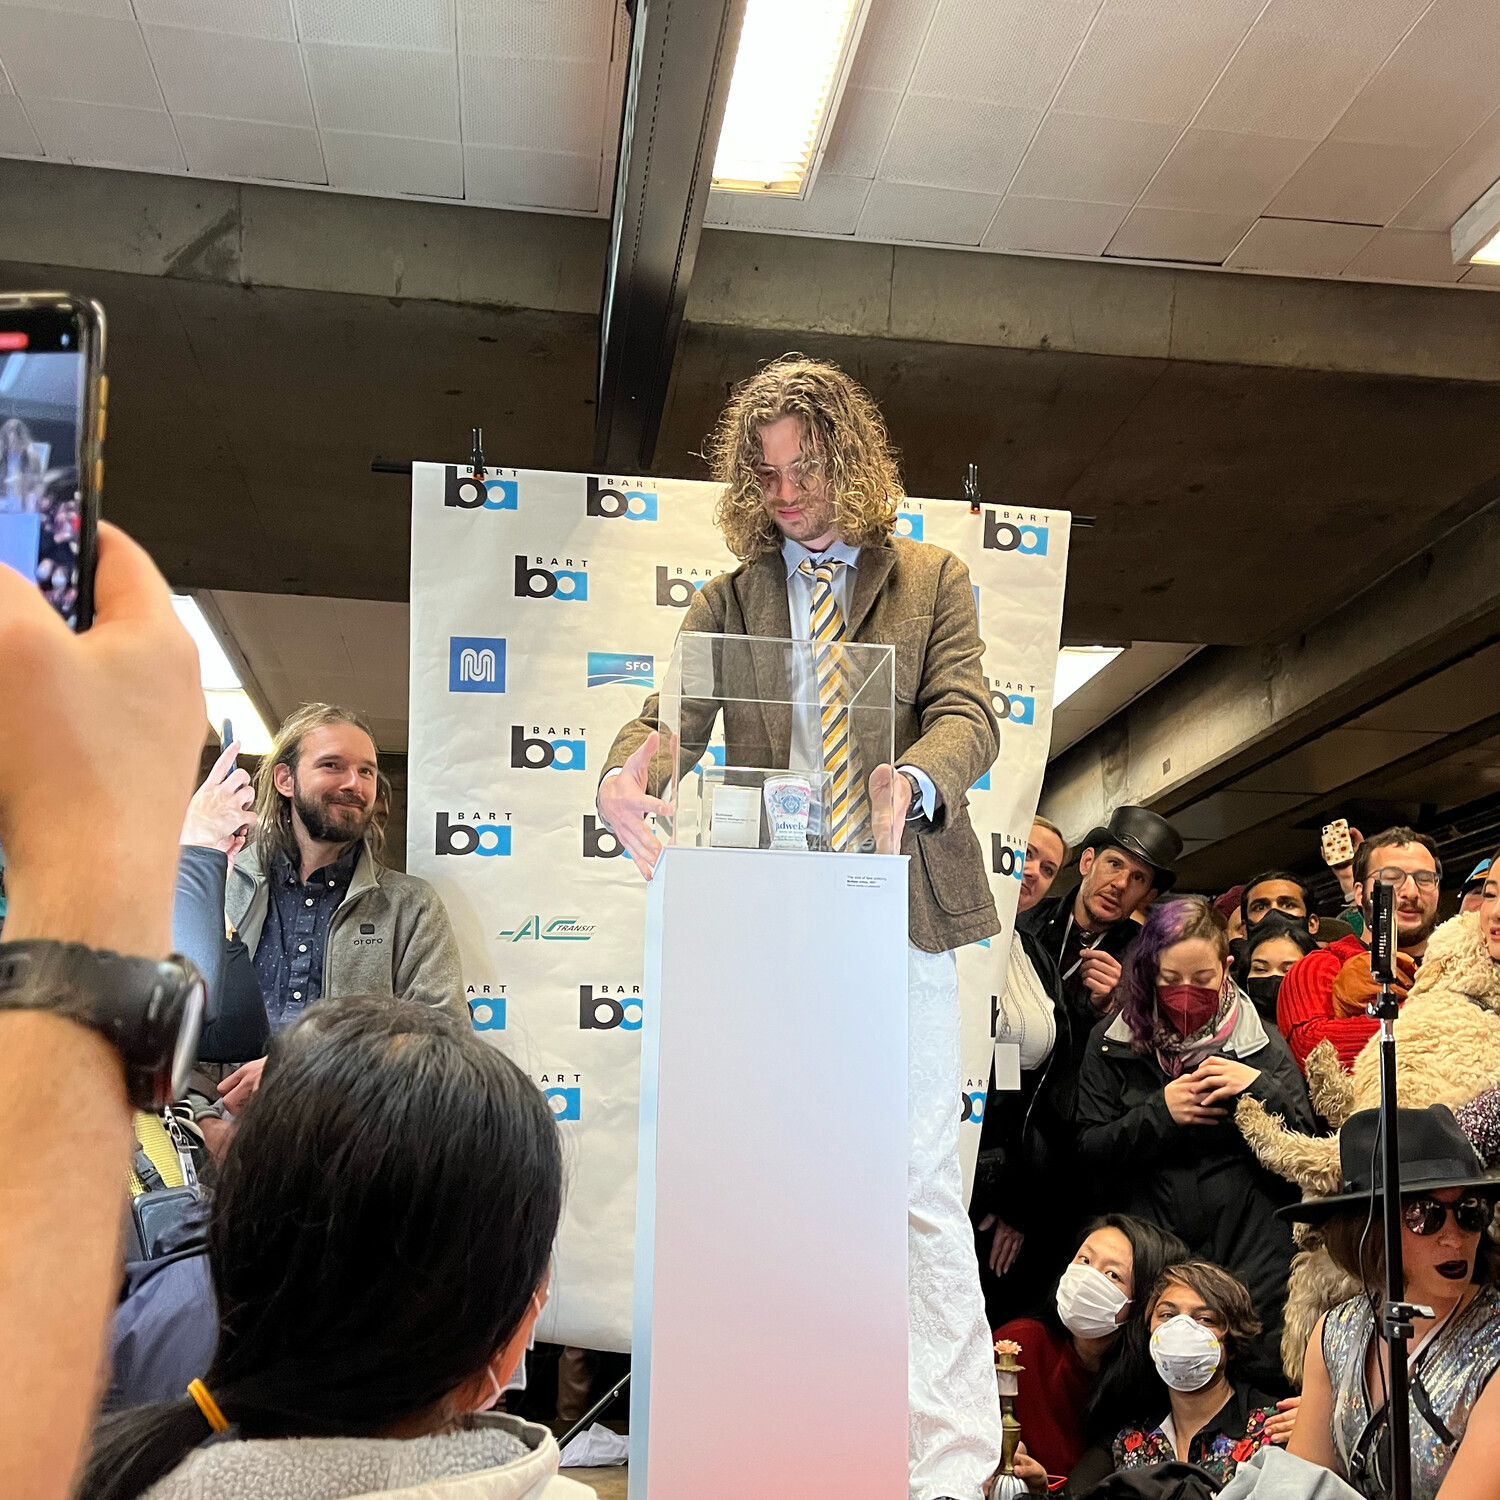
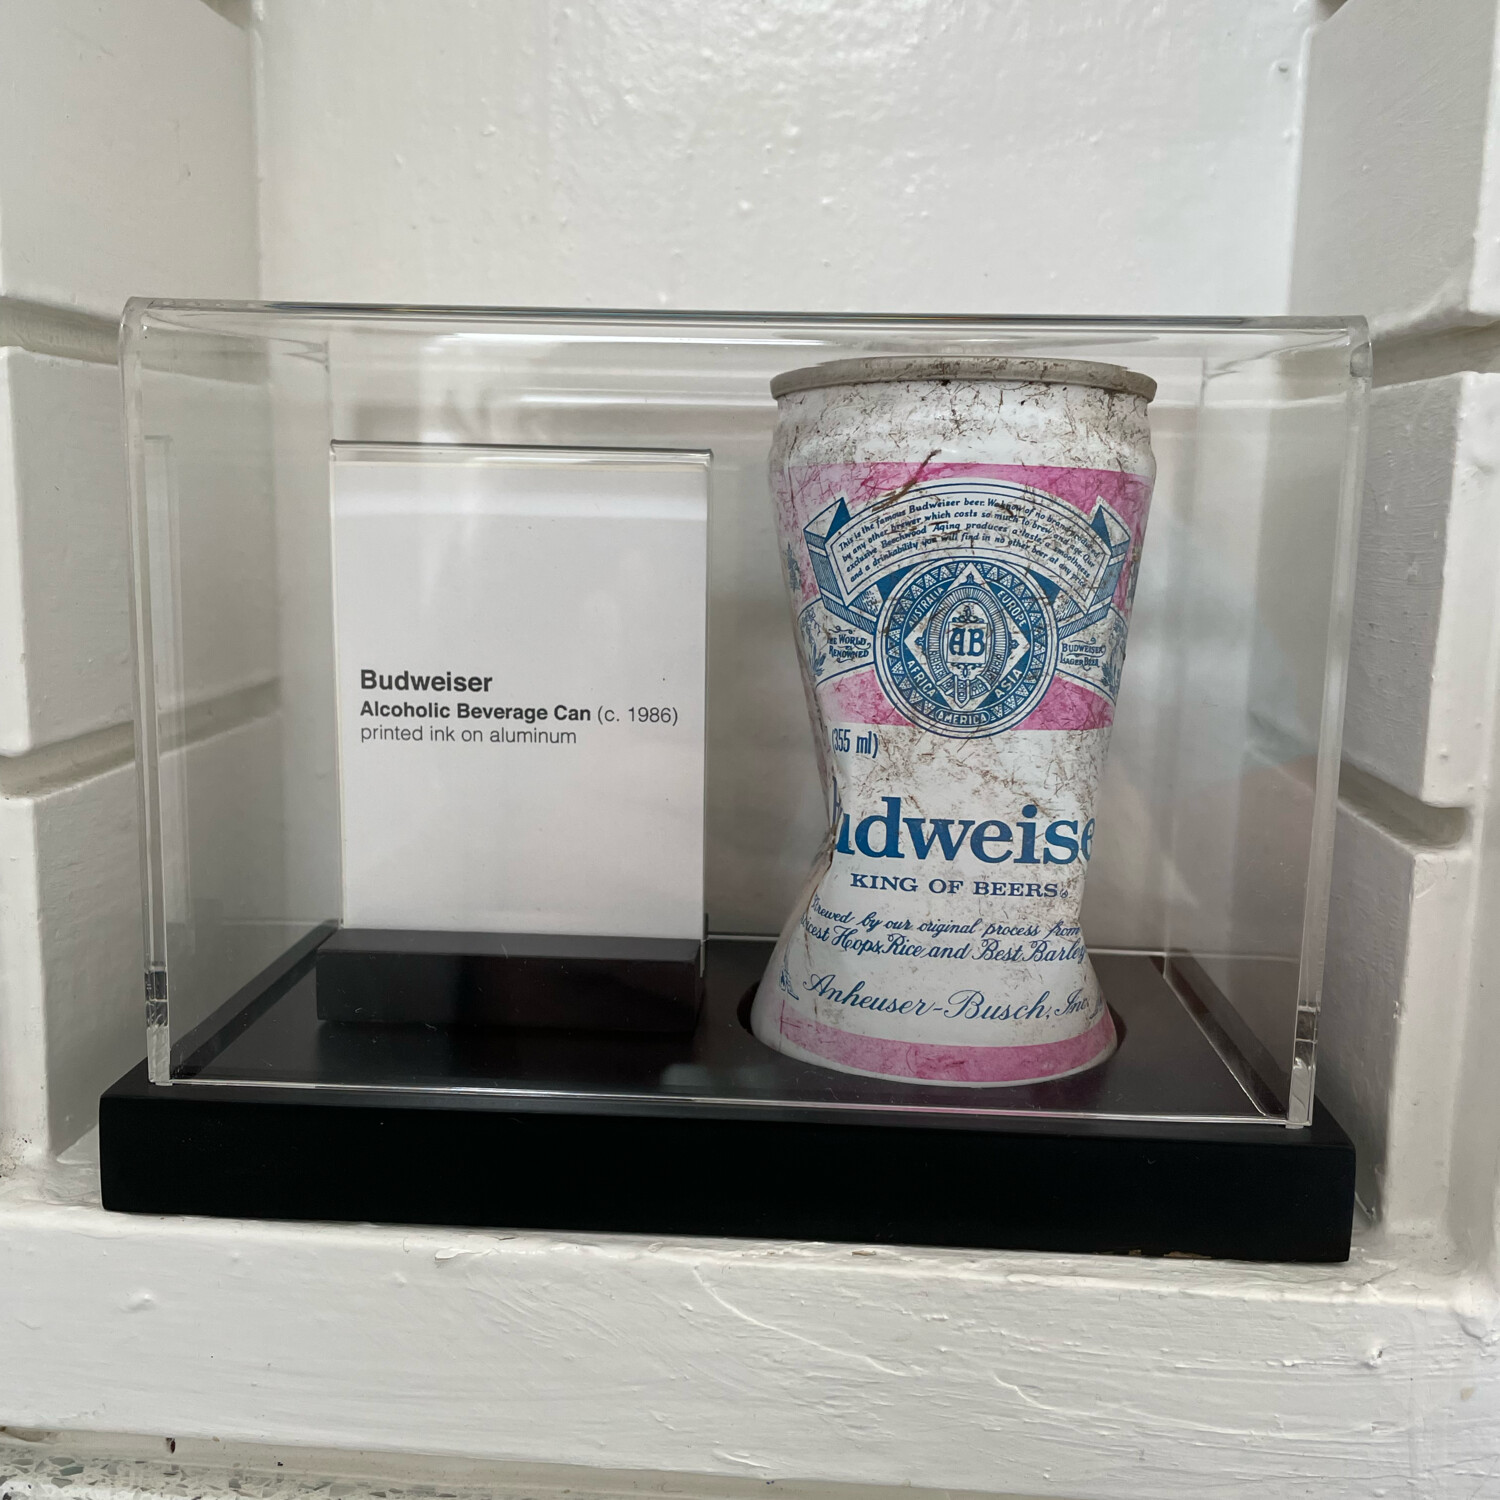
  • Budweiser Beer Can: A fake art gallery piece I was inspired to make after finding an old beer can in my backyard. Debuted at BART Basel 2022! Before you ask: it’s not for sale!
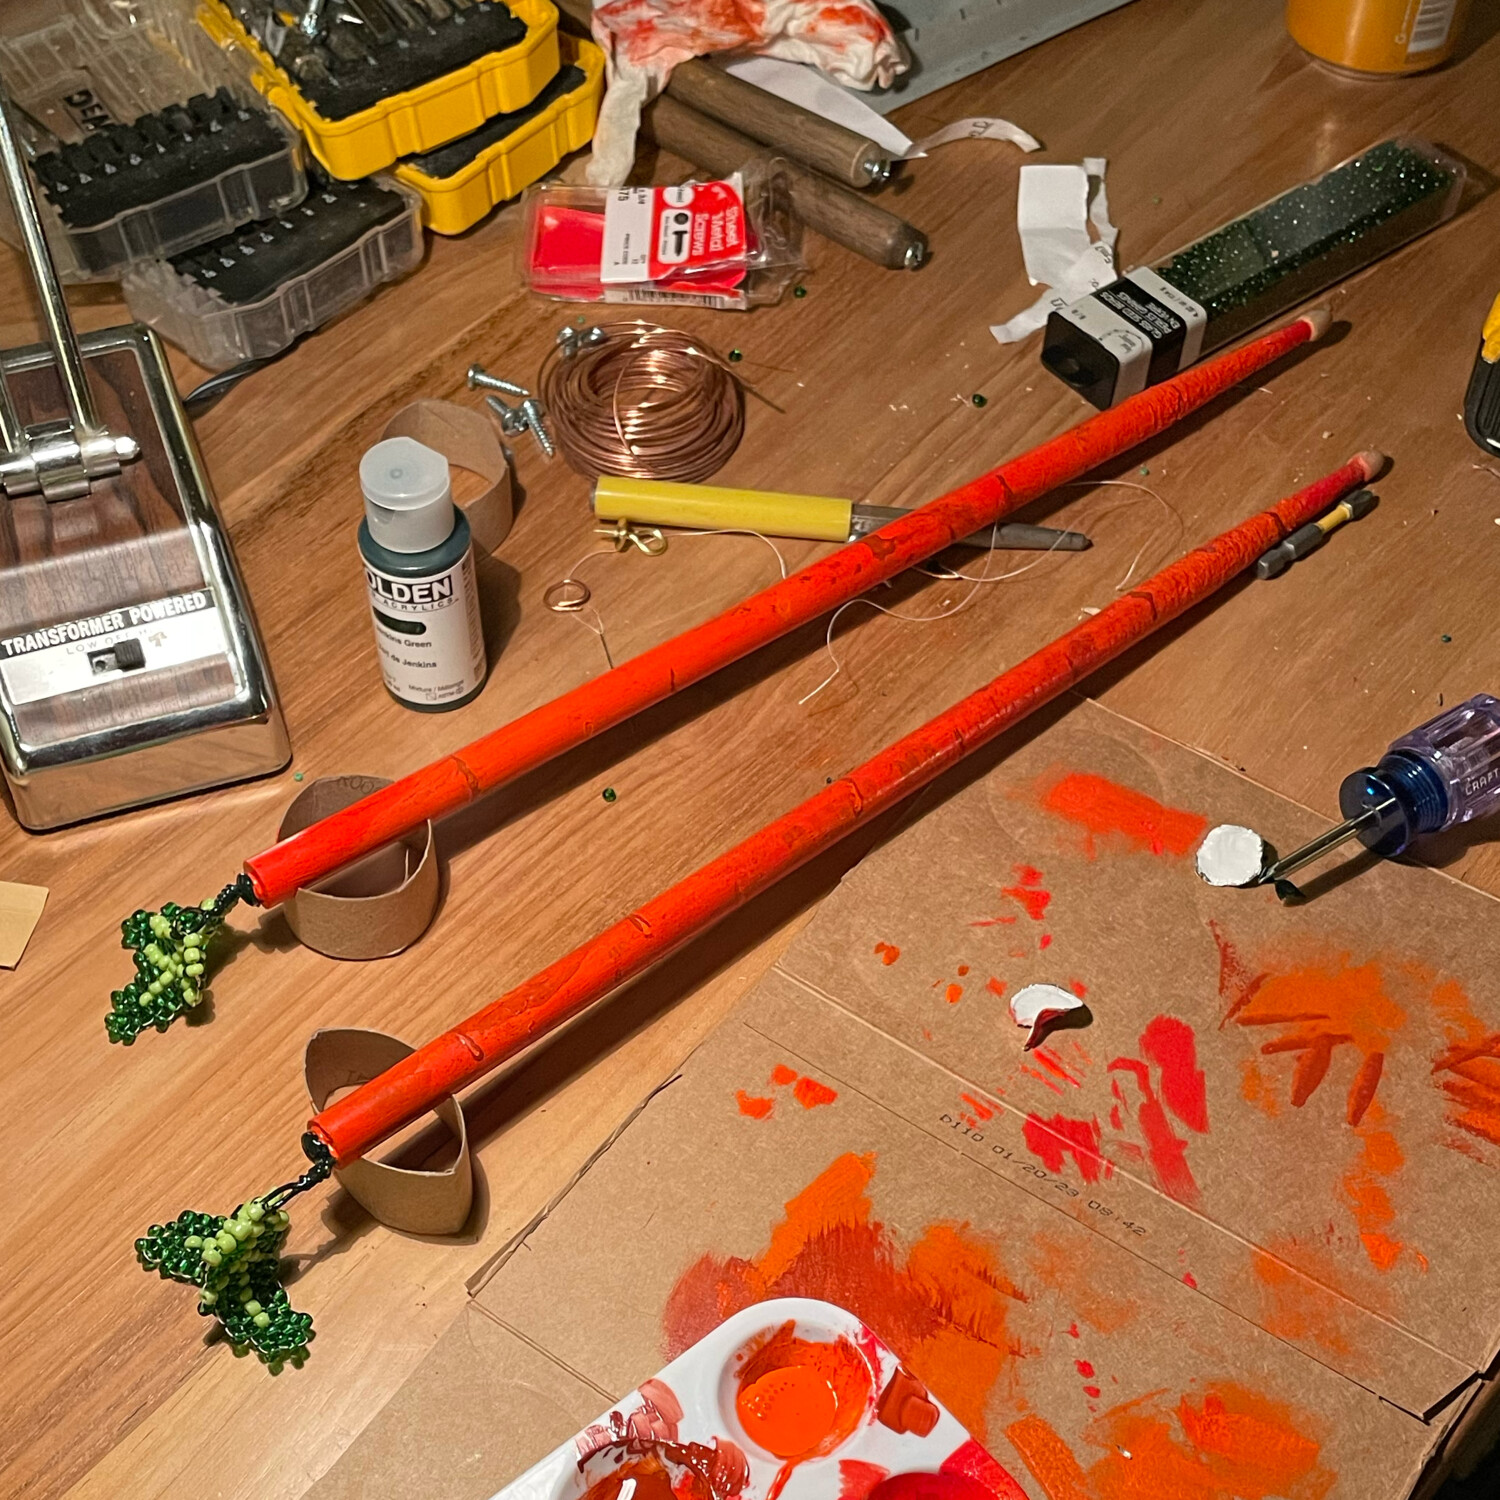
  • Carrot Drum Sticks: For a backyard show, my friend organized a charitable raffle - my contribution was this pair of drum sticks that look like carrots (context: our band’s name is "Carrot Cake"). I learned the brick stitch beading technique to make the leaves!
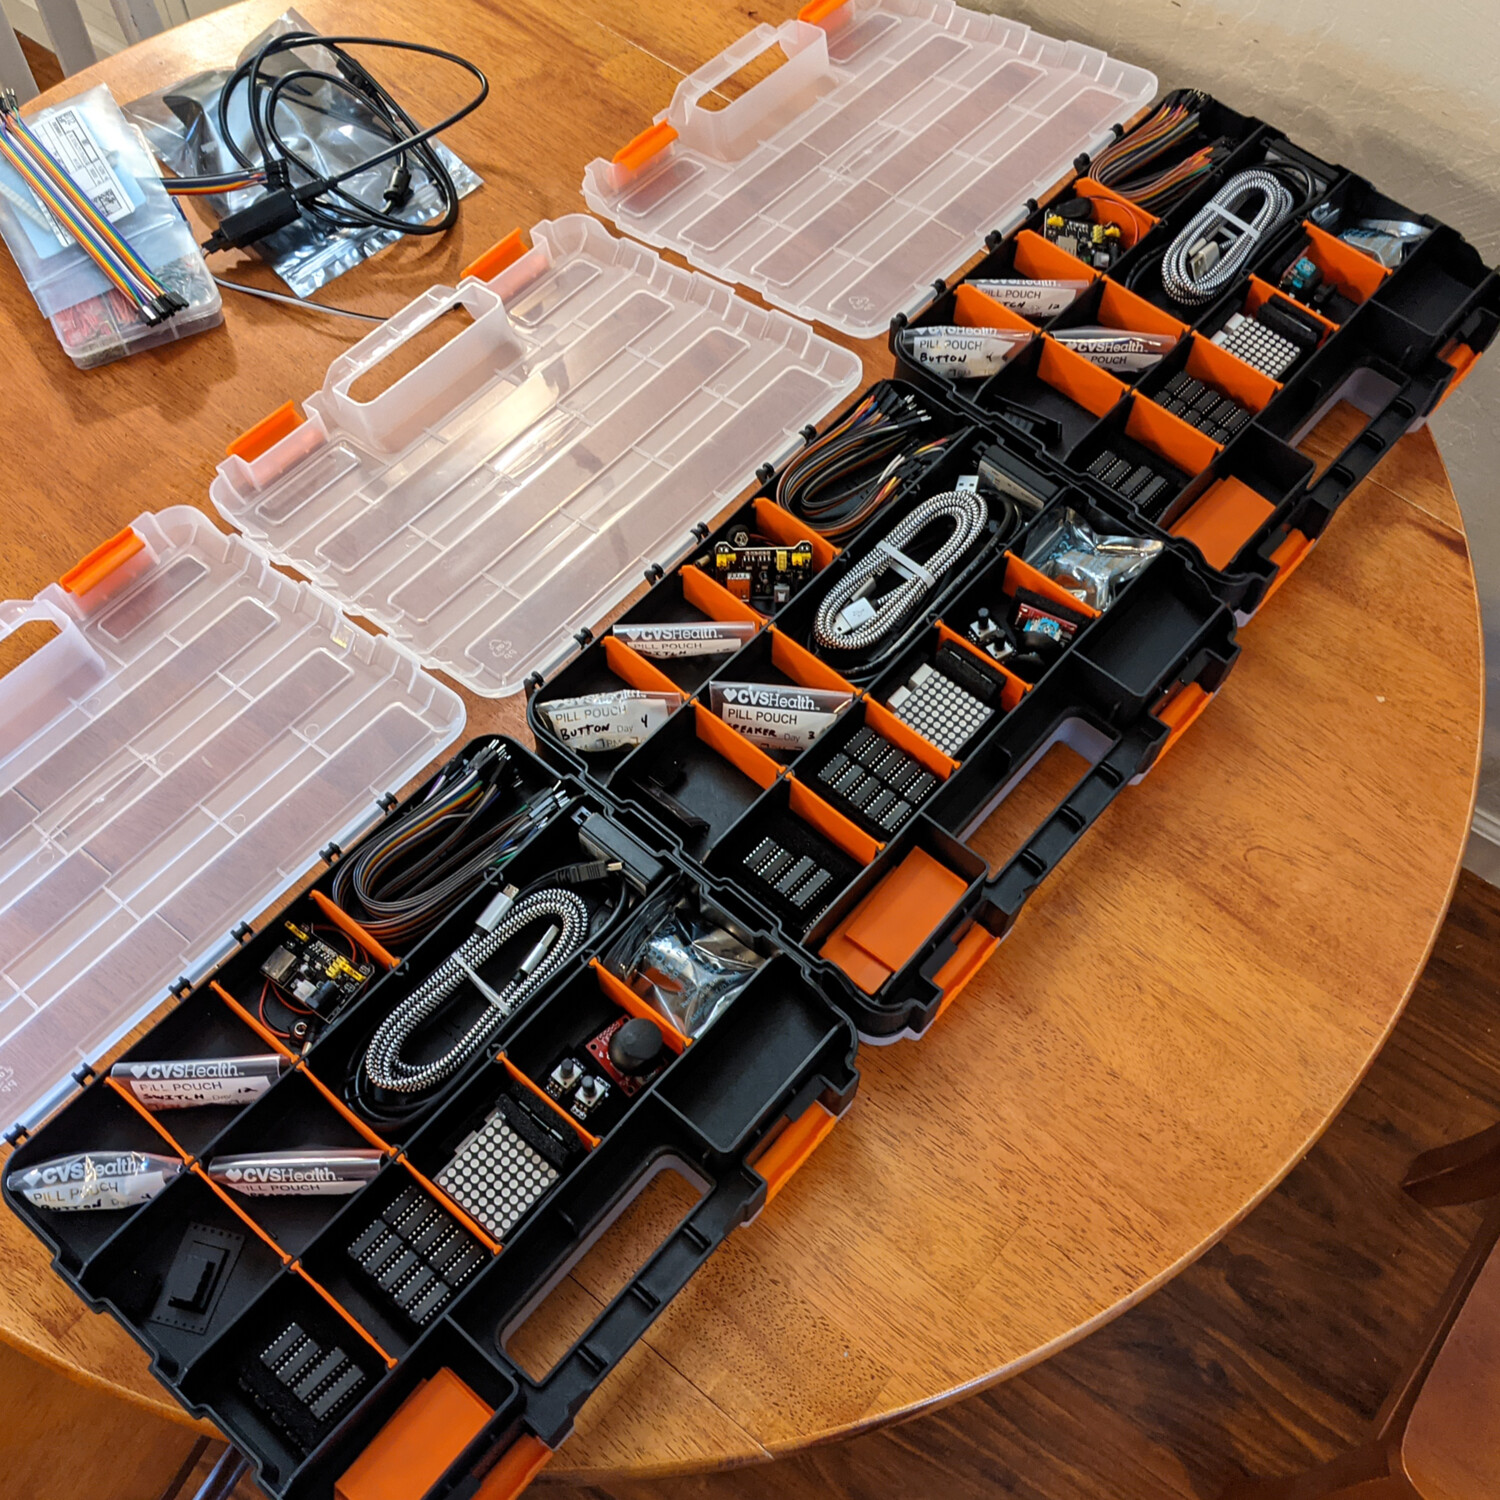
  • Alcove Learning: During COVID I taught a very small "all things computers" class at a self-directed high school. Each week with four students we discussed different topics ranging from "how does a computer do math?" to "what is a resistor?" I also assembled some swanky electronics kits for them and we did some fun Arduino projects together.
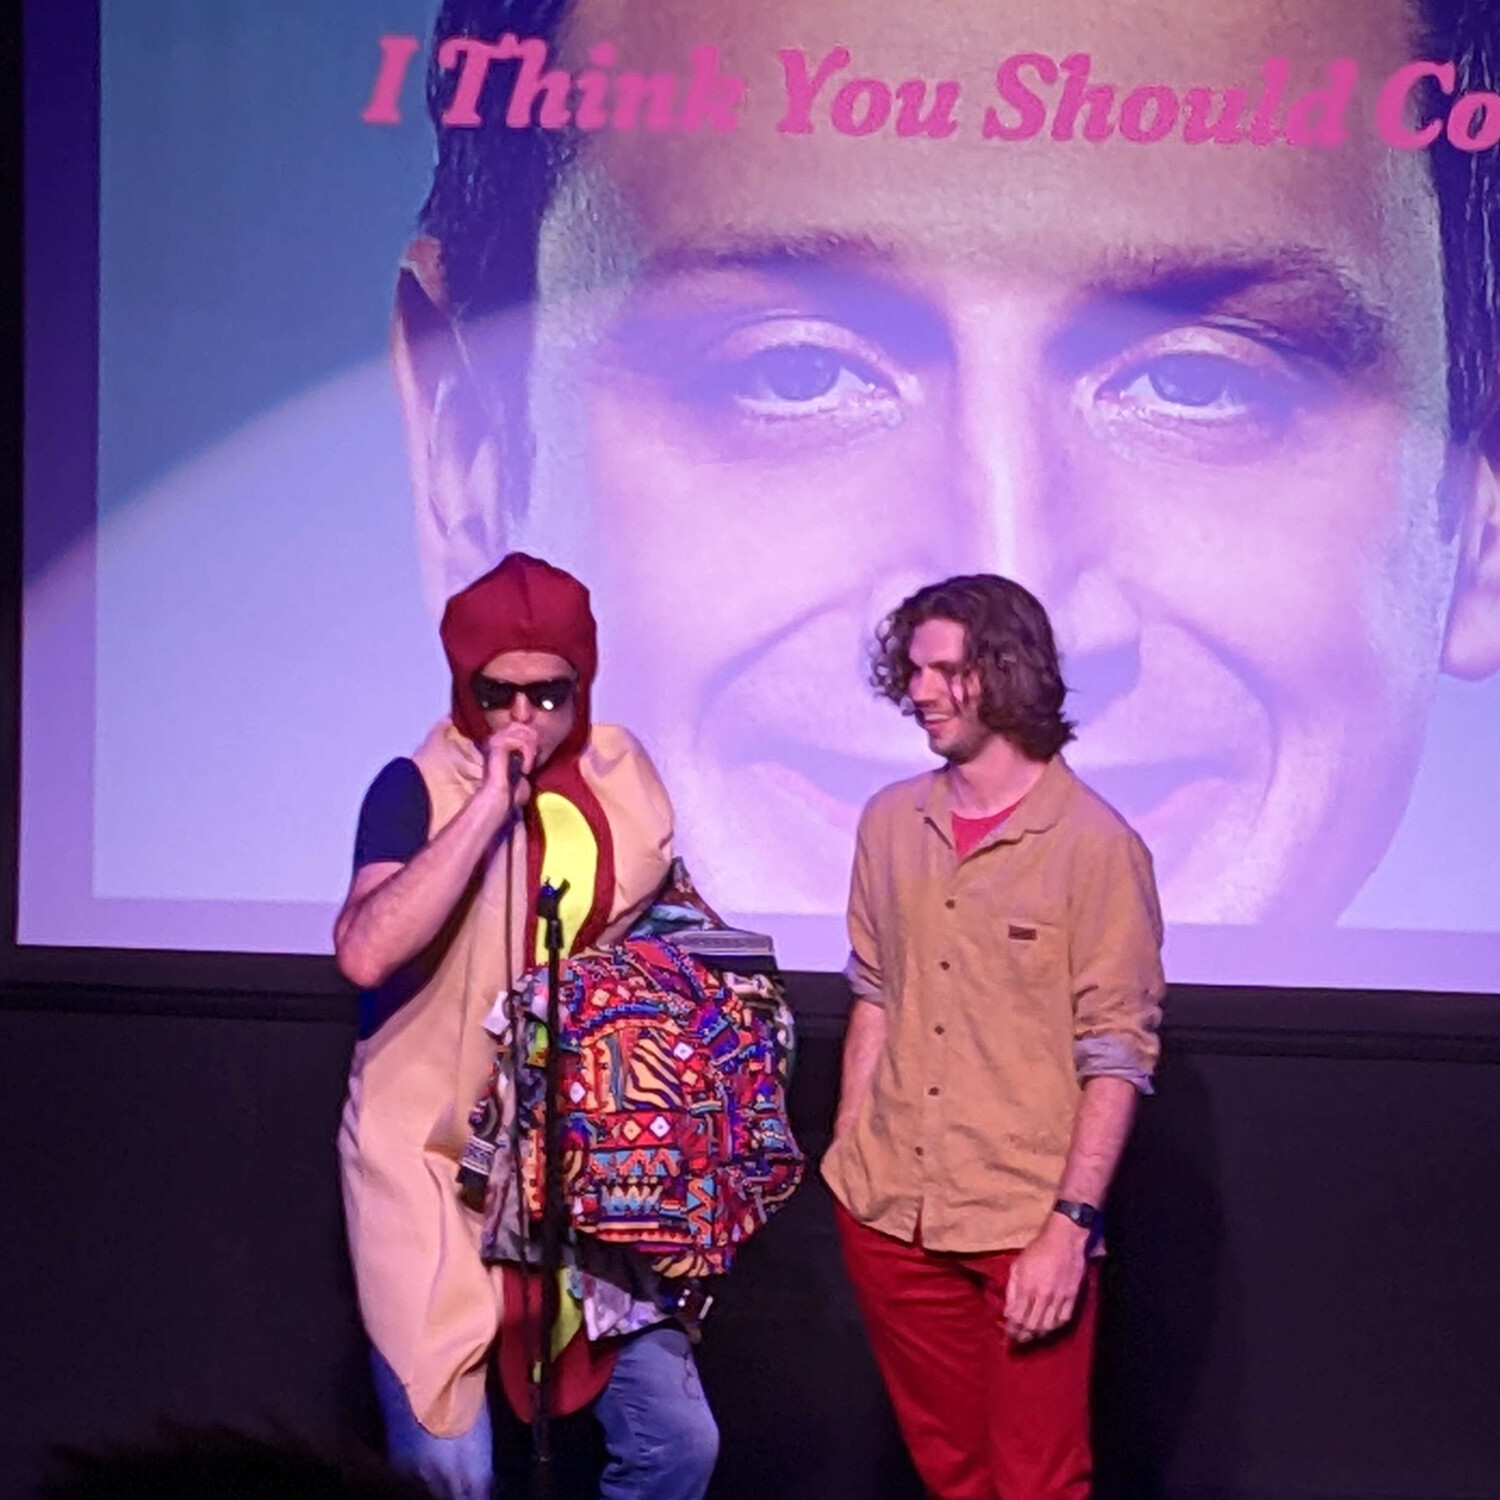
  • "I Think You Should Leave" Watch Party: Some friends and I really like this show, so we rented out a small theater and invited people to binge the entire new season with us the day it came out. I designed the posters we put up around the city, and worked with my pals to plan and run the entire event. We had a blast!
  • Phone mic: I found this old phone on the street - now it’s a microphone! Look at it!
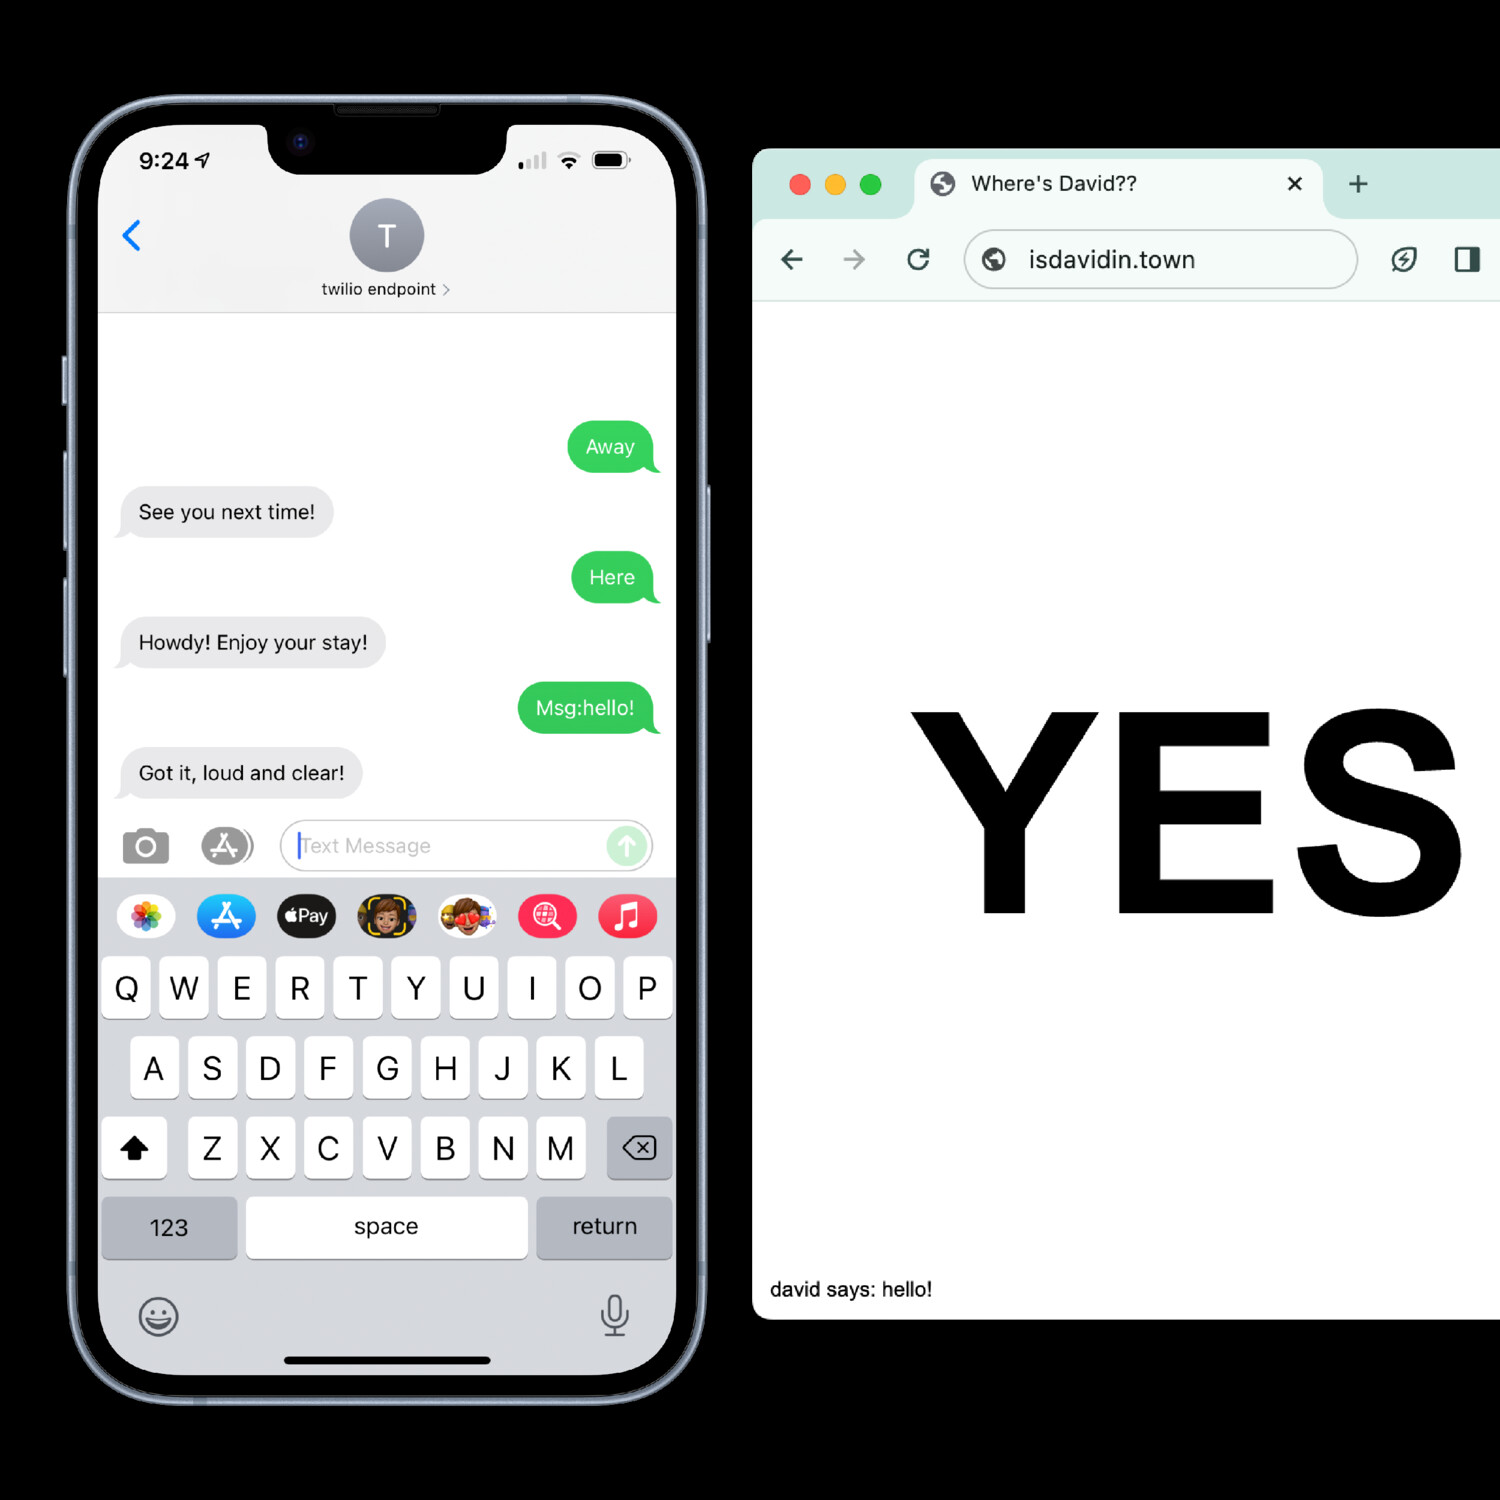
  • isdavidin.town: A simple website I made to provide you with a simple YES or NO answer to the question - Is David in town? Built only for my friend David, who could update it via a text message hotline.
  • <em>BART Basel</em> - Like the real BASEL but more fun (or so I'm told).
    BART Basel - Like the real BASEL but more fun (or so I'm told).
  • <em>Backyard Beer Can</em> - A fake art display for some garbage from my backyard.
    Backyard Beer Can - A fake art display for some garbage from my backyard.
  • <em>Electronics Kits</em> - Curated and assembled for my students during a class I taught at Alcove Learning.
    Electronics Kits - Curated and assembled for my students during a class I taught at Alcove Learning.
  • Pong Clone - Made during one lecture at Alcove Learning, using parts from the students' electronics kits.
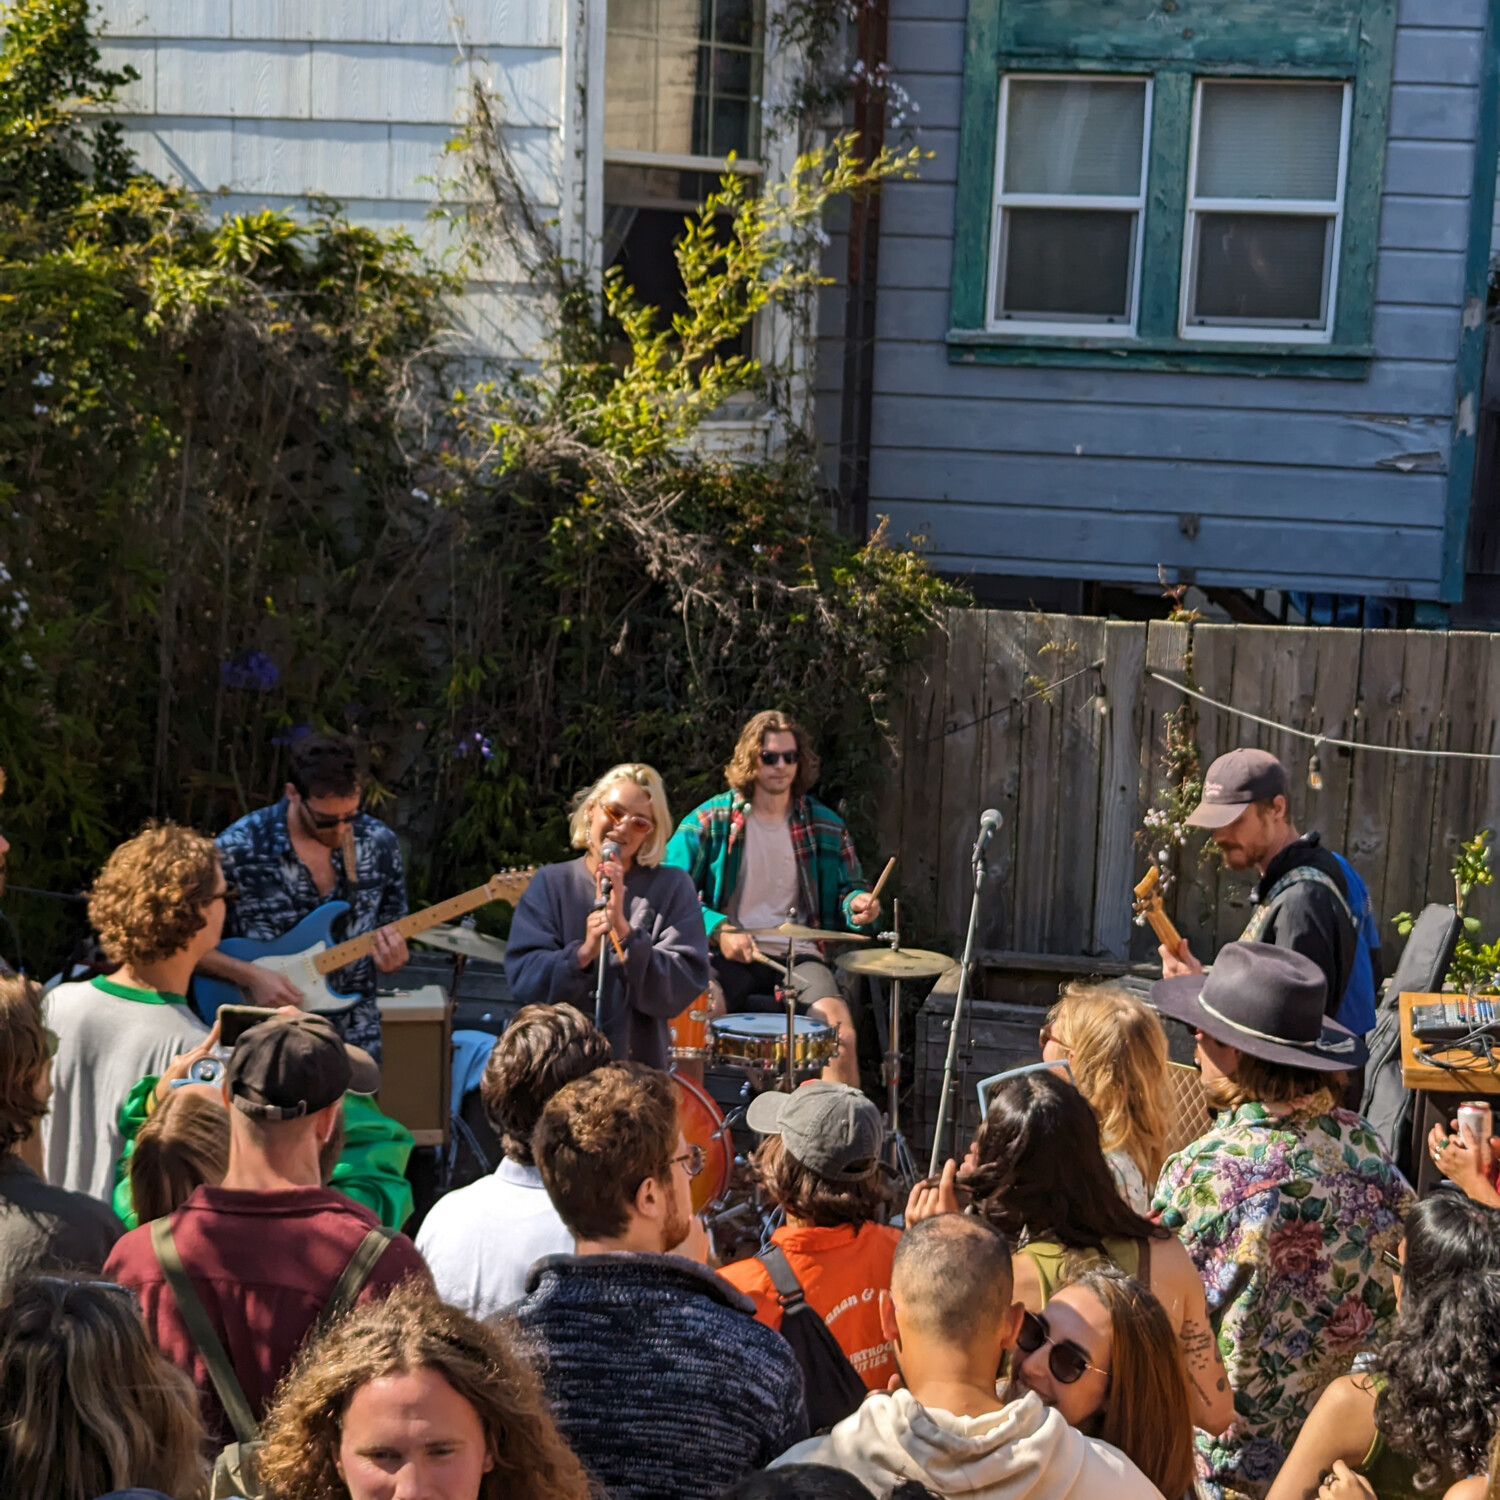
  • <em>Carrot Cake</em> - A band I'm in with some friends! Here's us playing a backyard show.
    Carrot Cake - A band I'm in with some friends! Here's us playing a backyard show.
  • <em>Carrot Sticks</em> - A raffle prize at our last show. Winner also recieved one bag of carrots.
    Carrot Sticks - A raffle prize at our last show. Winner also recieved one bag of carrots.
  • <em>ITYSL Party</em> - A watch party for a quirky show, organized and directed with three friends!
    ITYSL Party - A watch party for a quirky show, organized and directed with three friends!
  • <em>Bottle Flip Contest</em> - Rule #1: do not flinch!
    Bottle Flip Contest - Rule #1: do not flinch!
  • <em>Phone mic!</em> - Comes with glorious telephone bandpass-esque response built-in!
    Phone mic! - Comes with glorious telephone bandpass-esque response built-in!
  • <em>isdavidin.town</em> - A website and accompanying text based interface for my friend David (and David only).
    isdavidin.town - A website and accompanying text based interface for my friend David (and David only).

Cars

In college I drove a 1973 VW Super Beetle around Atlanta (somewhat masochistically, I might add, given the lack of A/C in the Georgia heat). For better or worse, it gave me the car-work itch. In college, amongst all of the normal maintenance items like adjusting the valve lash and setting the timing, I rebuilt the engine from scratch, restored the suspension, and upgraded the brakes. Since then, I haven’t been able to escape the occasional car project. Here’s a sampling of car stuff I’ve been up to lately.

Projects Include
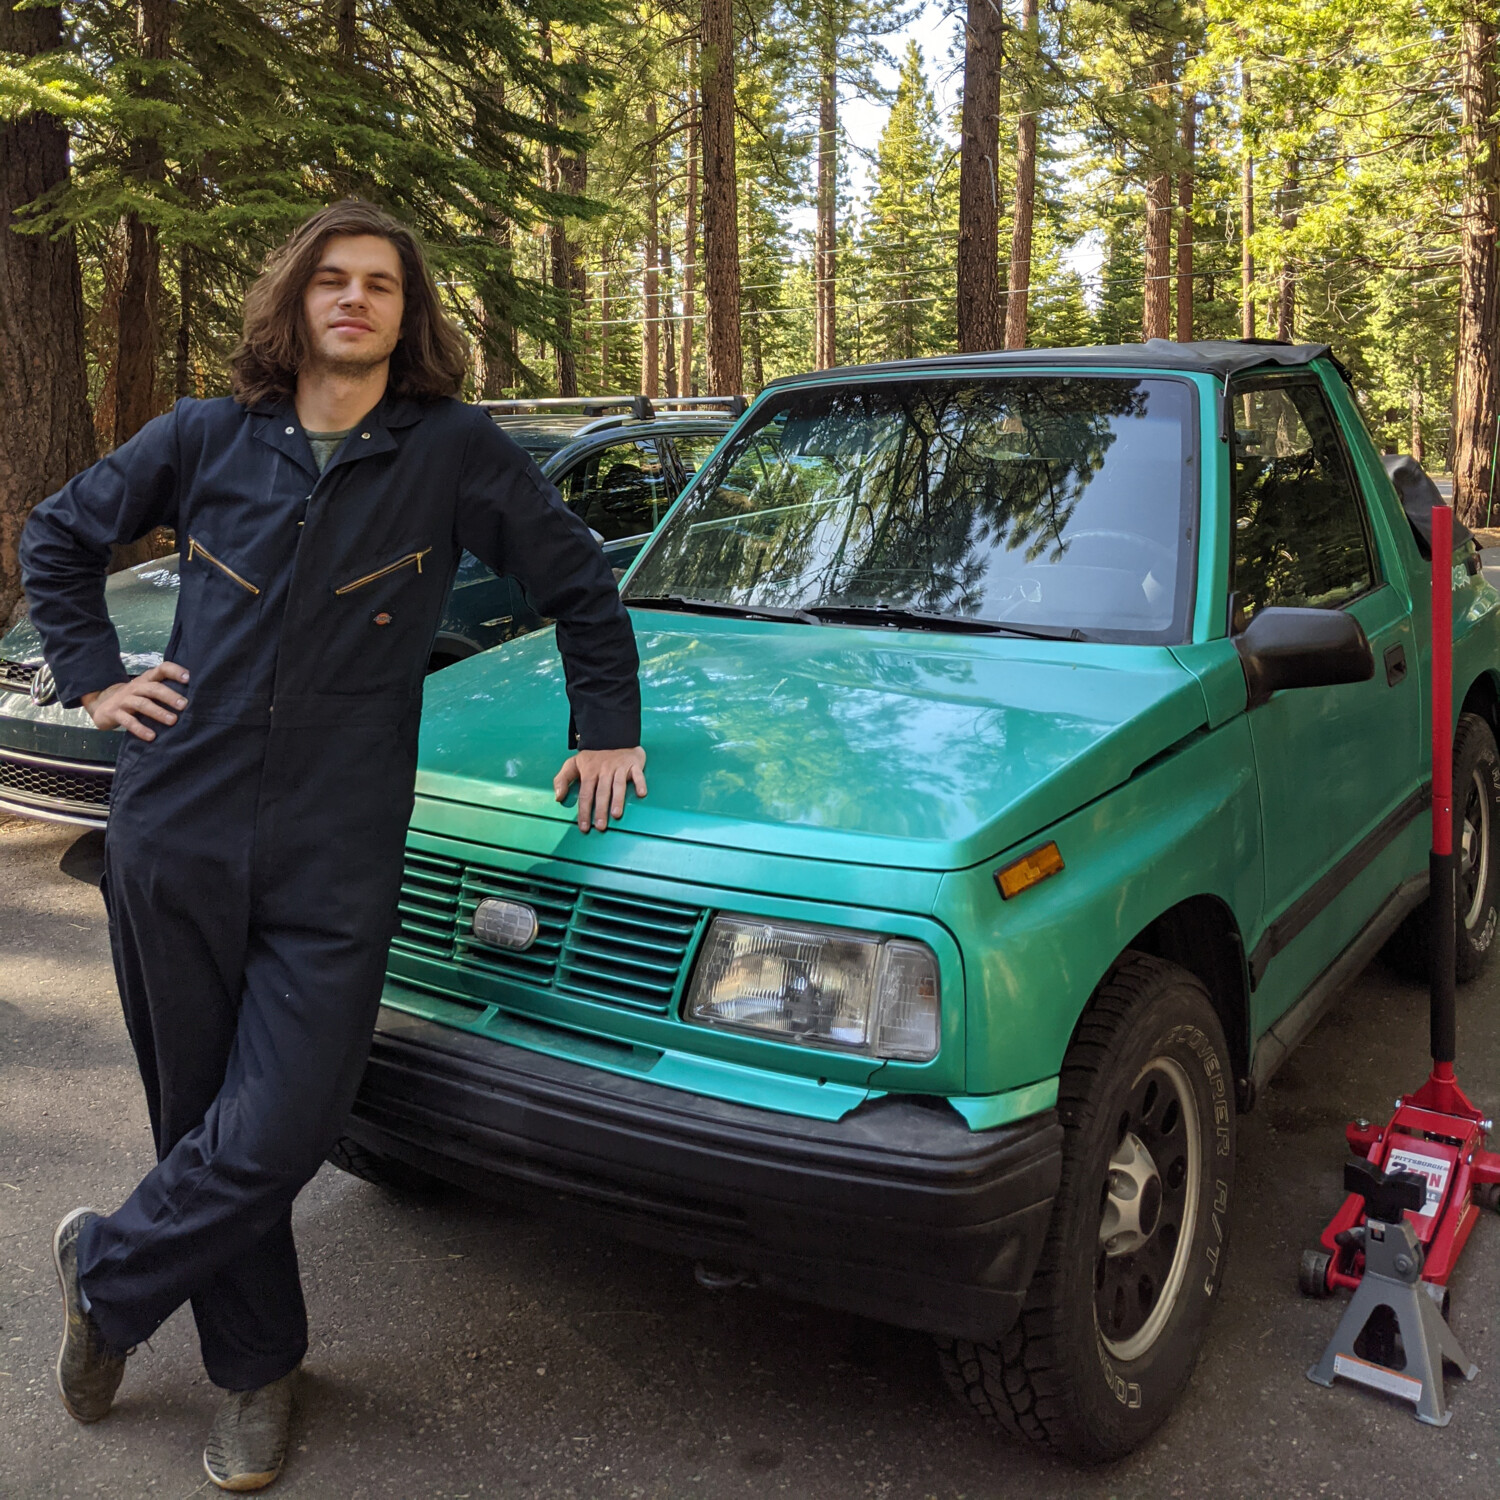
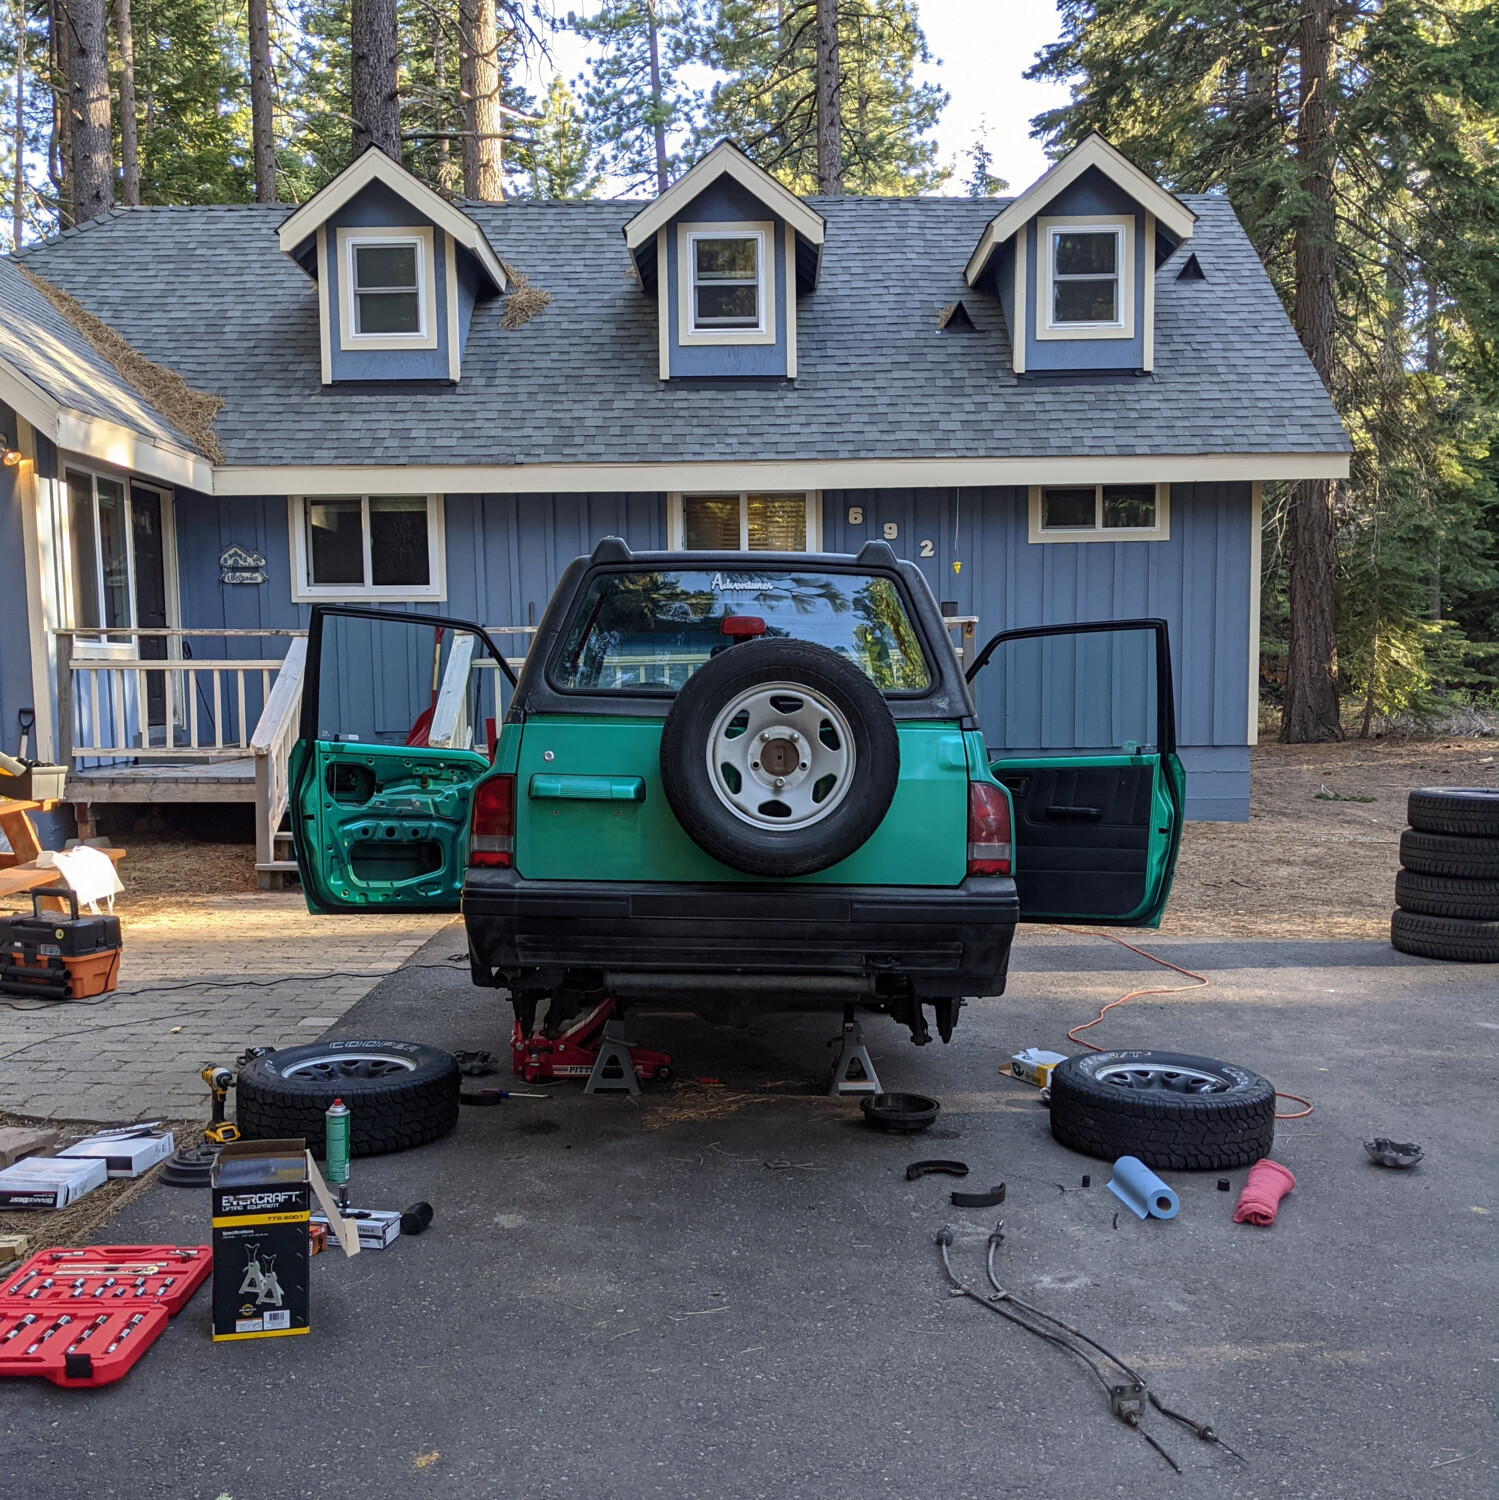
  • 1995 Geo Tracker Maintenance: I co-own this car with a friend of mine. I’ve replaced the timing belt, parking brake cables, clutch cable, brake shoes, drums, pads and rotors. I’ve fixed broken turn signals, tired old window regulators, and more, but mostly have just had a lot of fun.
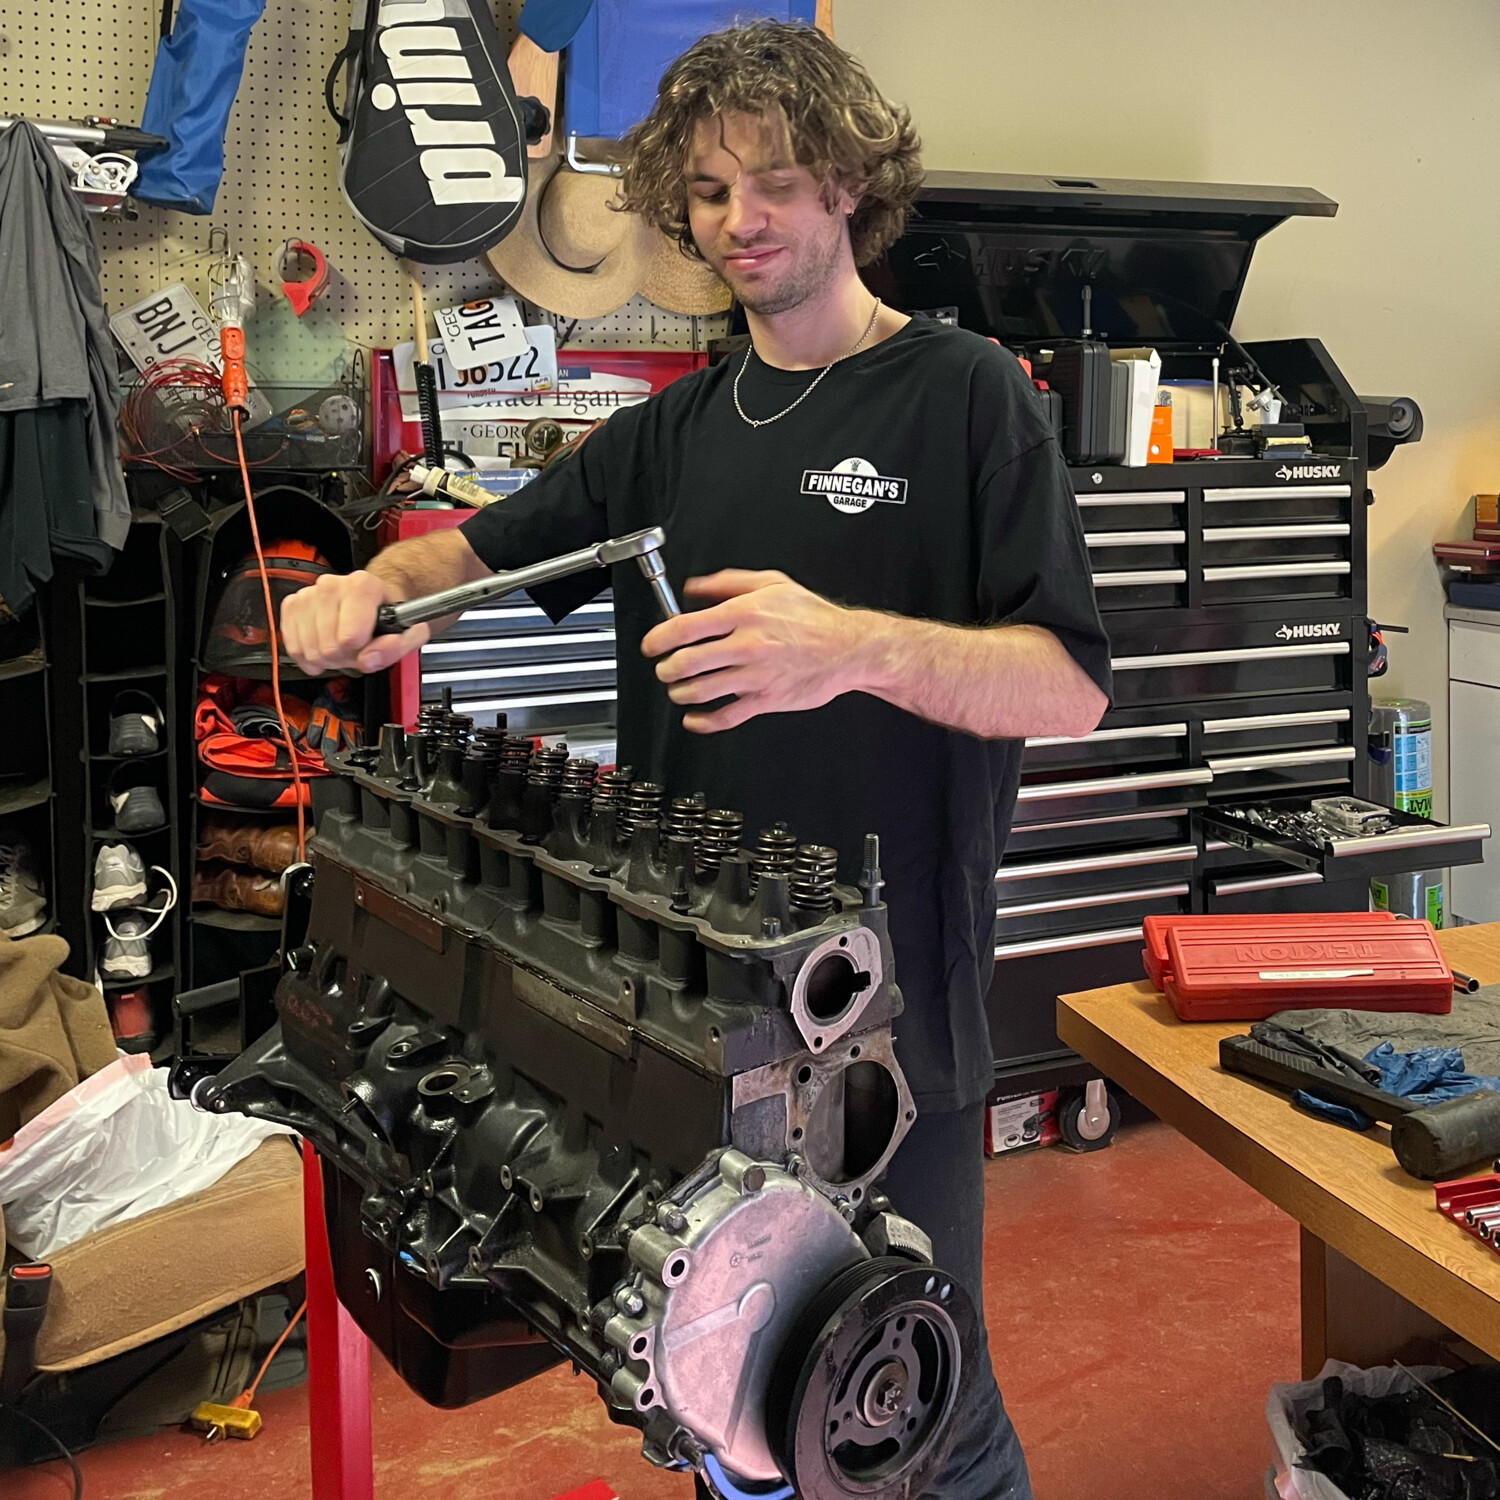
  • Jeep 4.0L I6 Rebuild: My sister started an engine teardown a while ago (without me!) and the project lost steam just after the engine rebuild started. I visited home and took the engine from the first steps of assembly to being back in the car - not a small feat with my absence during the disassembly!
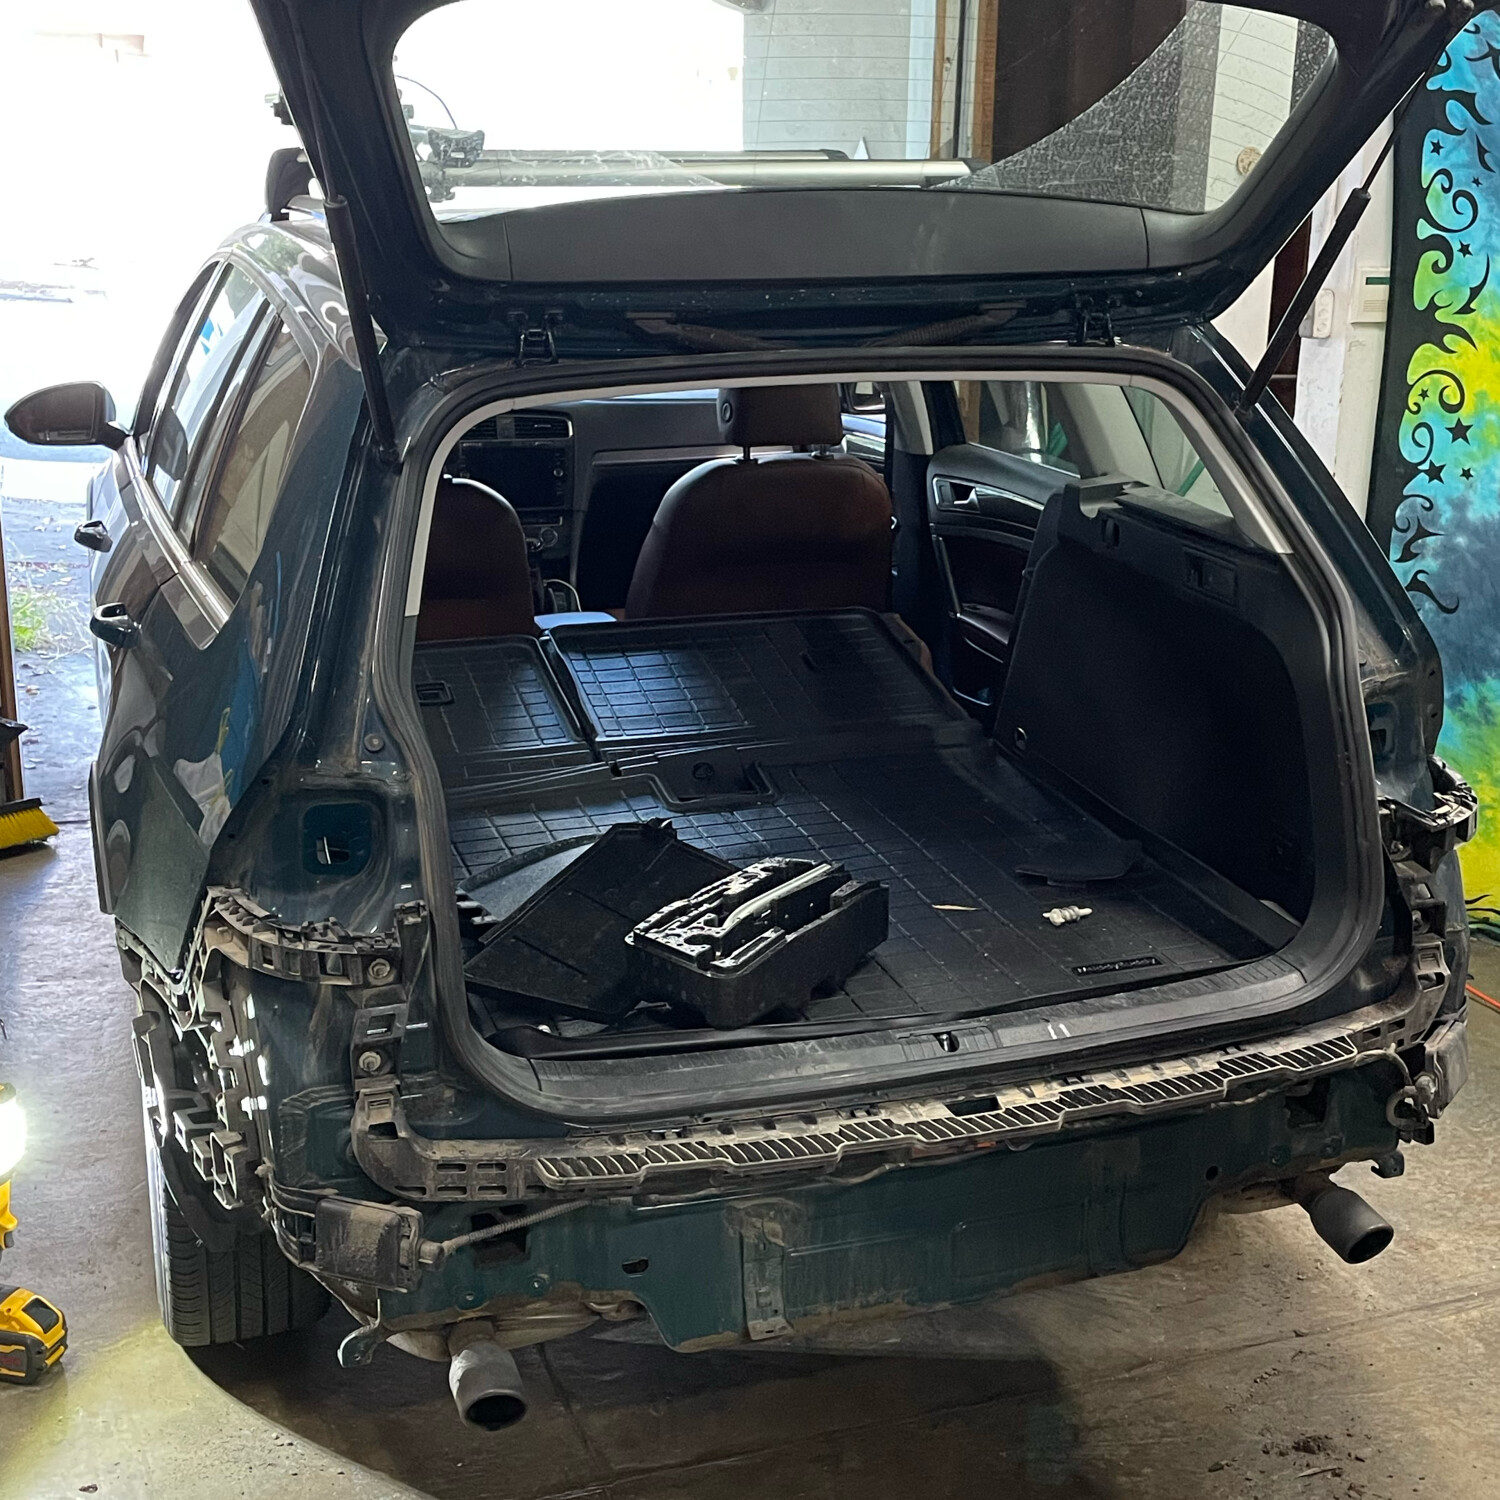
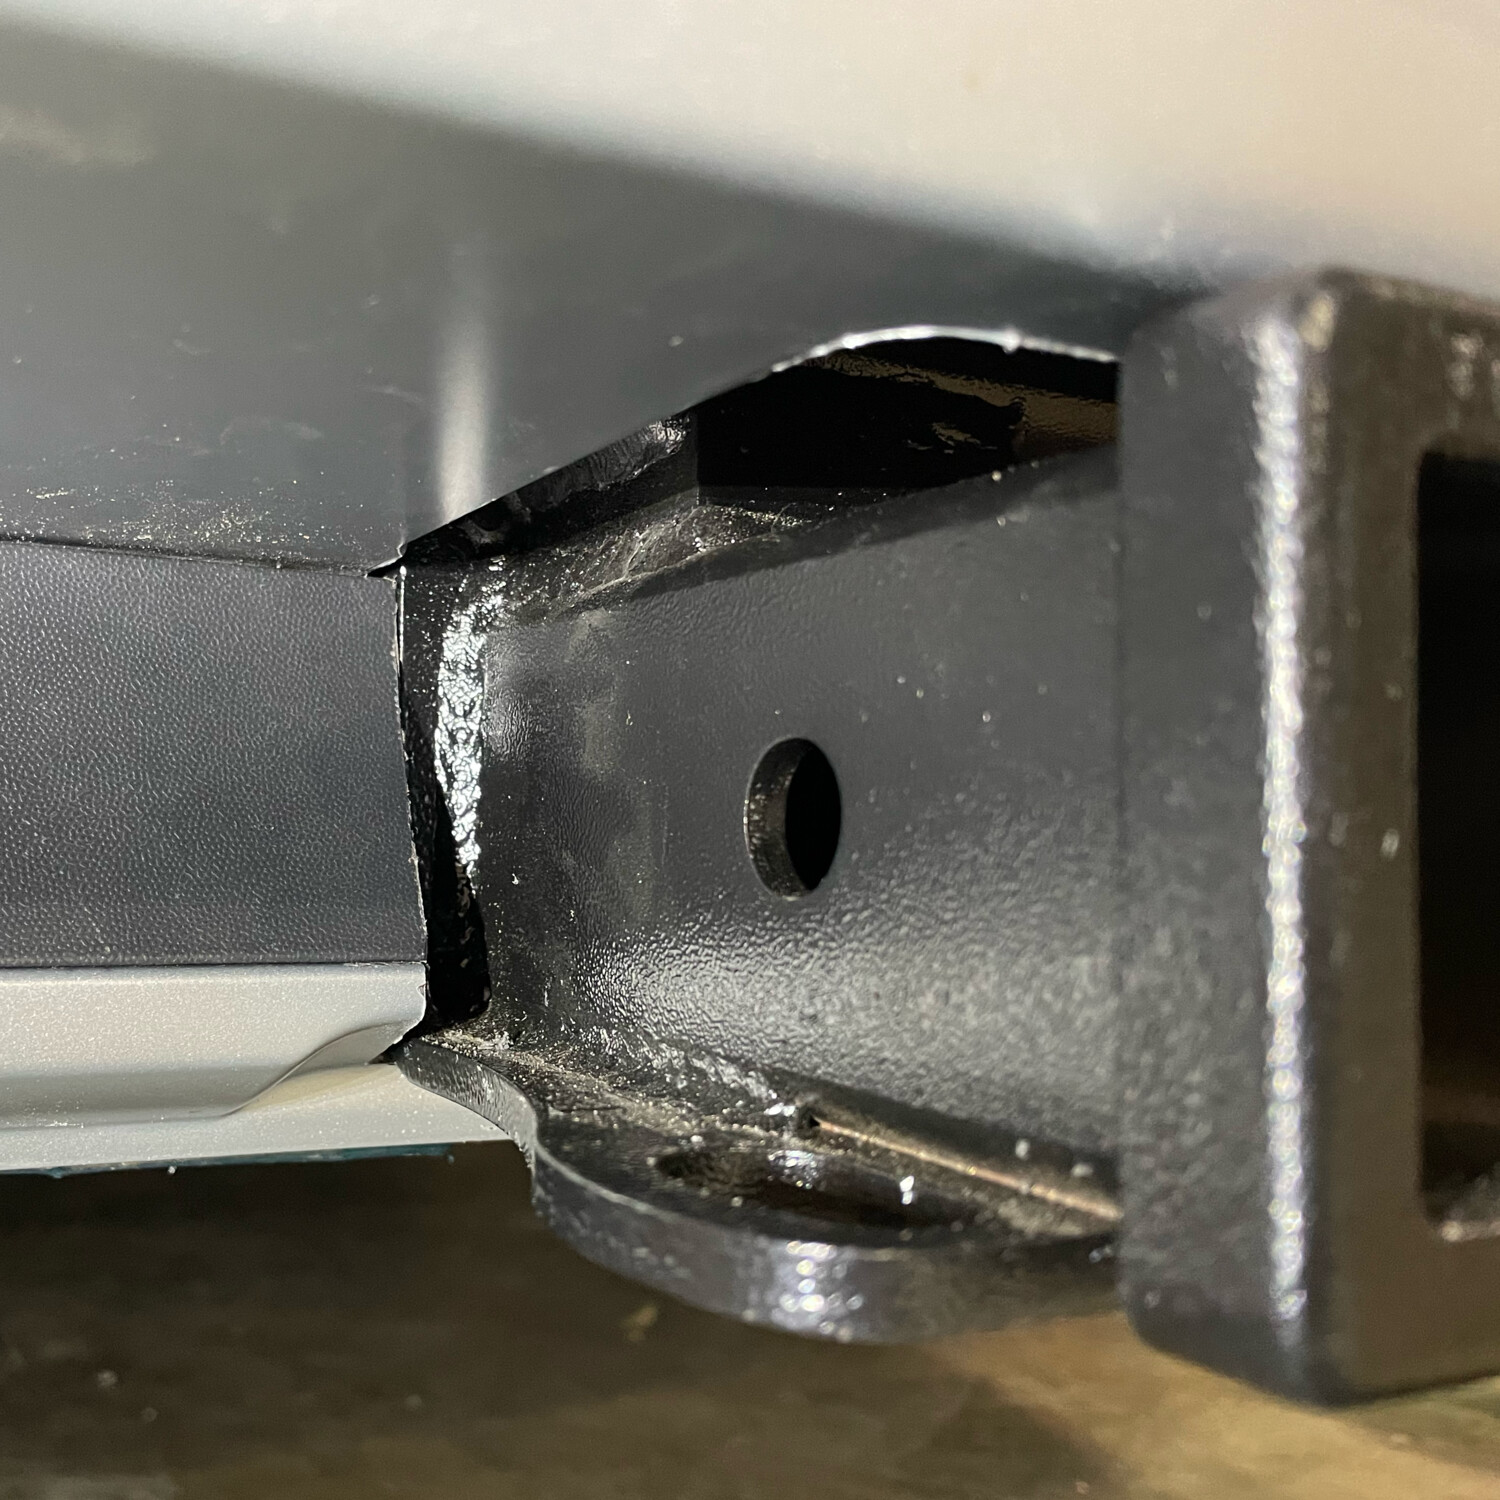
  • VW Aftermarket Trailer Hitch Installation: Not as straightforward of a job as etrailer.com would like you to believe! The Project Included careful trimming of the car’s bumper as well as some reverse engineering and modification to the trailer wiring harness provided in the kit.
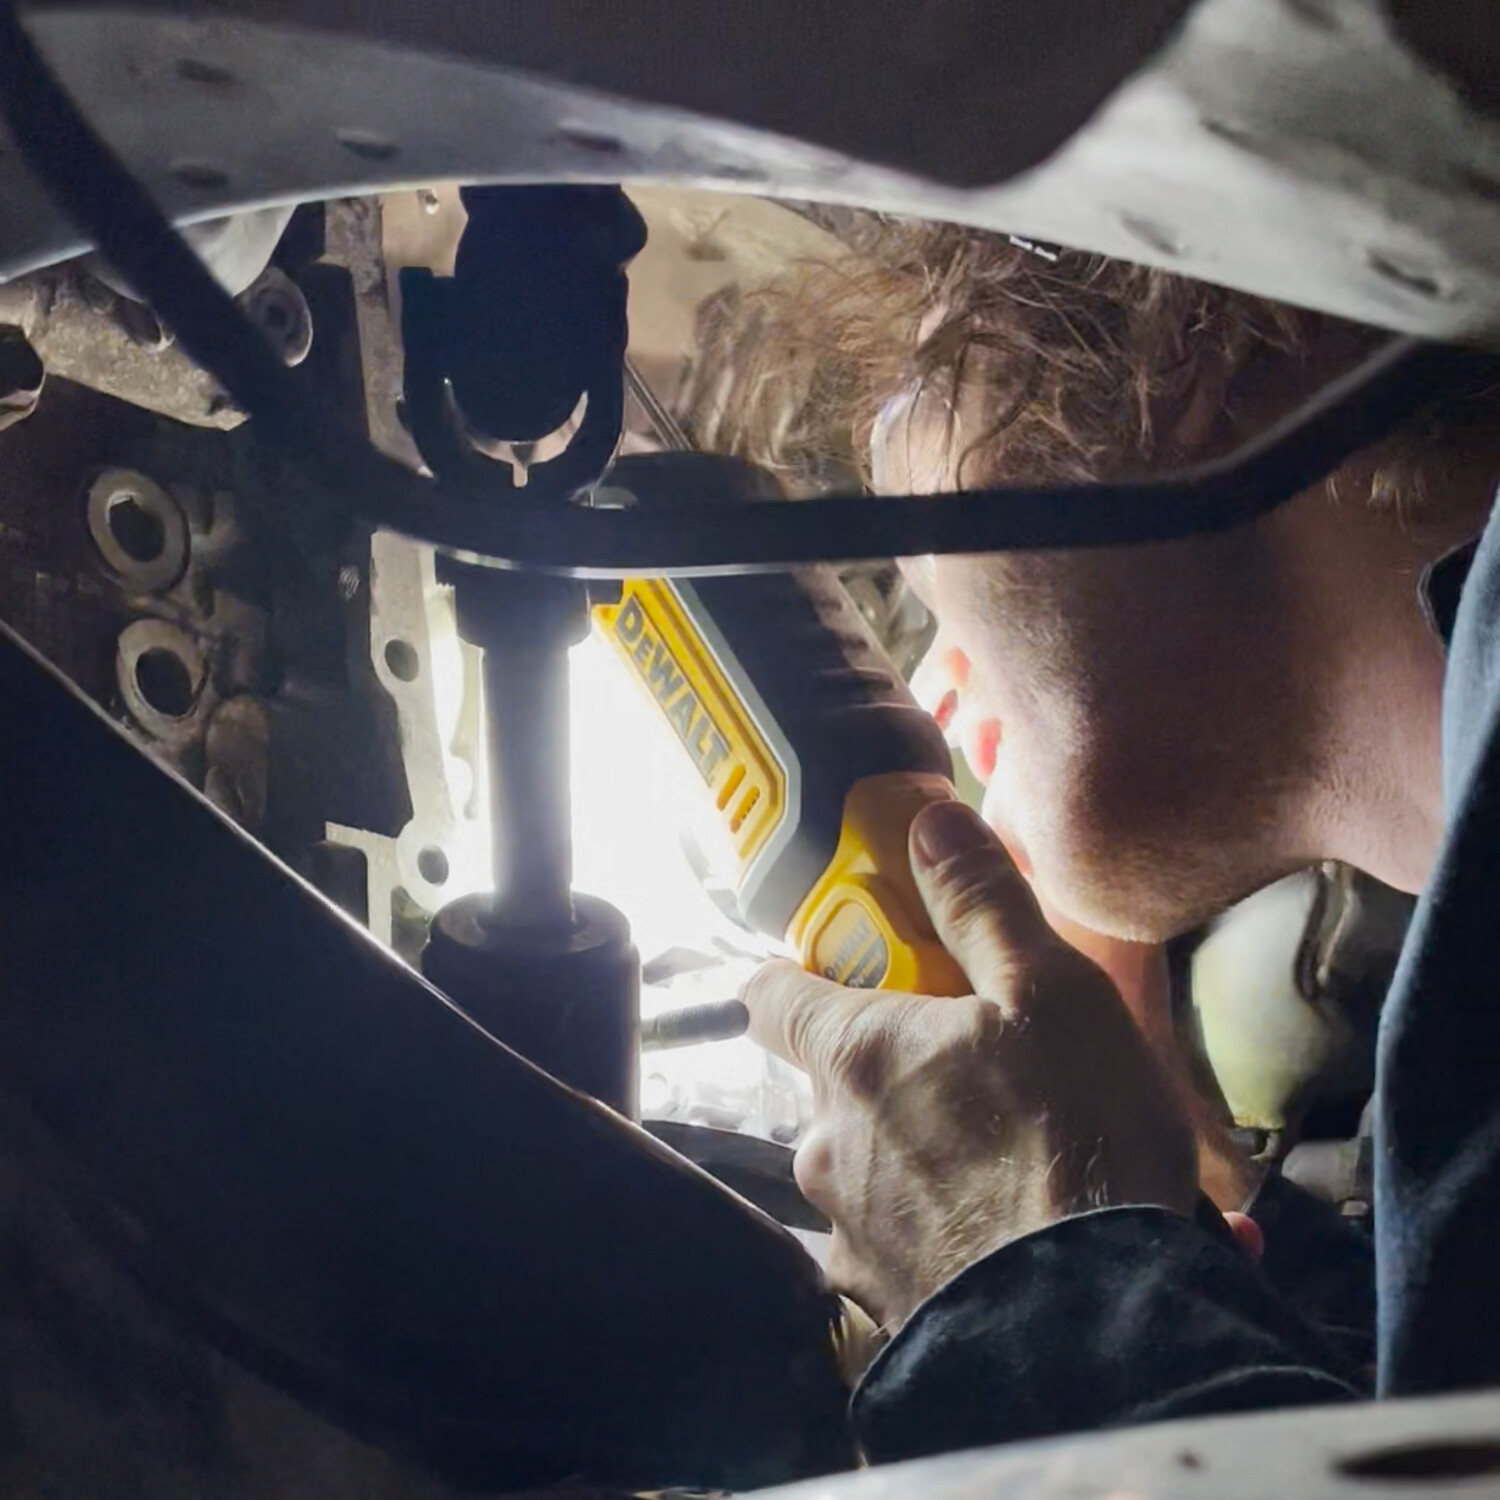
  • WRX Clutch Replacement: I assisted my friend with a clutch replacement on his 2009 Subaru. We faced a fair number of setbacks requiring a fair amount of creative problem solving.
  • I love this car.
    I love this car.
  • The Tracker getting its parking brake cables and rear drums and shoes replaced.
    The Tracker getting its parking brake cables and rear drums and shoes replaced.
  • Torquing the head bolts on this Jeep 4.0L I6 to spec.
    Torquing the head bolts on this Jeep 4.0L I6 to spec.
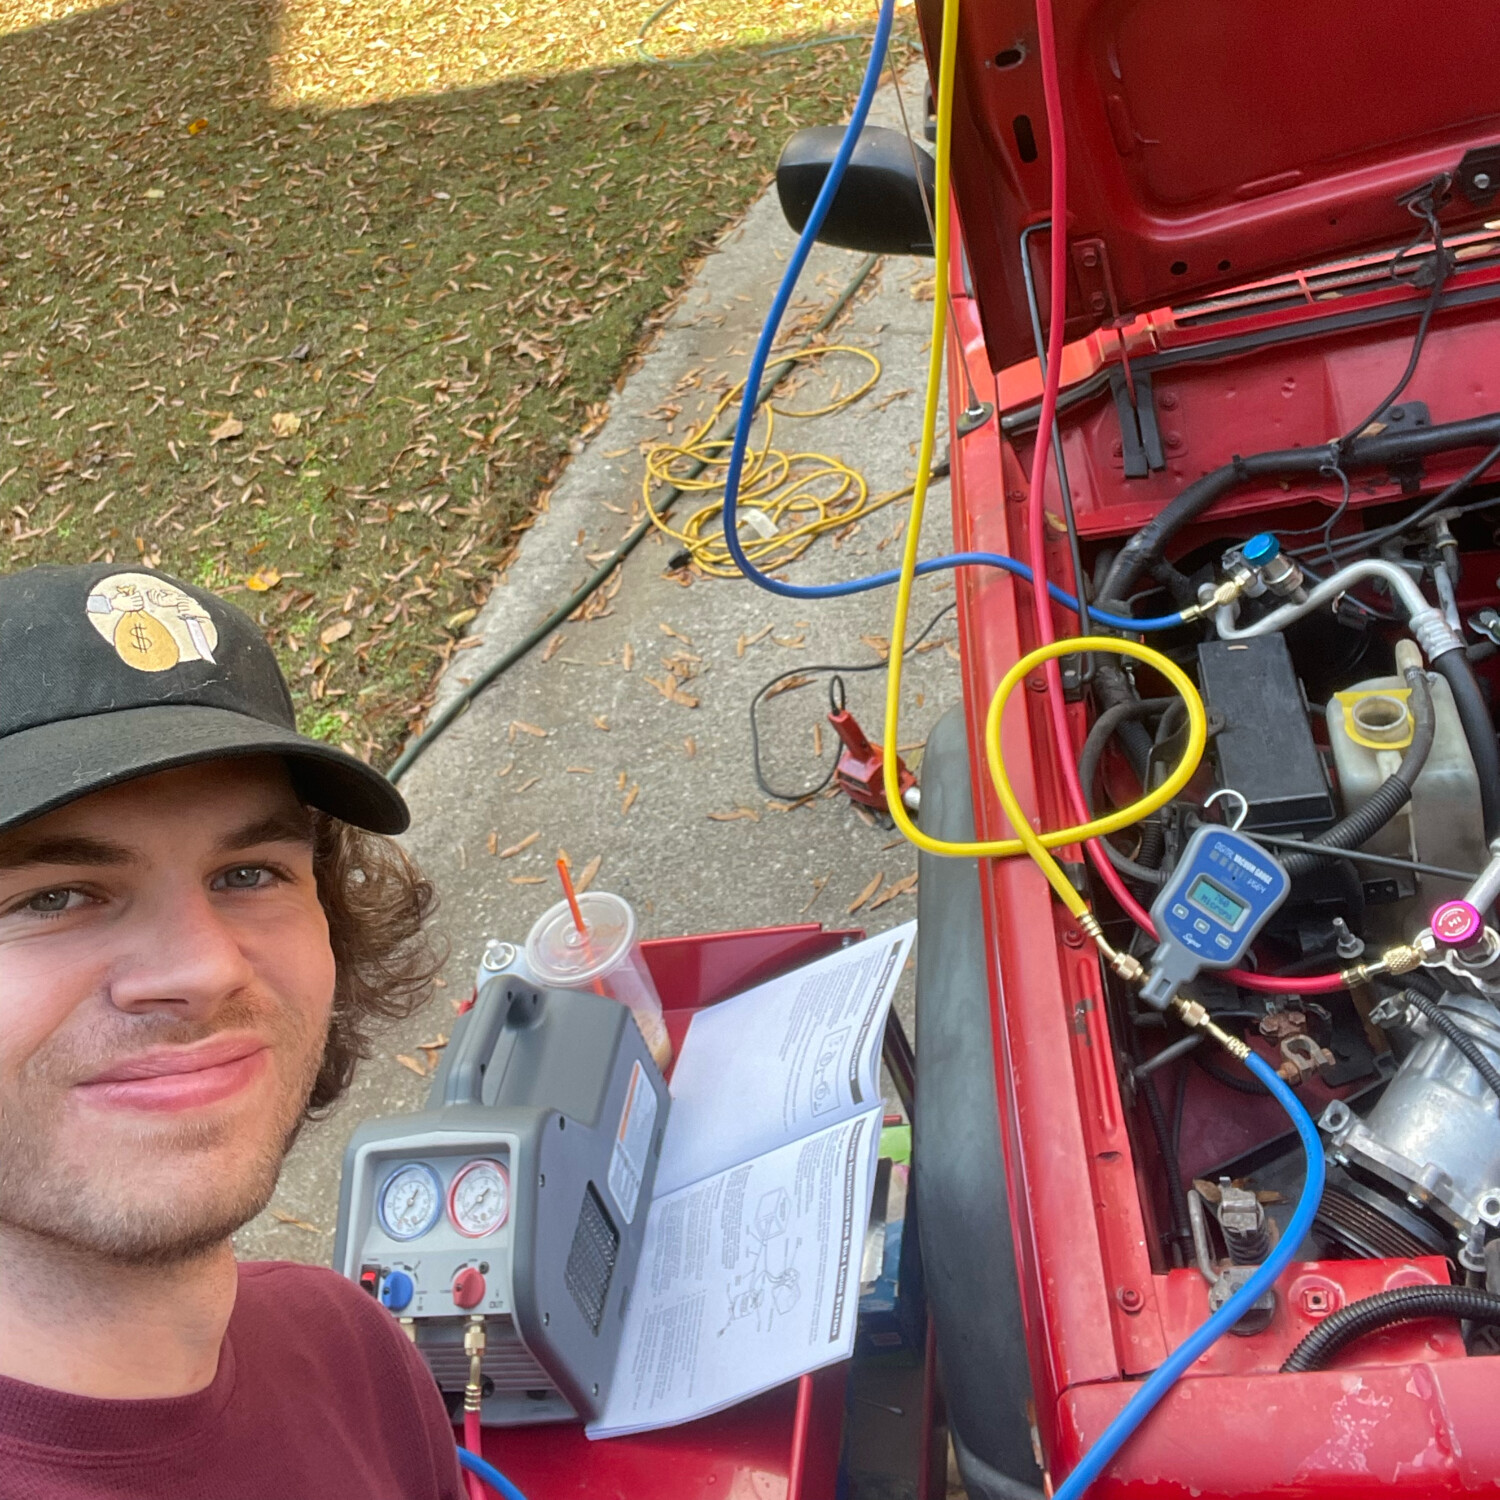
  • I didn't want to vent the refridgerant to the atmosphere, so I learned how to do it the right way!
    I didn't want to vent the refridgerant to the atmosphere, so I learned how to do it the right way!
  • The engine reinstalled and ready to be started for the first time. What a project!
    The engine reinstalled and ready to be started for the first time. What a project!
  • Removing the bumper of the Alltrack was a harrowing experience. I only broke one snap tab!
    Removing the bumper of the Alltrack was a harrowing experience. I only broke one snap tab!
  • The aftermarket hitch would not fit without some trimming of the fascia. I think I ended up with a pretty clean fit!
    The aftermarket hitch would not fit without some trimming of the fascia. I think I ended up with a pretty clean fit!
  • We nicked the outer sealing surface for my friend's rear main seal while replacing it. JB weld was the only option (other than pulling the engine).
    We nicked the outer sealing surface for my friend's rear main seal while replacing it. JB weld was the only option (other than pulling the engine).